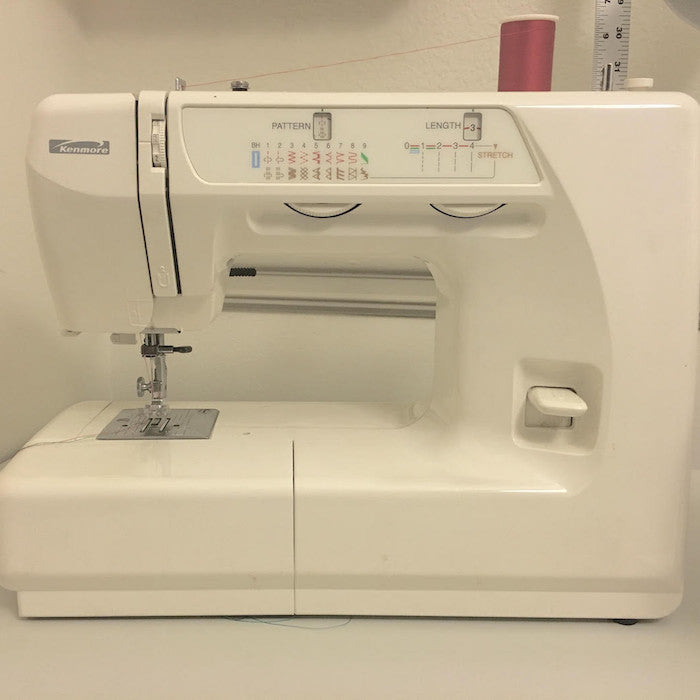
Sewing can be intimidating and I can understand that. After all, you are handling a piece of machinery that quickly jerks a needle up and down. Now I can assure you that you won't sew your hand or your shirt to a piece of fabric. But you'll probably break a few needles over time and that's normal.
Even threading the machine can be overwhelming, but luckily most machines have printed instructions on the machines. So I am going to help you with another confusing piece of the sewing machine: the bobbin. A bobbin is a small spindle of thread that is inserted in the sewing machine under the needle and is used to help lock in the top thread when sewing fabric. I am going to give you a break down on how to insert a top loading bobbin and a side loading bobbin.
Top Loading Bobbin:
Step 1:
Remove the top cover from the bobbin case. Take your threaded bobbin and hold is so that the thread is hanging over to the top right/clockwise.
Step 2:
Place bobbin down in bobbin case with thread tail towards the right. Then lace the thread through the guided slit in the bobbin case.
Step 3:
Hold the tail of the thread coming through the needle and turn hand wheel (the large knob on the right side of the machine) towards you until it pulls the bobbin thread up through the feed dog. Once both threads are together, pull a long tail through the center of the presser foot towards the back. Place cover back on top of bobbin case and begin sewing.

Side Loading Bobbin:
Step 1:
A side loading bobbin has a separate bobbin case, as the top loading bobbin has a built in bobbin case. Take the bobbin and hold it with the thread tail coming over the top to the right. Hold the bobbin case with the little slit facing upward.
Step 2:
Place the bobbin with the tail to the top right in the bobbin case and pull the thread tail in the case, clockwise and pull it through the slit at the top and hook it around to the large opening on the side of the bobbin case.
Step 3:
Holding the bobbin case upward, place inside the machine. You may hear a little click and if you do, that means the bobbin case is securely in the machine. Hold the tail of the thread coming through the needle and turn hand wheel towards you until it pulls the bobbin thread up through the feed dog. Once both threads are together, pull a long tail through the center of the presser foot towards the back. Close the bobbin case and begin to sew.
Be sure to hold on to the user manuals that came with your sewing machines. I've been sewing for over 20 years and I still refer to my user manuals from time to time. I also search the internet for video tutorials if what I am reading in the manual isn't clicking in my head 100%. I encourage you try loading your bobbin in the machine. Read this post a million times if you need to before doing it (sometimes I have to do that as well), but don't be scared of your sewing machine. I promise you it's a whole lot easier than it sounds. I PROMISE!! Now let's get to sewing!
Laura
Follow me on Facebook and Instagram @jerseypeachdesigns.


