It’s National Dog Day!! Time to post pictures of our fur-babies and show the world how much they mean to us….annnnnnd it’s also another reason to spoil our pups just a little more. I thought my little babe Stella needed a new collar to celebrate this special day and I wanted to share how to make a dog collar with you as well!

This is what you’ll need:
- 1 Parachute buckle
- 1 D ring
- 1 Triglide slider
- 1 plastic ring (I don't know if this is the right name but it's used to keep the collar from sliding)
- Cotton fabric (you can use scraps or buy a fat quarter)
- Lightweight fusible interfacing
- Matching thread
Note: Make sure that the buckle, D-ring, plastic ring and slider all have the same width. I used pieces with 3/4” width. The width of the buckle will give you the collar's width.
Step One:
Measure your dog’s neck and then choose one of the following measurements for the length:
Small dog: 20"
Medium dog: 25"
Large dog: 30"
Cut a strip of fusible interfacing using your width and length measurements. Then cut a strip of fabric the same length but 4 times as wide.
Step Two:
Fold the strip of fabric lengthwise in half with the wrong side inside and press with the iron. Unfold and apply the fusible interfacing on the wrong side of fabric along the center fold. Iron each of the fabric's edges towards the middle and press again. The wrong side of fabric should be inside. Fold in half, leaving the folded edges inside and press
Step Three:
Working on the ends first, unfold the ends of your strip and fold them so that you are seeing the inside of the collar. Sew them together. I made the inside lighter in the picture so you can see the difference. Clip the corners and turn. Sew all around the fabric's edge. Start with the open long edge.
Step Four:
Insert the tip of the collar around the slider and sew. Use the machine's zipper foot to make it easier. The wrong side of your collar should be outside. Insert the plastic ring. Insert the other end of the collar in the buckle piece that has the three teeth. Put the collar through the plastic ring again and then insert it in the slider. And lastly, insert the D ring and the other buckle piece. Go around the buckle piece and bring a piece of the collar under the D-ring. Sew to hold it in place. I also used Stella’s old collar as a visual guide when stitching everything in place.


Step Five:
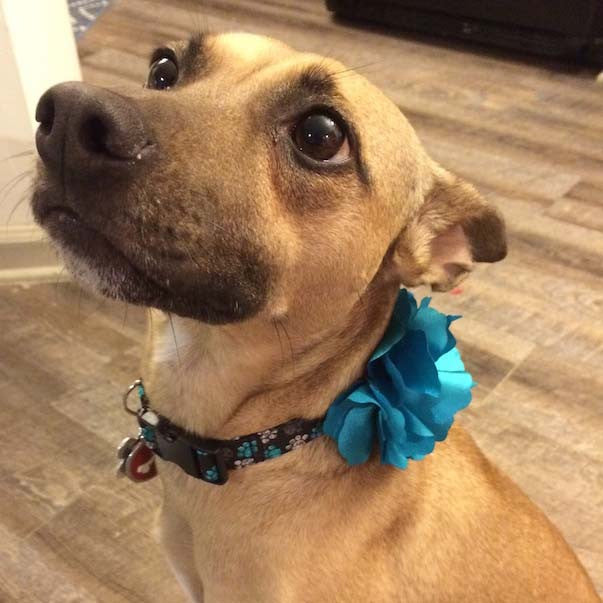
Add bows, flowers or any accessories to give your favorite furry friend a fancy look!
Enjoy
xoxo Laura and Stella