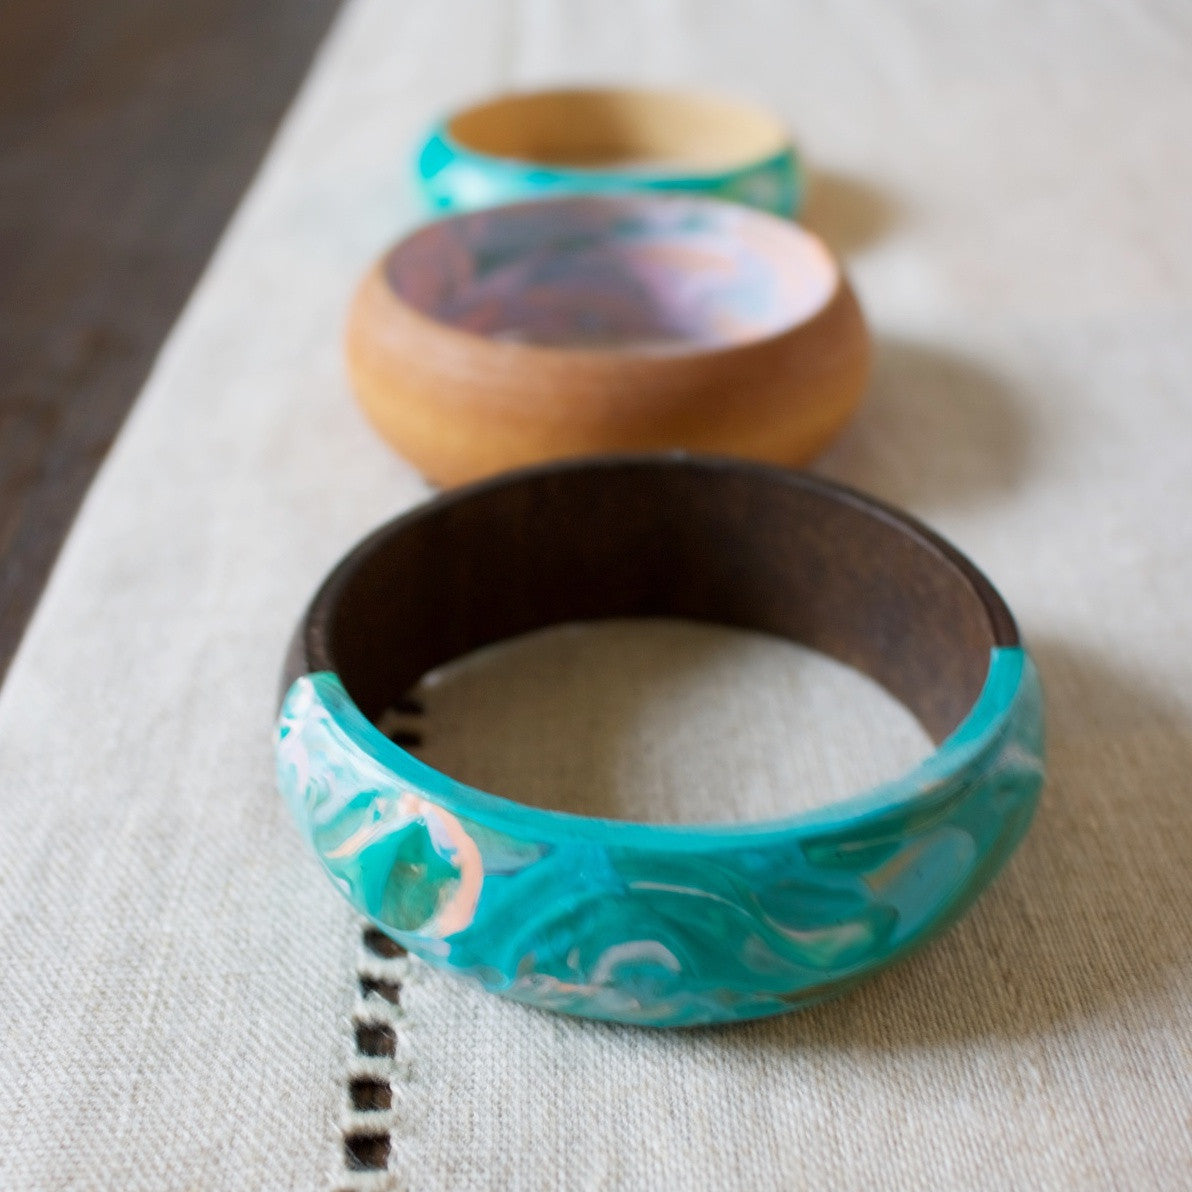
I absolutely LOVE the marbling trend going on right now! And, you may not know this, but it’s also very therapeutic! Once you learn the technique and ingredients for success (one of which ryhmes with hodge podge), you’ll want to marble everything from canvases to jewelry to coffee mugs!
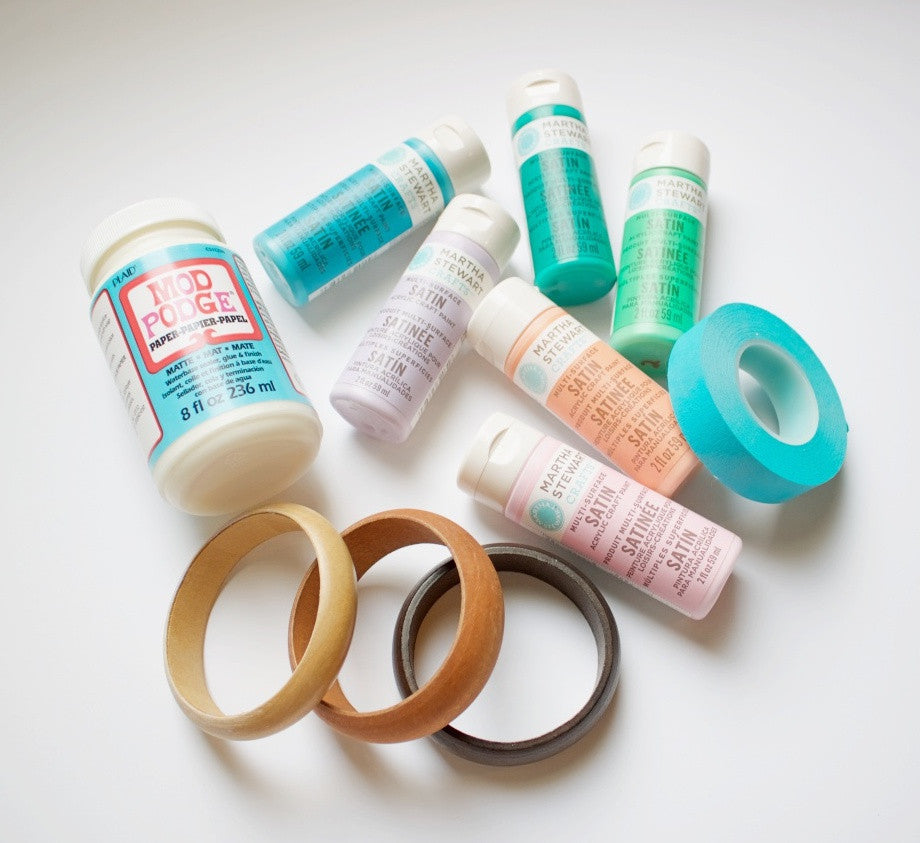
What You’ll Need:
- Martha Stewart Crafts Multi-Surface Paint: Poodle Skirt, Wild Salmon, Mermaid Teal, Pond, Hailstorm, and Spearmint Green (The more colors, the better!)
- Mod Podge Paper Formula
- Martha Stewart Crafts Stencil Tape
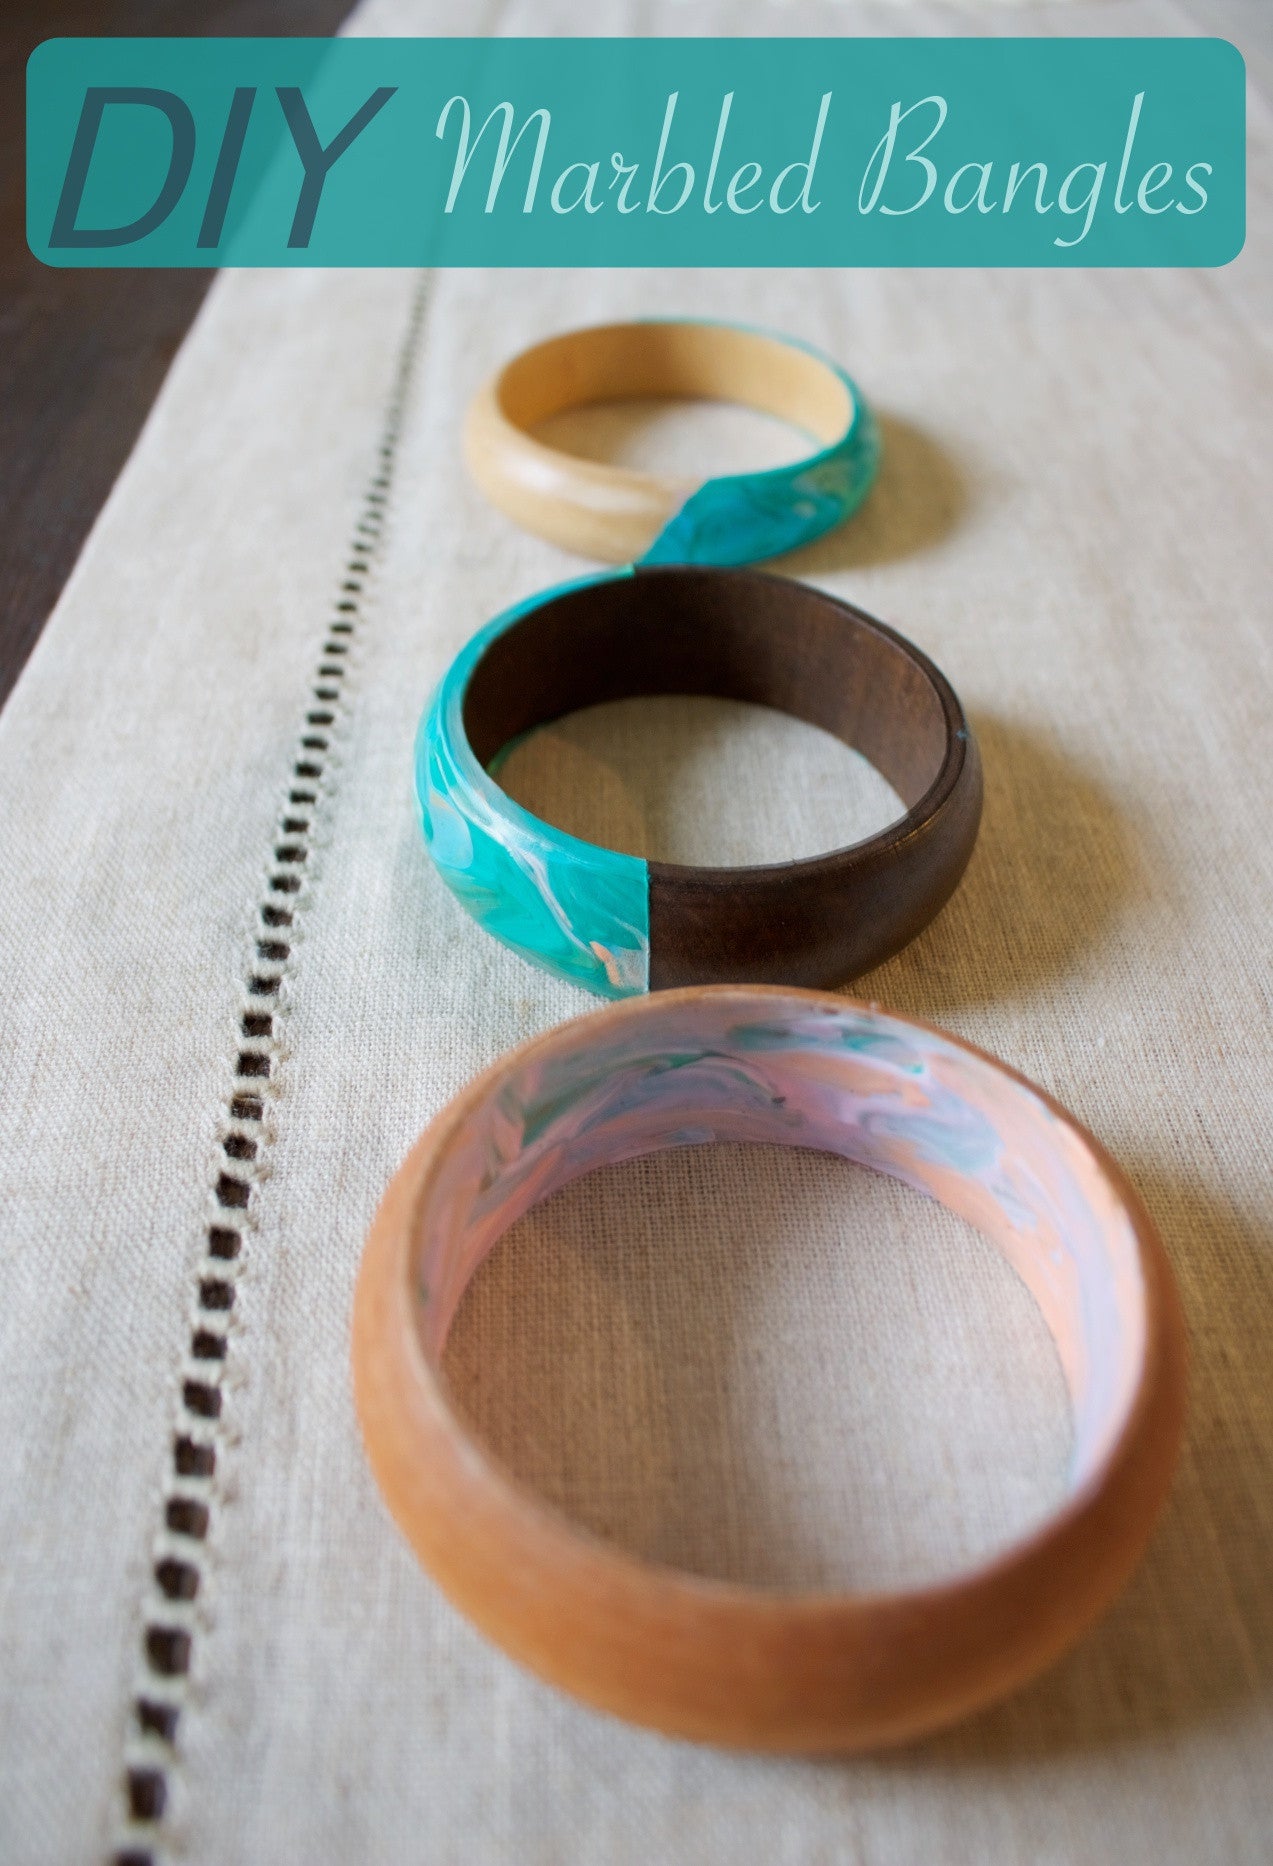
- Wooden Bangles
- Small Brush
- Paper Plate
- Paper Towels
Step 1: Sand your bangles with light grit sandpaper if needed so you have a smooth surface to paint on and set aside.
Step 2: Next, apply a little dab of all the paint colors and mod podge to your paper plate.
TIP: You must use Mod Podge Paper and not just any mod podge as this formula is thinner and will help the paint glide across the surface to achieve that marbled look you desire!
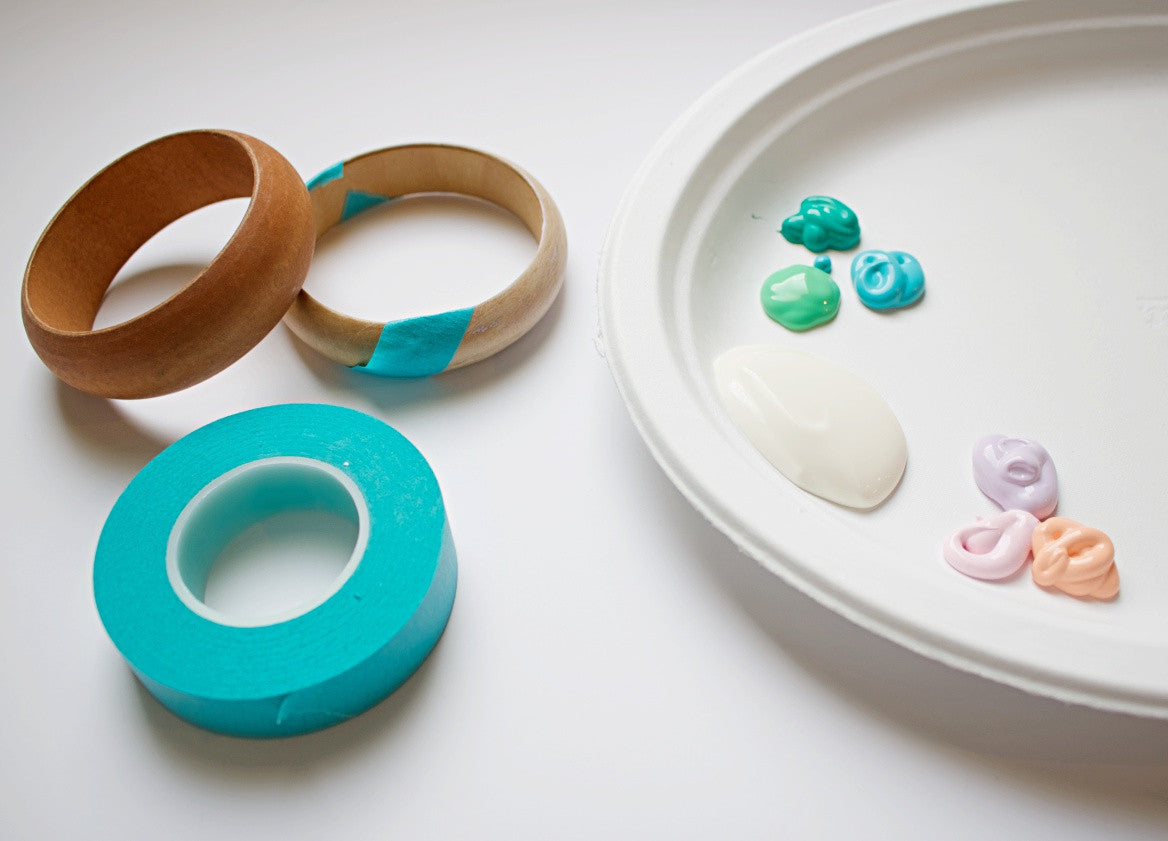
Step 3: Tape off areas of your bangle that you don’t want marbled. Feel free to get creative with stripes and fun patterns :-)
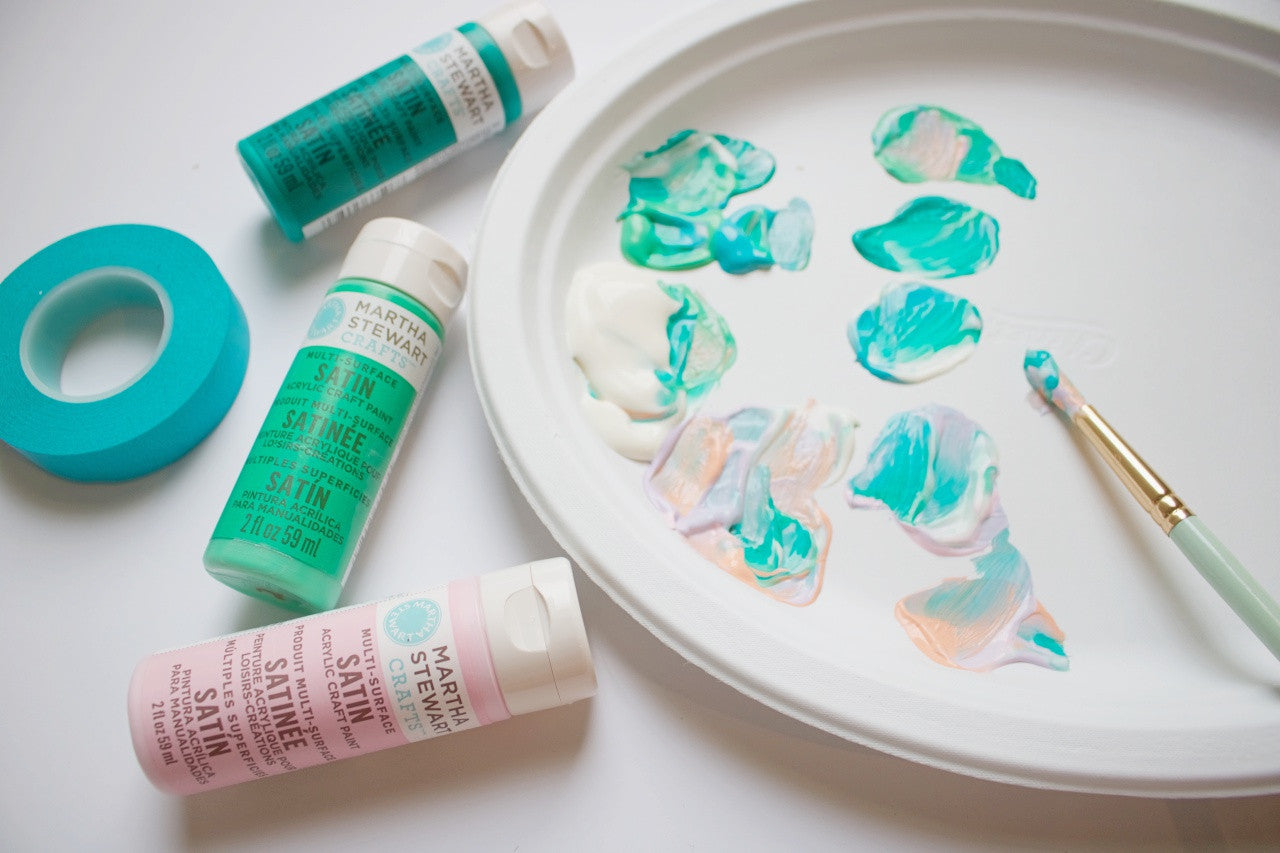
Step 4: Now, take small brush and load it with a little mod lodge and paint. Apply it to the bangle. Repeat and mix some of the colors together to get desired marbled effect. Tilt the bangle so the paint can run across the surface and mix into other colors (it’s so soothing and relaxing to watch!)
Step 5: Immediately remove the tape and allow to dry! If you forget and take the tape off later, that's ok! Just use an exacto knife to trace the edge of tape so you'll have clean lines once the tape is removed.
Step 6: You may be thinking, how the heck do I get my bangles to dry without it messing up my beautiful marbled designs? Well, you can simply put two canned goods (I used some canned pie filling that I had lying around, lol) of the same size together with a slight gap in between and bridge it with a paint brush so the bangles can dry suspended! I secured my brush with tape just to make sure the brush wouldn’t roll off and it definitely did the job!
I hope you enjoyed learning how to achieve marbled effects with acrylic paint and mod podge! Feel free to share with a friend who needs a colorful DIY to brighten their day!
Want more inspiration that speaks to you? Visit my personal blog at www.madesoulful.com and follow me on my social channels @madesoulful!
Much love,
Anna