Back to school looks a little different for everyone this year. No matter if it is at home or in the classroom, I am sharing 3 fun kid crafts on my weekly broadcast on the Crayola Facebook Page! Make sure to tune in every Tuesday at 1:00pm EST for 3 new crafts!
Shop all the supplies I am using for today's projects at Crayola.com
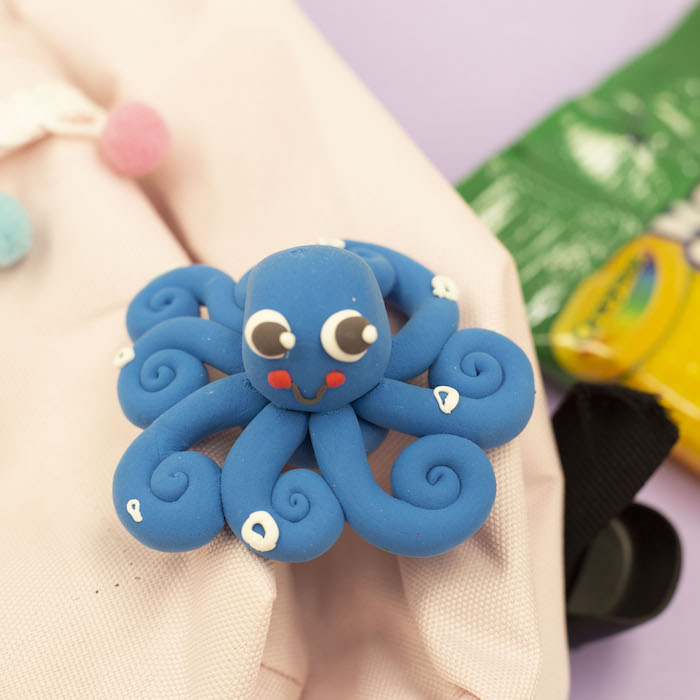
Project 1: Backpack Charms

Whether your kids are going to school virtually or in the classroom I am sure they still want a backpack. My daughter carries her backpack around the house all the time and she loves to add to flair!
Your kiddos can mold and make anything their heart desires with Model Magic! Model Magic is just that magic! It air dries overnight or you can put it in a zip-top bag and re-use it over and over again.
Once your kiddos make their favorite animal or shape let it dry overnight and then glue a flat back pin to the back and let the glue dry. Once dry pin it on their backpack!!!


Project 2: Make Lunch More Fun with Decorated Lunch Bags
Keep your kiddos busy on Sundays by letting them decorate their lunch bags for the week! They can either cut out shapes and create designs with construction and glue to the bag like I did with the monster and the cupcake or paint and color the bags! Not only does this give your kiddo some weekend craft time (and quiet time for you too) but a little more fun at lunchtime whether it is in the cafeteria or at home! 

Project 3: Crayon Apple Suncatcher

Materials:
- Crayola Crayons
- Crayon Sharpener
- Crayola Glue
- Crayola Construction Paper
- Iron or a Blow-dryer
- Mason Jar Lid
- Scissors
- Wax Paper
- Marker
- Yarn
Directions:
- Sharpen crayons and collect the shavings.
- Pile shavings on a piece of wax paper. Cover with a second piece of wax paper. Heat with an iron or a blow dryer until the shavings have melted.
- Remove the top sheet white the crayon is still wet.
- Let the crayon dry. It dries within minutes.
- Place the mason jar lid on the melted crayon and trace it. Use the scissor to cut out the shape. You might need to trim it a little smaller to fit in the lid.
- Put a thin line of glue on the inside of the lid and press the melted crayon was paper sheet inside.
- Cut a stem and leaves out of construction paper and glue it to the top of the jar.
- Cut a piece of yarn and glue it to the lid.
- Hang the sun catcher in front of a window!

Tune in to Crayola's Facebook Page every Tuesday at 1:00pm EST to catch me sharing three crafts you can make at home!
xoxo- Lynn