
Repurposing has become a new challenge for me! Any time I think about throwing something away, I try and think if there is any way I can reuse it in a new way. I’m pretty sure it drives my husband crazy, since I think he wishes I would throw out most of my craft supplies. I simply told him, we need a bigger storage space for craft supplies, he disagreed!
Besides marriage bliss, I think repurposing is great for saving money, and testing creativity. I had a plain white hamper that was in my son’s nursery. When babies are little, they tell you to wash their clothes separately, and with a gentle detergent, so this means you want to keep their clothes in their own space, so that you don’t have to sort them later. This plain white hamper was very useful for the first couple years of my son’s life, but now that he is a crazy (and smelly) toddler, I wish his clothes with ours! This leaves me with an unused hamper!
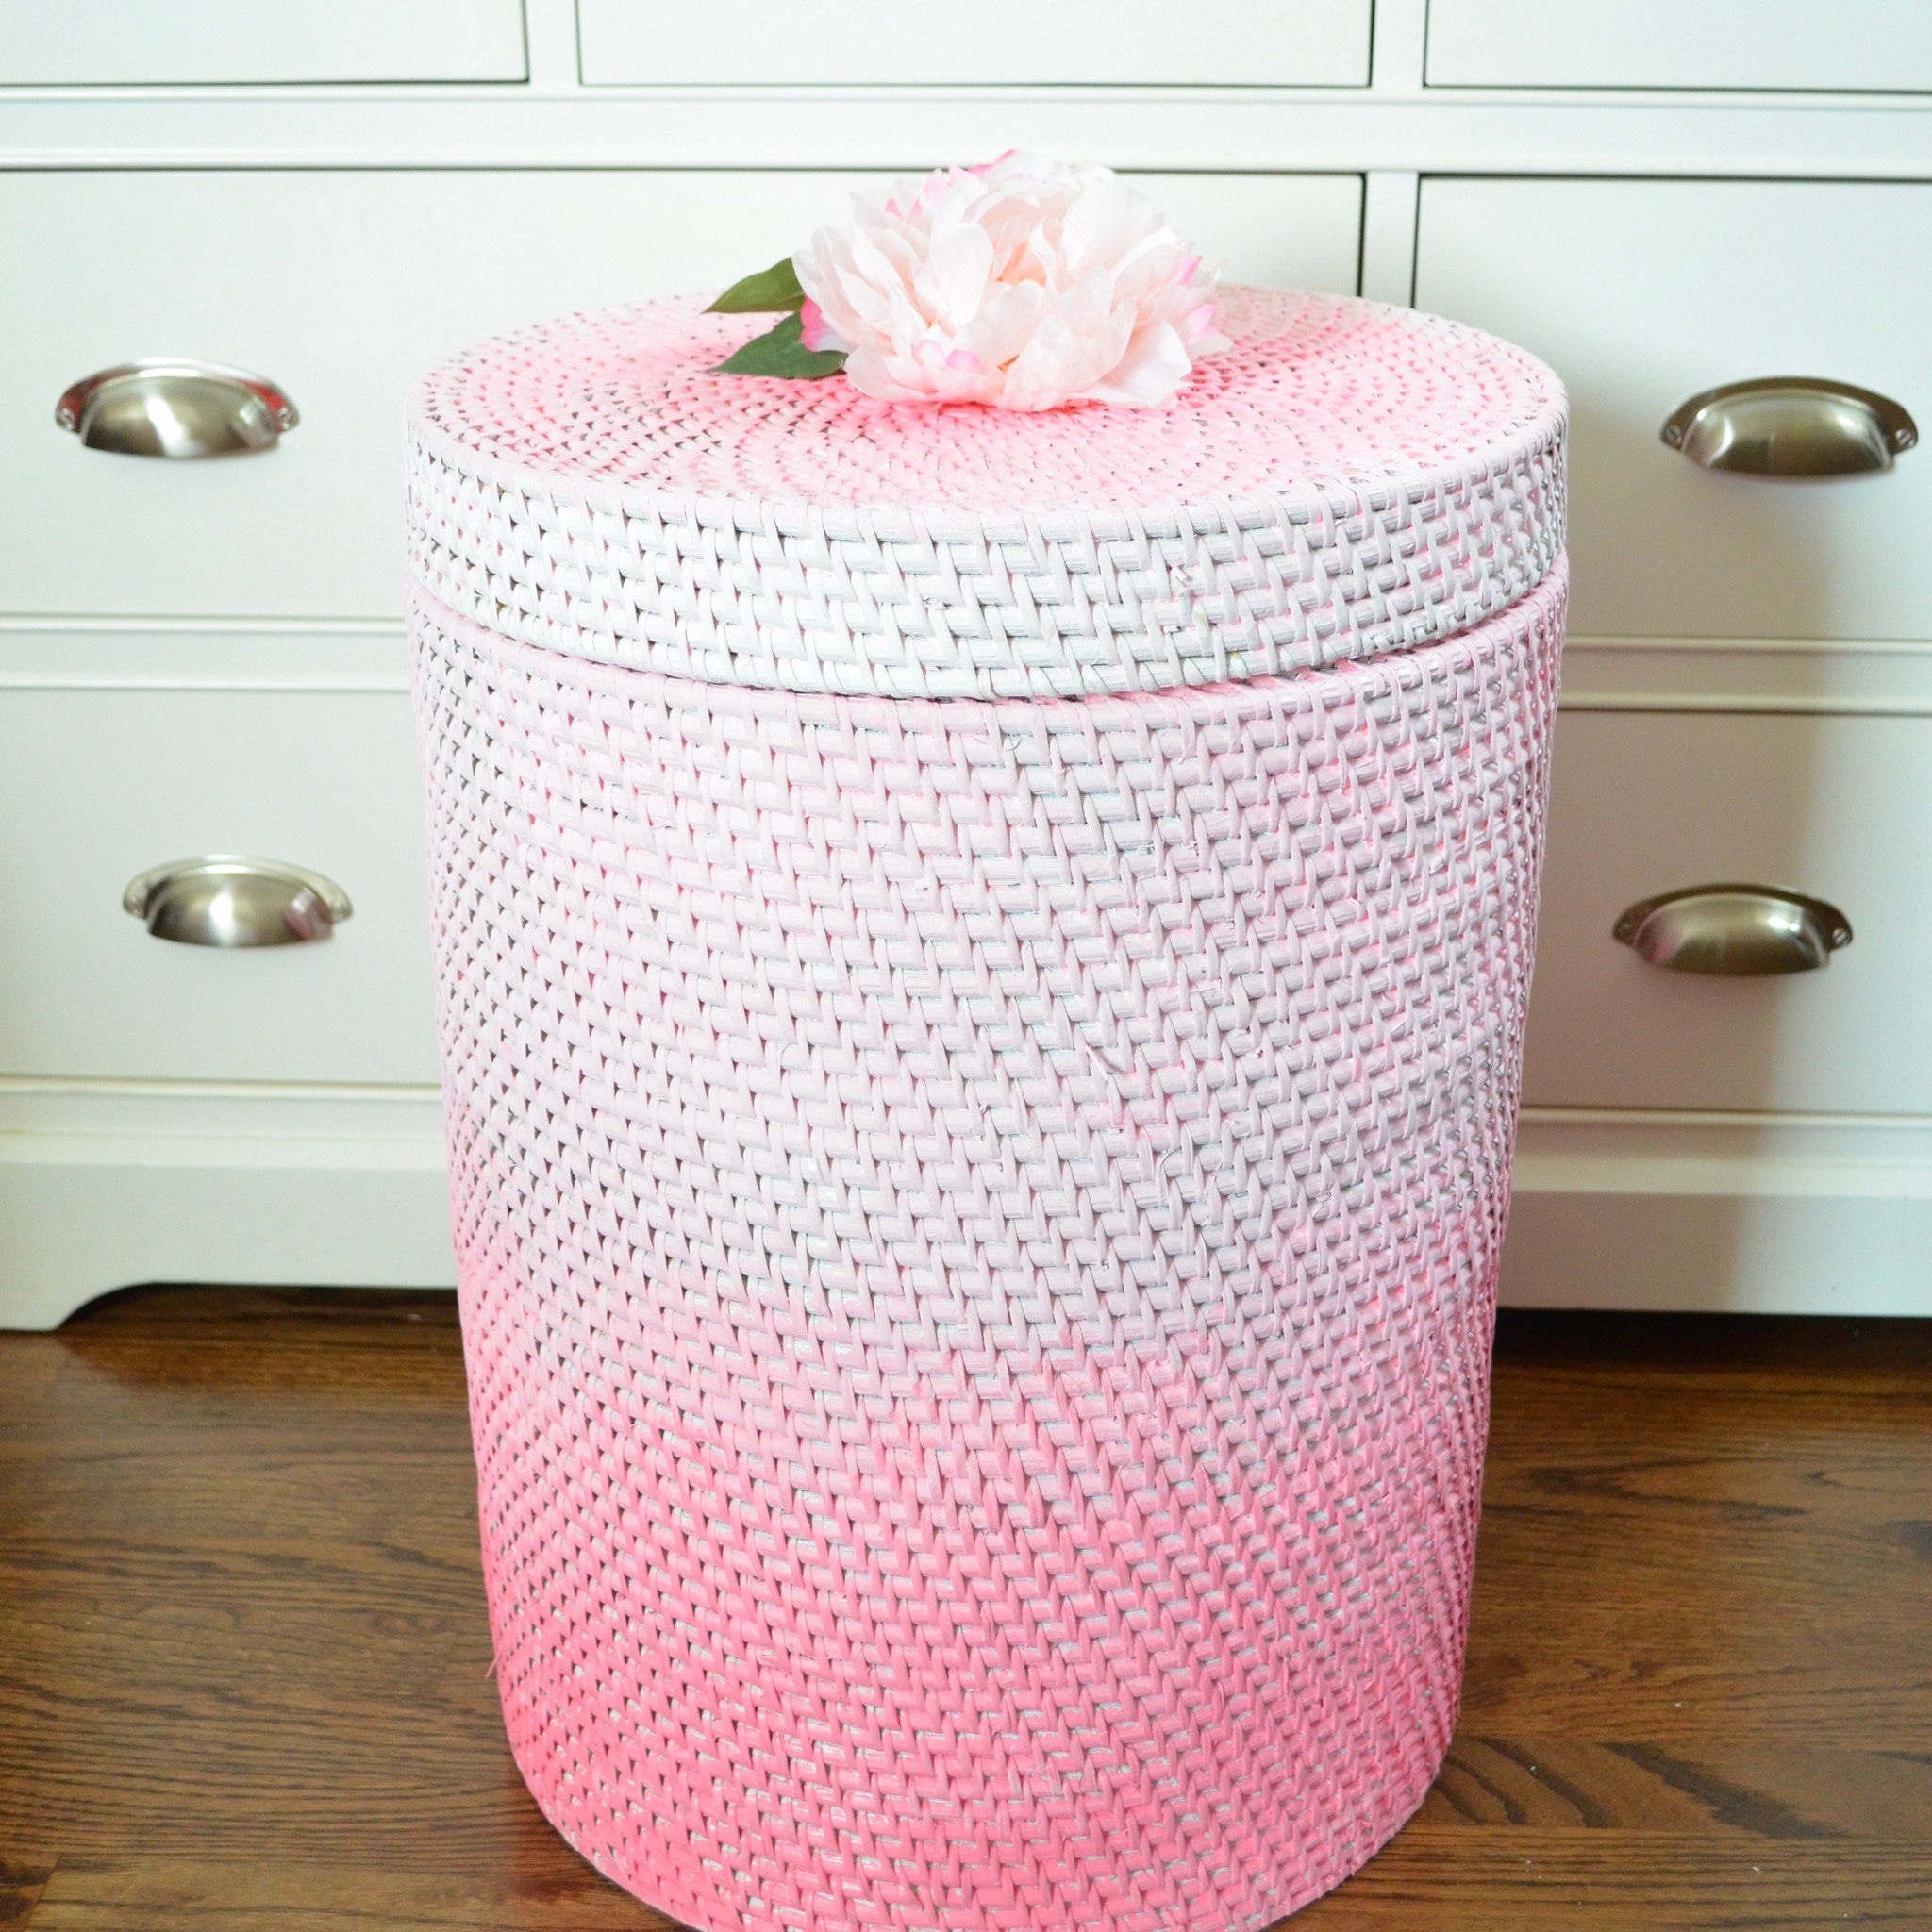
I still love anything and everything ombre, from hair to décor, and that was my inspiration for this hamper. I wanted to create a girlie DIY ombre hamper that was so adorable that it could be for a nursery, but so chic that it could work for an adult. I chose pink, but you can really do this with any color you like. You can make it simple subtle, or bright and fun. I finished it off with a faux flower to make it a little extra girlie and special.
DIY Ombre Hamper Supplies:
An old hamper
Large paint brush
Dark pink paint
Light pink paint
White paint
Paper plates
Faux flower; optional
Directions
*Place the hamper on a covered surface, and work in a well-ventilated space, preferably outside
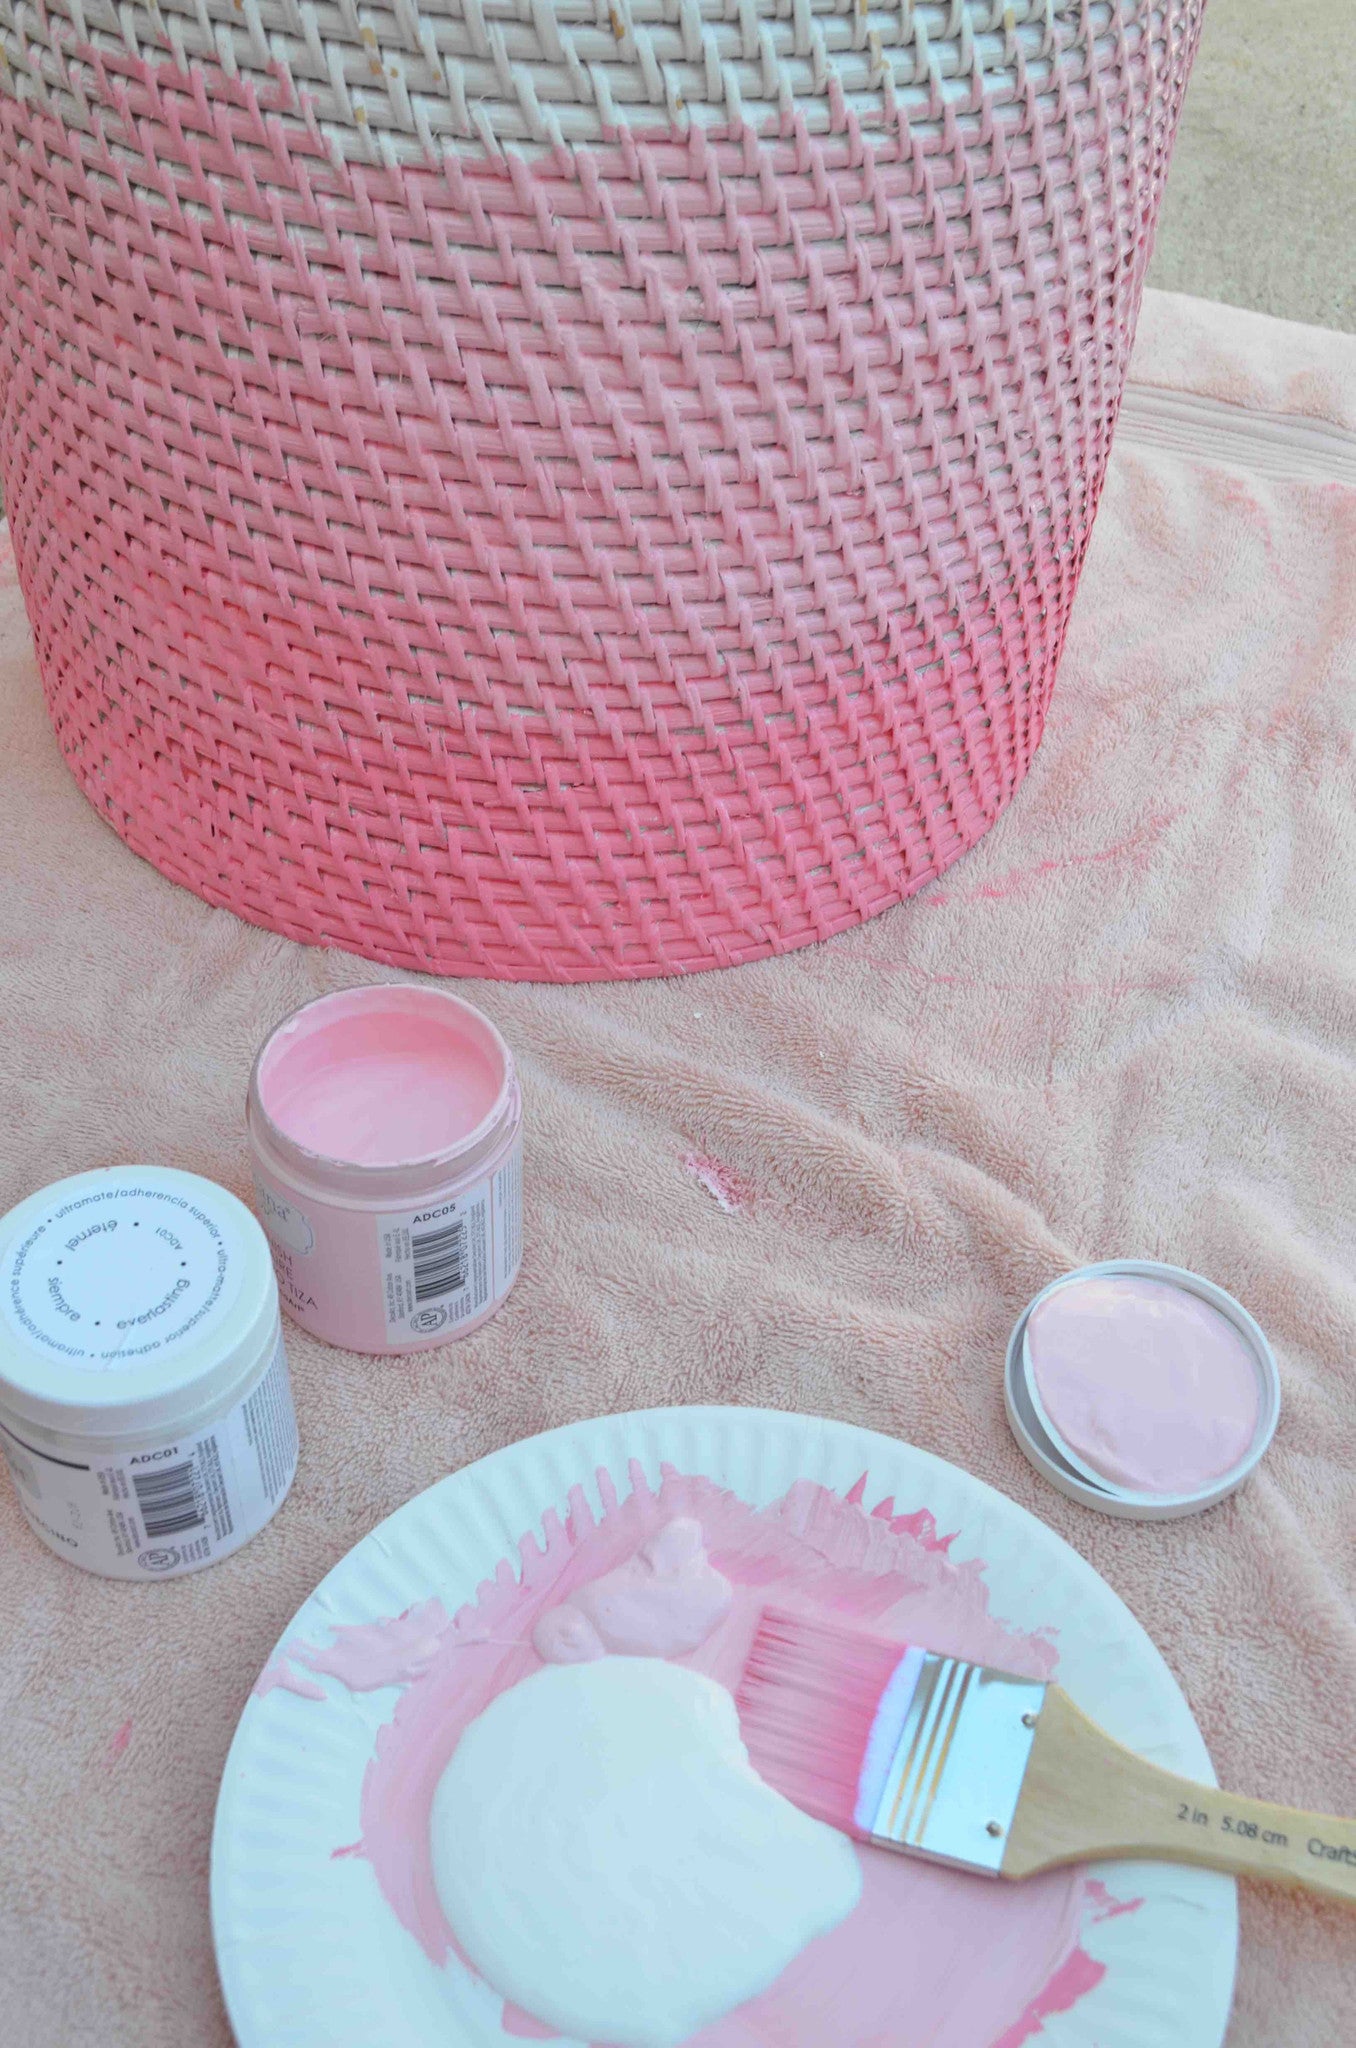
*Start with the dark pink color at the bottom, pour some of the darker pink color onto a paper plate, dip the paint brush in and paint the bottom of the hamper with the dark pink color
*Note: I actually turned the hamper upside down when doing this layer of color, because it is easier to paint it that way, and easier to see what you are doing; flip it over once you get to the second color
*While you are working your way up, slightly brush the paint brush up to create a faded look
*Pour some of the light over some of the left over dark pink, and slightly blend together
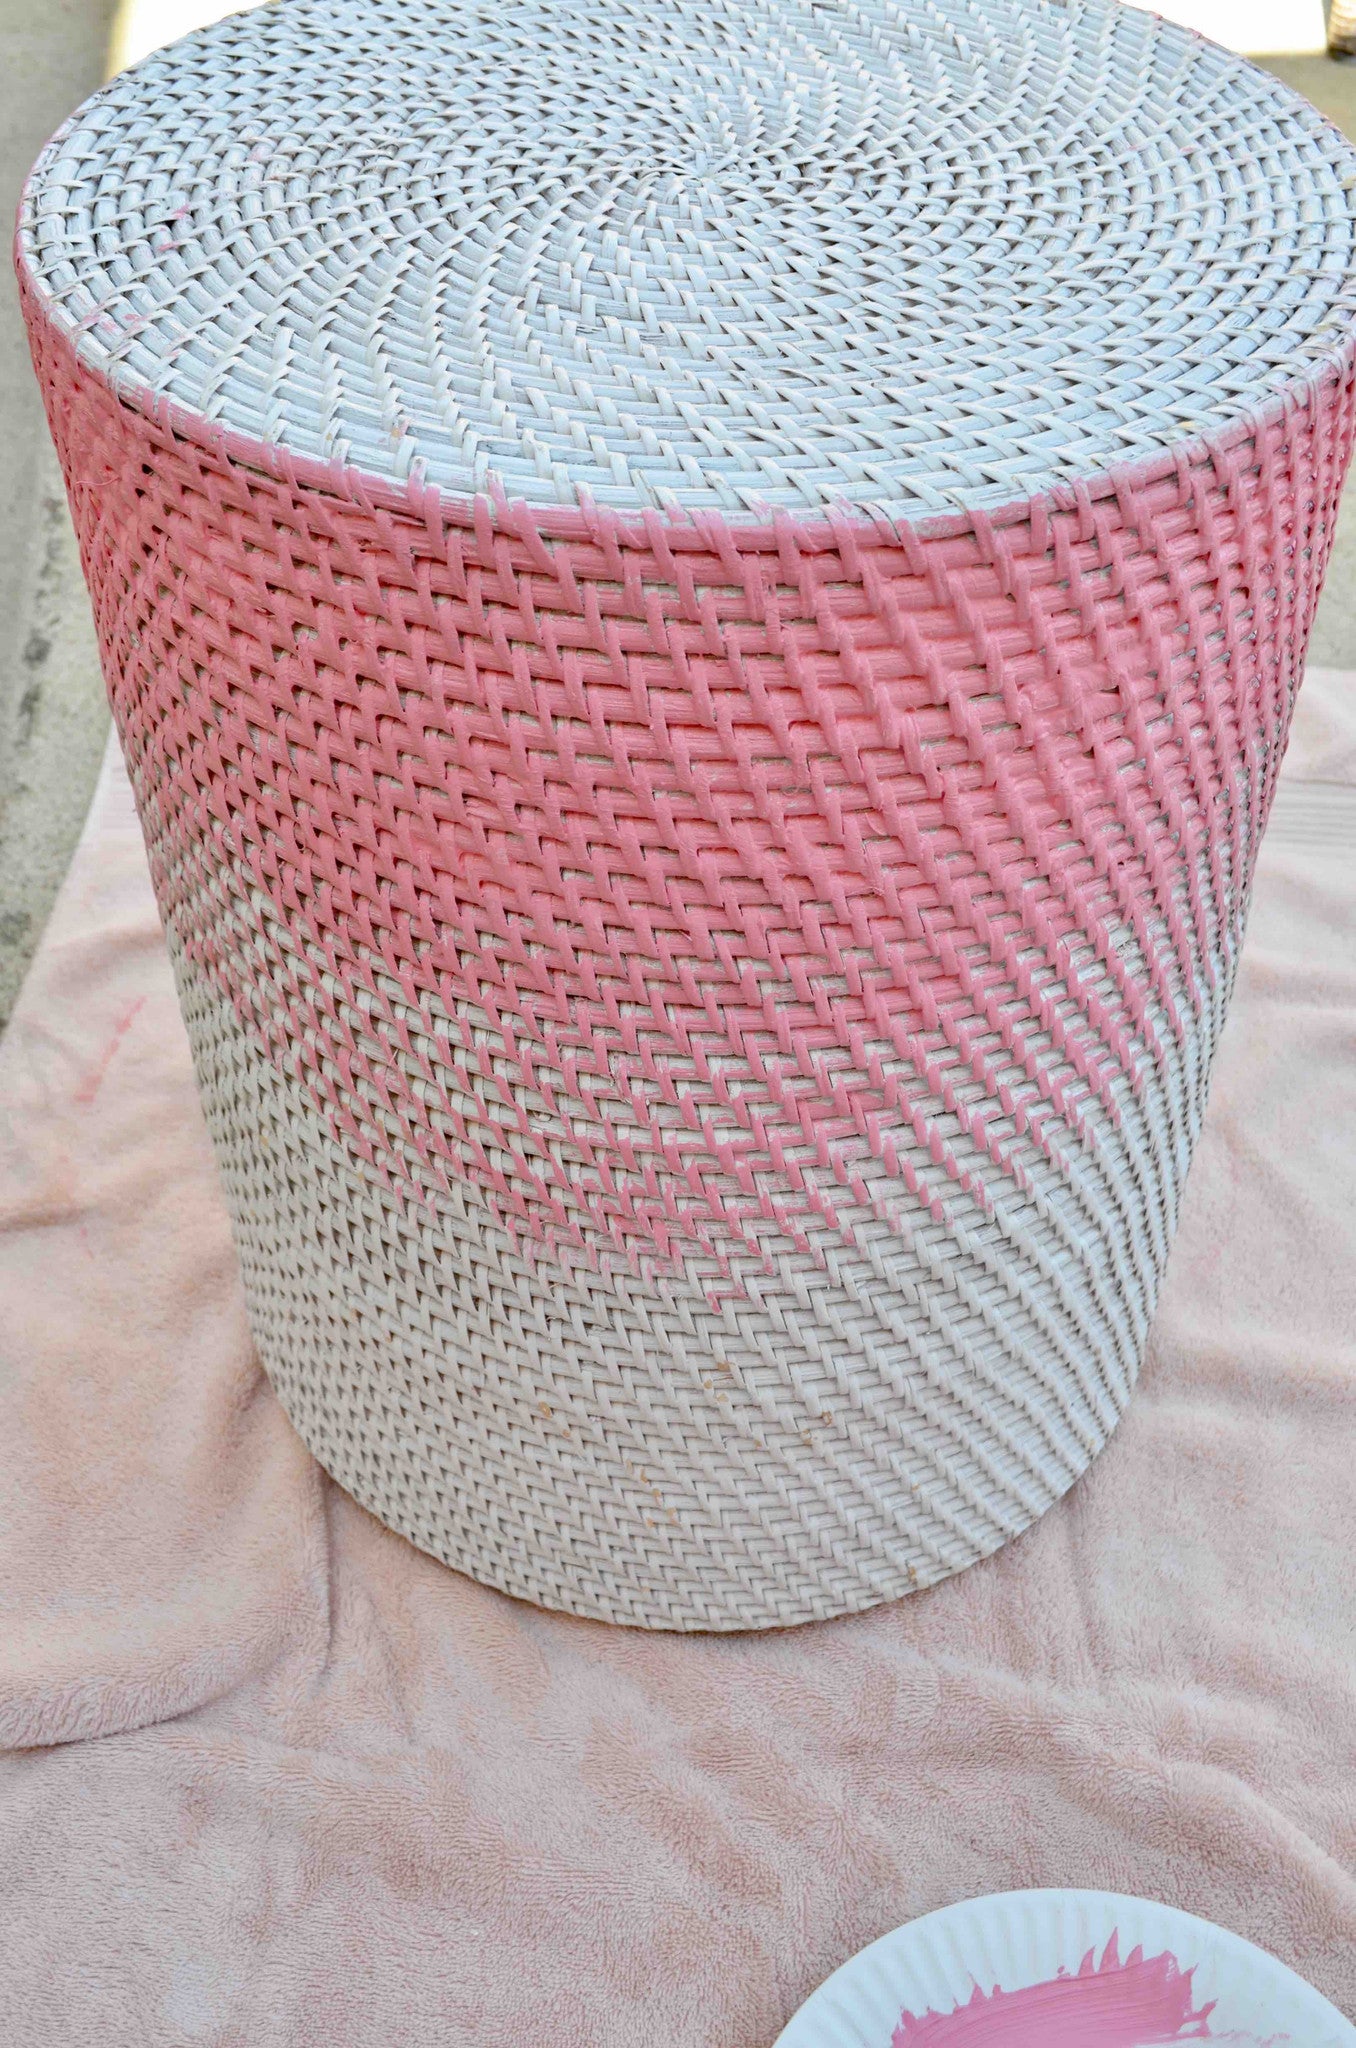
*Use that color next, working your way up to the middle of the hamper, and fading the color up towards the top third of the hamper
*Then pour the white over the light and dark pink mixture to create a very pale pink
*Use the pale pink color to paint all the way to the top of the hamper
*Paint the top if desired, I did the sides with the pale pink and went darker as I went to the center
*Allow to dry completely
*Use a glue gun to attach the faux flower to the top; optional


Share with us your creation by tagging @craftboxgirls on social media.
For more great crafts and recipes, visit From Scratch with Maria. Follow me on Facebook, Instagram, Twitter and YouTube.
-Maria