Every time the seasons change, I always want to find ways to brighten up our home to match the seasonal decor without spending an arm and a leg. Well there's a super simple DIY Framed Art project that is perfect for spring, and can be transitioned throughout the year as the seasons change.

Supplies:
- Large Deep Frame (something like this Ribba Ikea frame is perfect)
- Colored Paper
- Glue (can use traditional or hot glue gun)
- Tape
- Scissors
- Fake Flower
Instructions:
- Disassemble your frame.
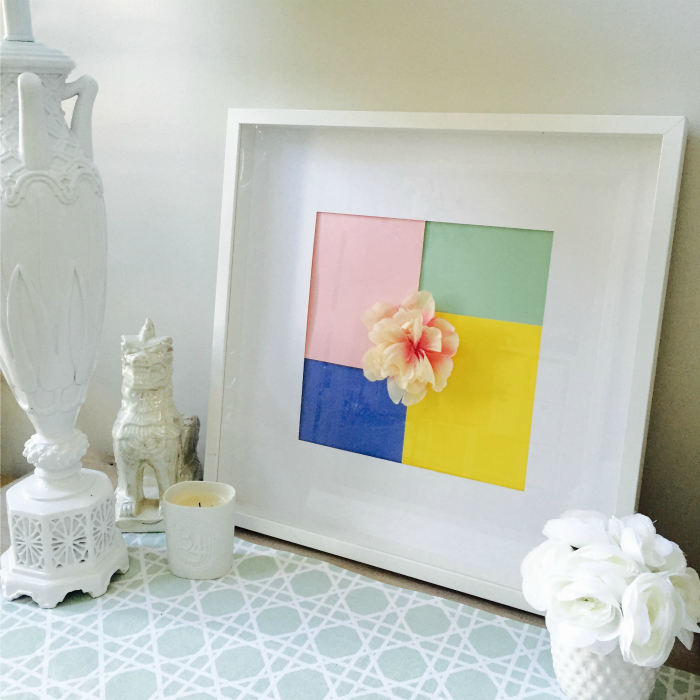
- On the paper backing of the frame, lay out your colored paper so that you create your desired pattern. I just used blocks, but you could play around with a fun overlay of the colored edges. Keep in mind you want to make sure the center of your image shows up in the middle and the mat doesn't get in the way.
- Tape (or glue) your paper down around the outside edges so it doesn't move. You'll want to use double sided tape or glue in the middle so that it doesn't show in the center of the mat when you are finished.
- Cut the top of a flower bloom from your fake flowers.
- Glue the flower bloom to the middle of the colored papers on the frame back. If you use traditional glue, you will need to hold this for a while, but a hot glue gun would work well too.
- Put your picture frame back together with the flower in the middle of the mat.
- Hang & admire your work of art!
I can definitely see this being an easy piece to transition through the seasons, but the white frame really makes the spring colors and flowers pop in this project! For more great DIY projects, check out PeachfullyChic.com and of course, check out all the other fun projects on Craft Box Girls.
xo,
Allie