Back to school looks a little different for everyone this year. No matter if it is at home or in the classroom, I am sharing 3 fun crafts on my weekly broadcast on the Crayola Facebook Page! Make sure to tune in every Tuesday at 1:00pm EST for 3 new crafts!
Shop all the supplies I am using for today's projects at Crayola.com
Craft 1: First Day of School Pencil Sign
Even though we are doing an at-home 3K learning program for Lily I still want to commemorate her first day of school with a photo and a festive photo sign. This is something you can make with your kiddos or suprise them on their first day of school! They can even hang it in their room after you take photos!
Materials:
- Crayola Construction Paper
- Crayola Glue
- Cardboard
- Pencil
- Ruler
- Scissor
- Sticky Letters or Markers
Directions:
- Cut the shape of a pencil from a scrap piece of cardboard.
- Trace that shape on yellow construction paper. Cut and glue to the cardboard.
- Cut out a silver or gray rectangle for the metal eraser holder, cut a pink rectangle for the eraser, cut white and black for the tip of the pencil. Use the base cardboard pencil to measure each piece.
- Glue all the pieces together to the cardboard.
- Add sticker letters or use to markers to personalize the pencil.
TADA you have the perfect photo prop to take photos of your kiddos on the first day of school!
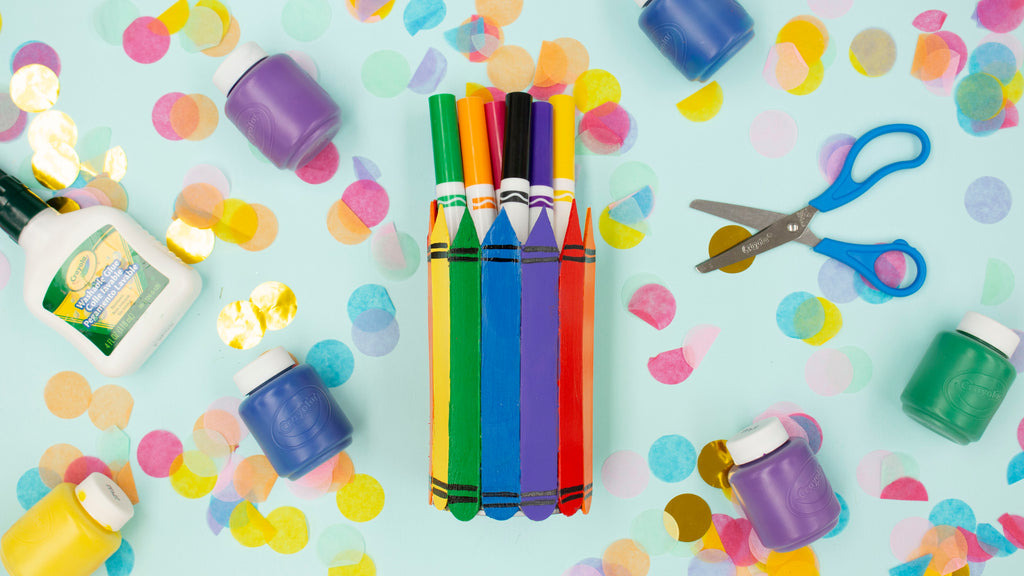
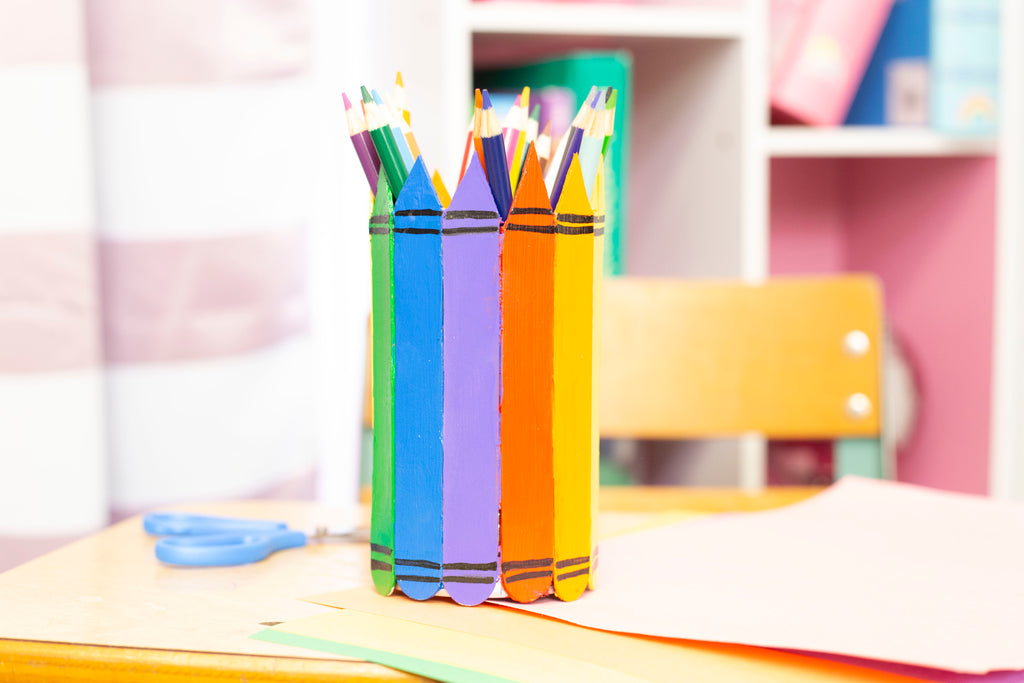
Project 2: Popsicle Stick Crayon Themed Pencil Holder
Make learning a little more fun with a craft to hold all your kiddos school supplies.
Materials:
- Crayola Arcylic or Washable Paint
- Crayola Project Black Marker
- Crayola Glue
- Recycled Tin Can
- Popsicle Sticks
- Scissors
- Paint Brush
Directions:
- Measure how many popsicle sticks you need by laying them out around the can.
- Paint each popsicle stick with a different primary color of paint.
- Using the Project Black Marker to add lines to make the popsicle stick look like crayons.
- You can either leave the ends rounded or use a scissor to cut the ends into a point. This is an adult job.
- Glue the popsicles around the can and fill it with markers, pencils and scissors!
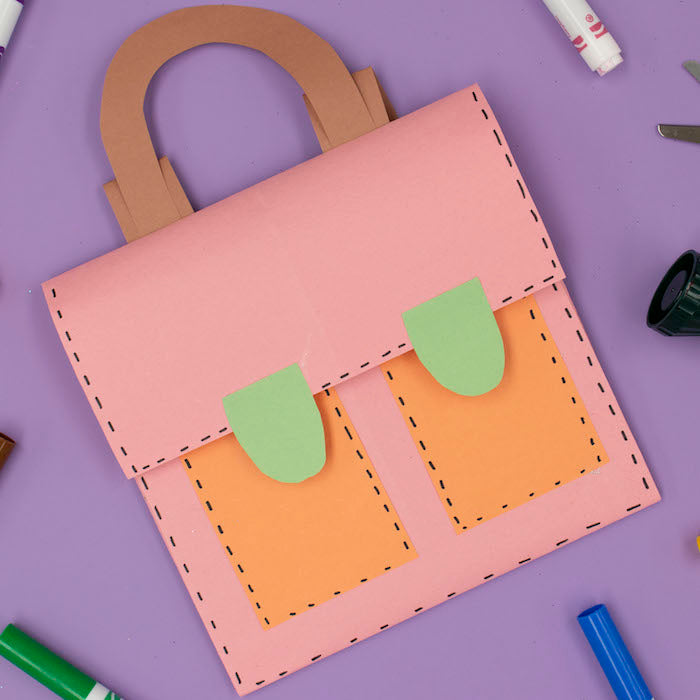
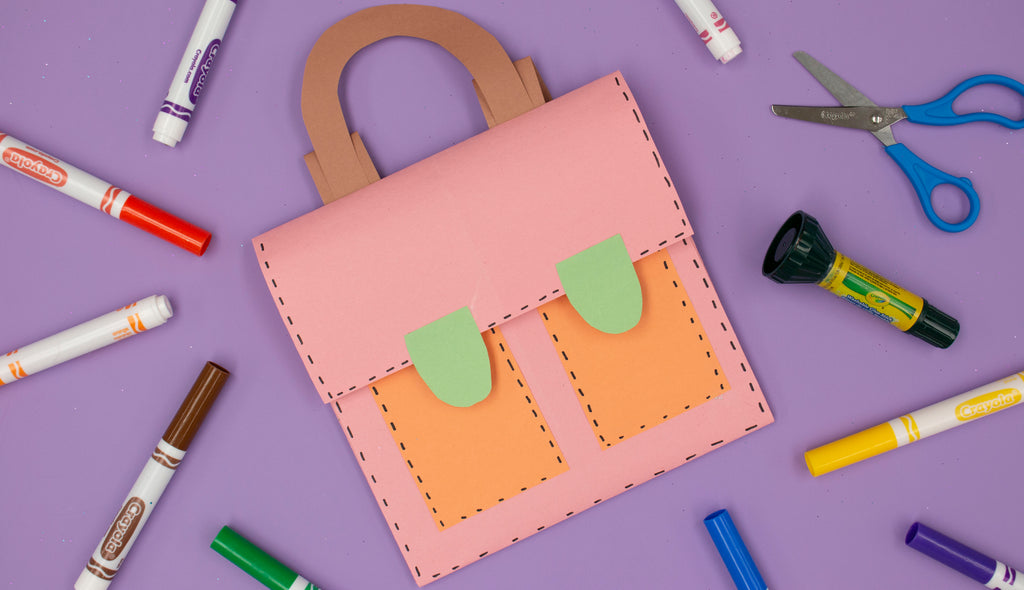
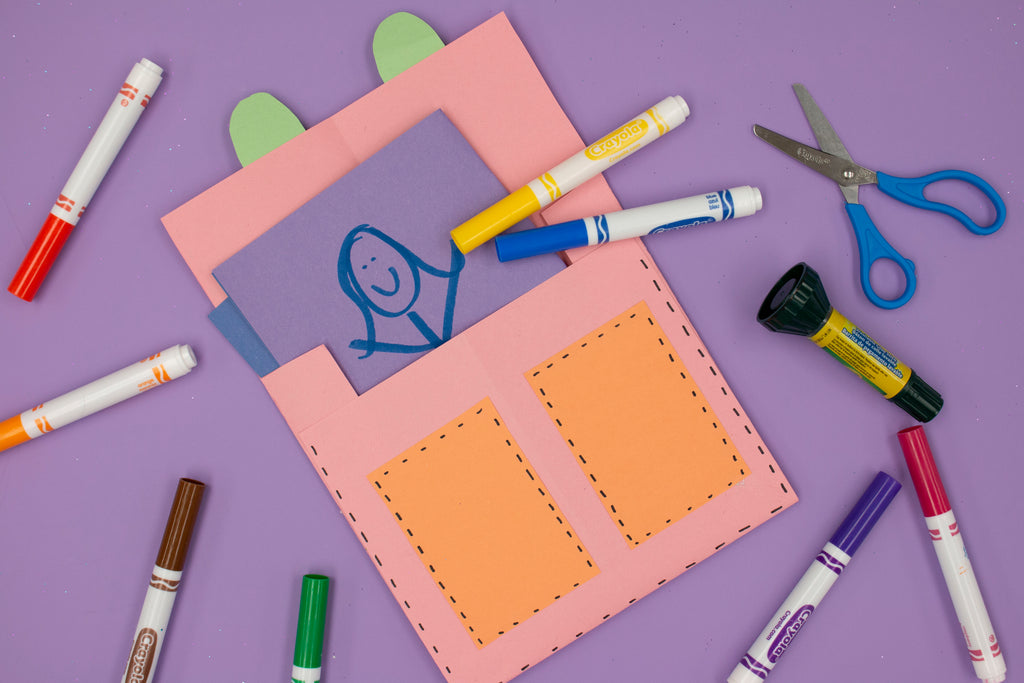
Project 3: Backpack Shaped School Folder
Materials:
- Crayola Project Construction Paper Pad
- Crayola Glue
- Crayola Markers
- Scissors
- Pencil
- Ruler
Directions:
- Take a large piece of the construction paper from the Crayola Project Paper Pad.
- Measure and mark the paper into thirds.
- Fold the bottom third up to the top third.
- Fold the top third over to create the flap to the folder.
- Trim the flap in half so only the top third is left as the folder flap.
- Glue the sides of the folder together
- Cut backpack straps, pockets, and faux snaps. Glue them to the folder.
- Use a marker to add thread marks around the ends.
This is a fun folder to store homework assignments or even art drawings!
Tune in to Crayola's Facebook Page every Tuesday at 1:00pm EST to catch me sharing three crafts you can make at home!
xoxo- Lynn


