
One of my passion is creating happy places for my girls to grow and thrive. I love providing ideas that you all can tweak and customize to create happy places for you children. For today's project I teamed up with Cricut to create a Modern Rainbow Name Sign for my baby girl, Isabella. This is such a cute project for a playroom, bedroom or nursery! I love how easy it is to create the perfect kids room decor in under 2 hours with my Cricut Maker. This project requires the Cricut Maker because we will be using the it to cut Chip Board. The Maker is the most powerful of the Cricut cutting machines. It cuts the largest variety of materials including chipboard, balsa wood, leather and more. It also has an adaptive tool system that prompts you to use the proper tools for each material.
Before getting started make sure you have the following:
- Cricut Maker
- Cricut Maker Knife Blade & Housing
- Cricut Strong Grip Mat and Standard Grip Mat
- Cricut Heavy Chipboard, 2mm
- Cricut Premium Vinyl Pastels Sampler
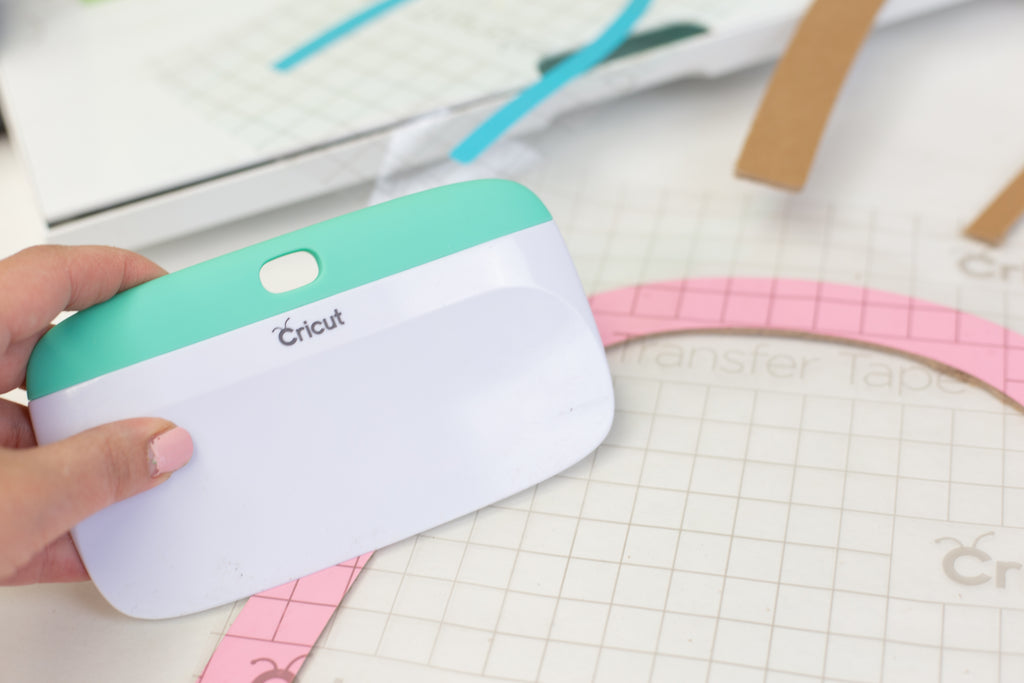
- Cricut Standard Transfer Tape
- Cricut Weeding Tool
- Cricut Scraper
- Painters Tape
- Command Wall Hangers (or something similar to attach the chipboard rainbow to the wall)

Directions:
- Open Cricut Design Space. You can select your own rainbow or access the design file I created. If you are using my design file you can adjust the size of the rainbow and swap out your child's name. I got this rainbow from the image library.

- Start by cutting all the vinyl pieces to the rainbow and the name.

- Once you are done cutting you will need to hide the name in Design Space and color the rainbow all the same color. When you move to the "Make It" step move all the rainbow pieces to the same mat, make sure none overlap.
- Select Chipboard, 2mm as the material. Design Space will prompt you to insert the Knife Blade. Once inserted it will recommend calibrating the knife blade. I highly recommend following the instructions and completing this step if you have not used the knife blade recently.
- Lay a piece of the chipboard on a strong grip mat. Use the painters tape to secure it to the mat.

- Once ready, start the cut. My cut took about 40 minutes because the machine made 24 passes.
- While the chip board is cutting weed the rainbow and the name sign.

- Apply the transfer tape to each piece use the scraper.
- One the cut is done, remove the chipboard from the mat. If there is particles of the chipboard left on the mat, make sure to clean your mat immediately.
- Line up each piece of chipboard rainbow with each piece of vinyl rainbow. Adhere the vinyl to each piece.

- To apply to the wall use a wall safe command strip. You will probably need to cut the strip into pieces to fit on the back of the rainbow arch.

- Apply the vinyl name directly to the wall using the scraper. Carefully peel back the transfer tape!
TADA!!! I love how easy this project was! It took a little under 2 hours, most of that was cutting time!


Share you kids room projects with me on social by tagging my instagram handle @craftboxgirls and tag #cricutcreated.
xoxo- LL
This post is sponsored by Cricut but all thoughts and opinions are my own.
If you loved this project fee free to pin it!
