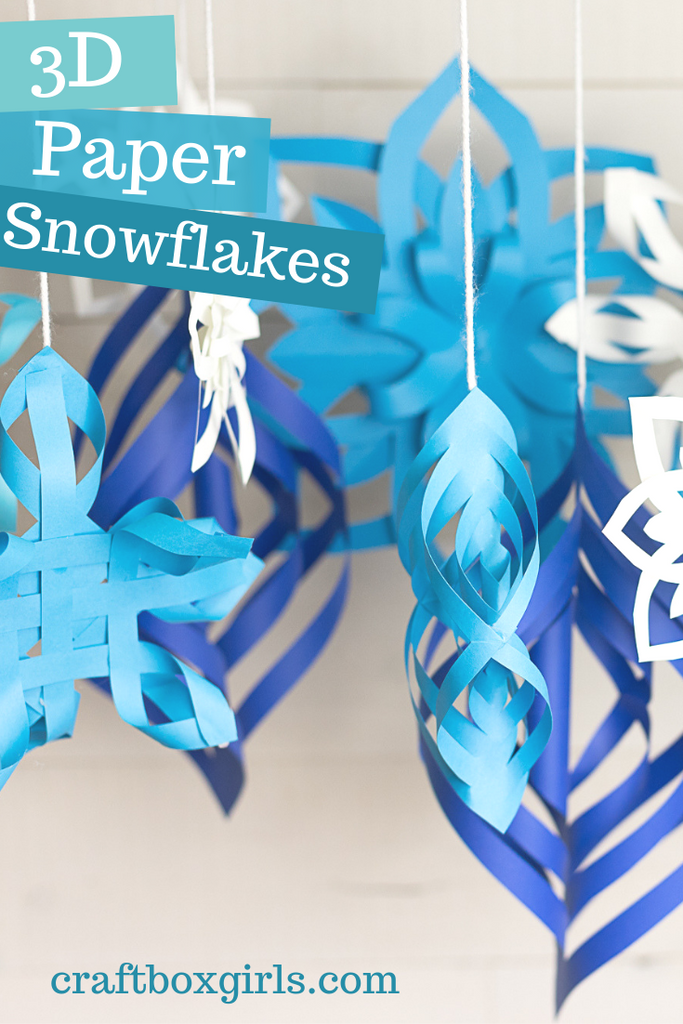
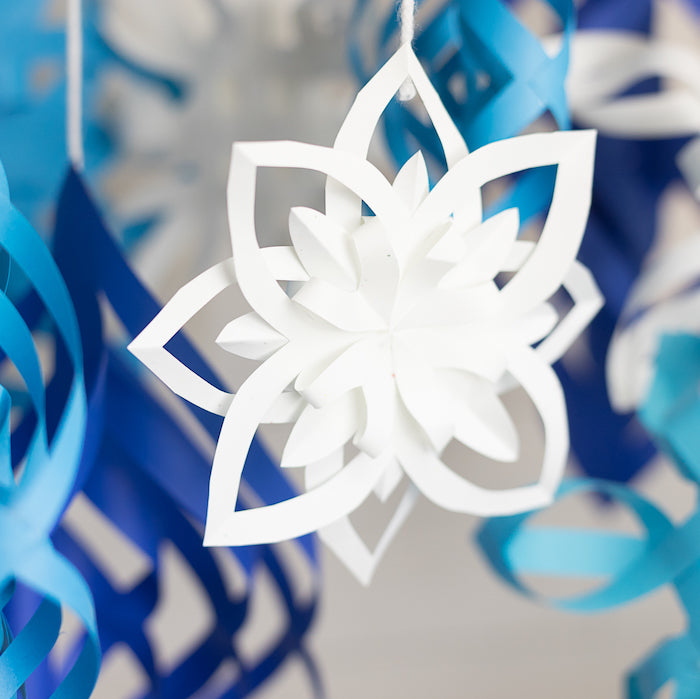
It might not feel like winter in the South but that is not stopping me from decorating and creating a holiday winter wonderland. As a mom, I know decorating for the holidays can be intimidating and hard to fit in your already busy schedule so I love to create simple projects that you can do in under 30 minutes. One of my favorites is DIY 3D Paper Snowflakes. They are so easy to make and you create a fantasy and or playful design using Astrobrights bright and vibrant colors. For this project, I wanted to create a snowy winter look so I went with different shades of blue and added pops of white. Enjoy the video overview and the step by step tutorial and the material list below.

Material List
- Astrobrights Paper in Blast Off Blue, Celestial Blue®, Lunar Blue™, Stardust White™
- Scissor
- Hot Glue Gun
- Yarn
Snowflake One:
- Cut a square from the 8.5 x 11 inch sheet of paper.

- Fold point to point to form a triangle.
- Starting at the folded edge cut straight lines toward the point stopping about 1 inch from the point.

- Continue cutting upward stopping a few centimeters more each time until you get to the center.

- Repeat on the other side.

- Unfold the triangle and lay the square flat.

- Curl in the center cut and glue the edges together form a roll.

- Flip over and curl the next layer of cuts inward to meet and glue to the edges.
- Flip and continue to do this until all the layers are glued.


- Glue a piece of yarn to the edge to make it easy to hang.

Snowflake Two:
- Cut a sheet of paper into .95 inch strips for a total of 12 pieces.

- Take six of the strips and lay 3 horizontally and 3 vertically. Intertwine them using a basket weave pattern. Add glue to the intersecting points to secure.

- Glue the points together on all four sides.


- Set aside and repeat steps 2 and 3 for the remaining pieces of paper.

- Glue both layers together and finish by curling and gluing the remaining straight ends.


- Glue a piece of yarn to the edge to make it easy to hang.

Snowflake Three:
- Cut a square from the 8.5 x 11 inch sheet of paper.
- Fold corner to corner to form a triangle.

- Fold corner to corner again to form a triangle.

- Cut a curved point out of the folded side of the triangle.

- Starting about 3/4 inch above the curved triangle cut lines on each side but do not cut all the way to the center.


- Unfold and lay flat.

- Fold each middle point in toward the center and glue the point.


- Complete steps 1-7 with a second sheet of paper.
- Take both snowflakes and glue the backs together.


- Glue a piece of yarn to the edge to make it easy to hang.

The best part about this craft is that you can customize it to match your holiday decorations. Astrobrights has every color you ever want! View the whole collection here!
xoxo- LL
Get More Colorful Project Inspiration from Astrobrights: website | instagram | facebook | Pinterest
This post is also featured on Astrobrights site!
This post was sponsored as a collaboration with Astrobrights. All opinions, ideas, and photos are my own!


