This post is sponsored by Brother Crafts but all opinions and thoughts are my own!
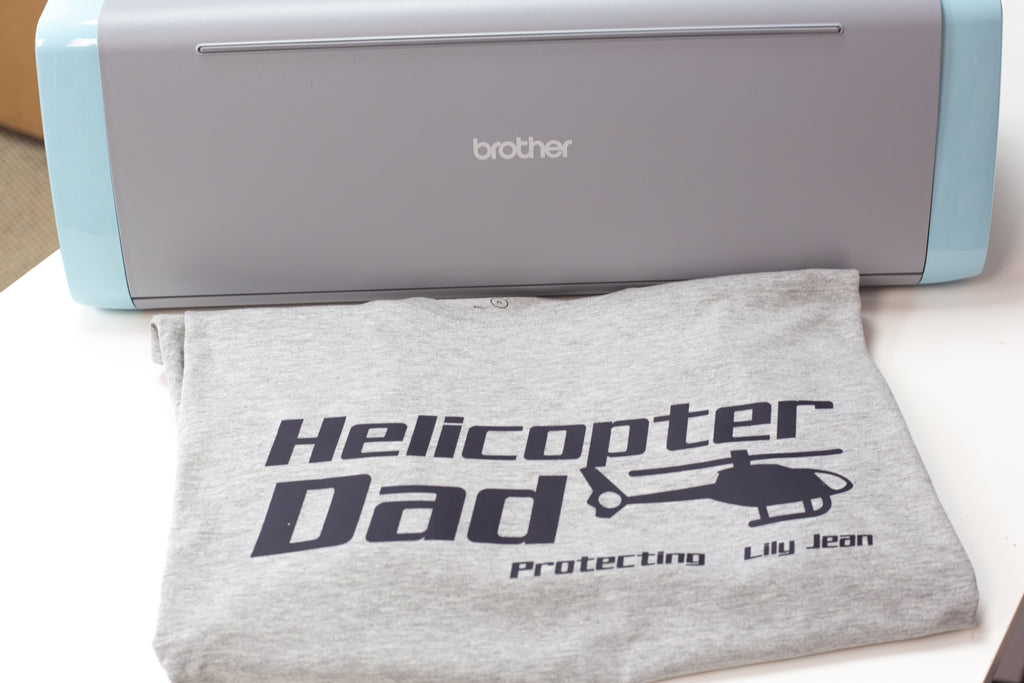
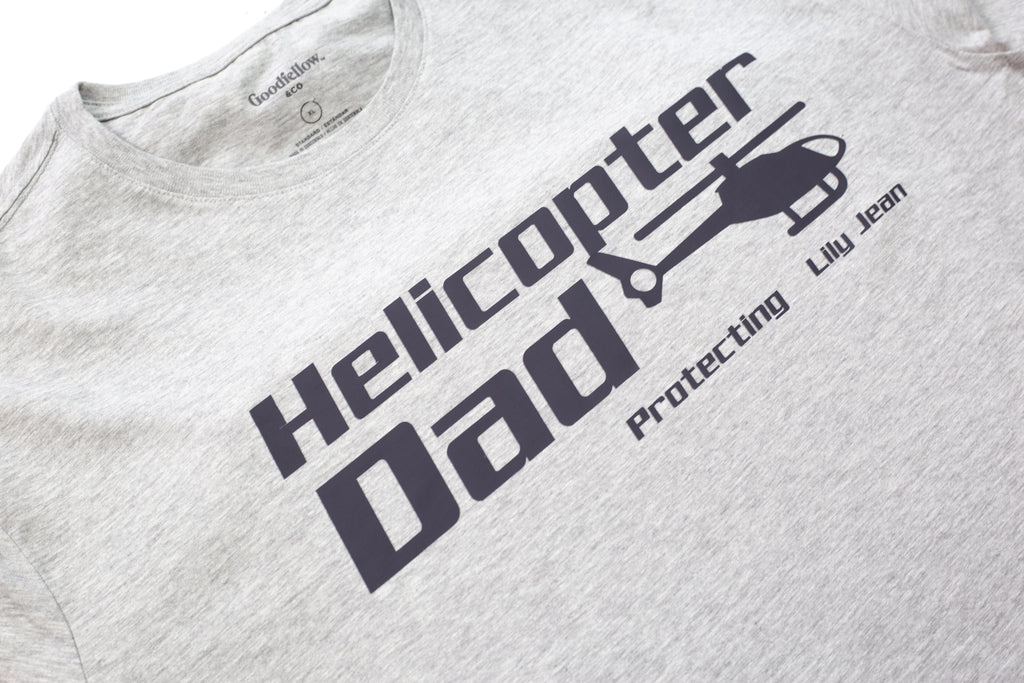
I often joke with my husband that he hovers over our daughter and I call him a helicopter dad. As I have been exploring the capabilities of my Brother ScanNCut DX I thought it was time to do a vinyl iron-on (HTV) project and why not cement my husband's title as a helicopter dad with a personalized t-shirt.

For this project, you will need a Heat Transfer Vinyl (HTV), a t-shirt, iron, and a standard grip mat.
- Open a new project in CanvasWorkspace.
- Type out the message, Helicopter Dad Protecting Lily Jean (insert name of your child). You can move the words around the canvas to create your design.

- I uploaded a helicopter SVG file that I had purchased and positioned it in the design.


- Once you are happy with your design, download it directly to the ScanNCut DX.
- Retrieve the design on the ScanNCut DX.
- Make sure to mirror the design once you have it up on the monitor.

- Next, update the cut settings. Make sure half cut is on, and after testing I determined that the pressure setting 3 worked best.


- Cut a piece of HTV large enough to fit your design and place on the mat.
- Feed the mat into the ScanNCut DX and cut.
- Once the cut is finished remove the mat from the machine and peel back the vinyl carefully. Pull back instead of up. Once the majority of the vinyl is removed go back weed the tiny pieces of vinyl out of the design using the tools included with your machine.

- Iron the shirt first to remove any wrinkles. Lay out the shirt and figure out where you want to position the design on the shirt.
- Remove the design and run the iron over the shirt for 15 seconds to heat the fabric.
- Place the design on the shirt. It should be right side facing up. Refer to the HTV packaging for iron times based on the material of your shirt.

- Before removing the plastic sheet over the design. I always finish each design by flipping the shirt over and ironing the back for 15 seconds.

The vinyl is washable but just to be extra safe I always wash the shirts inside out.
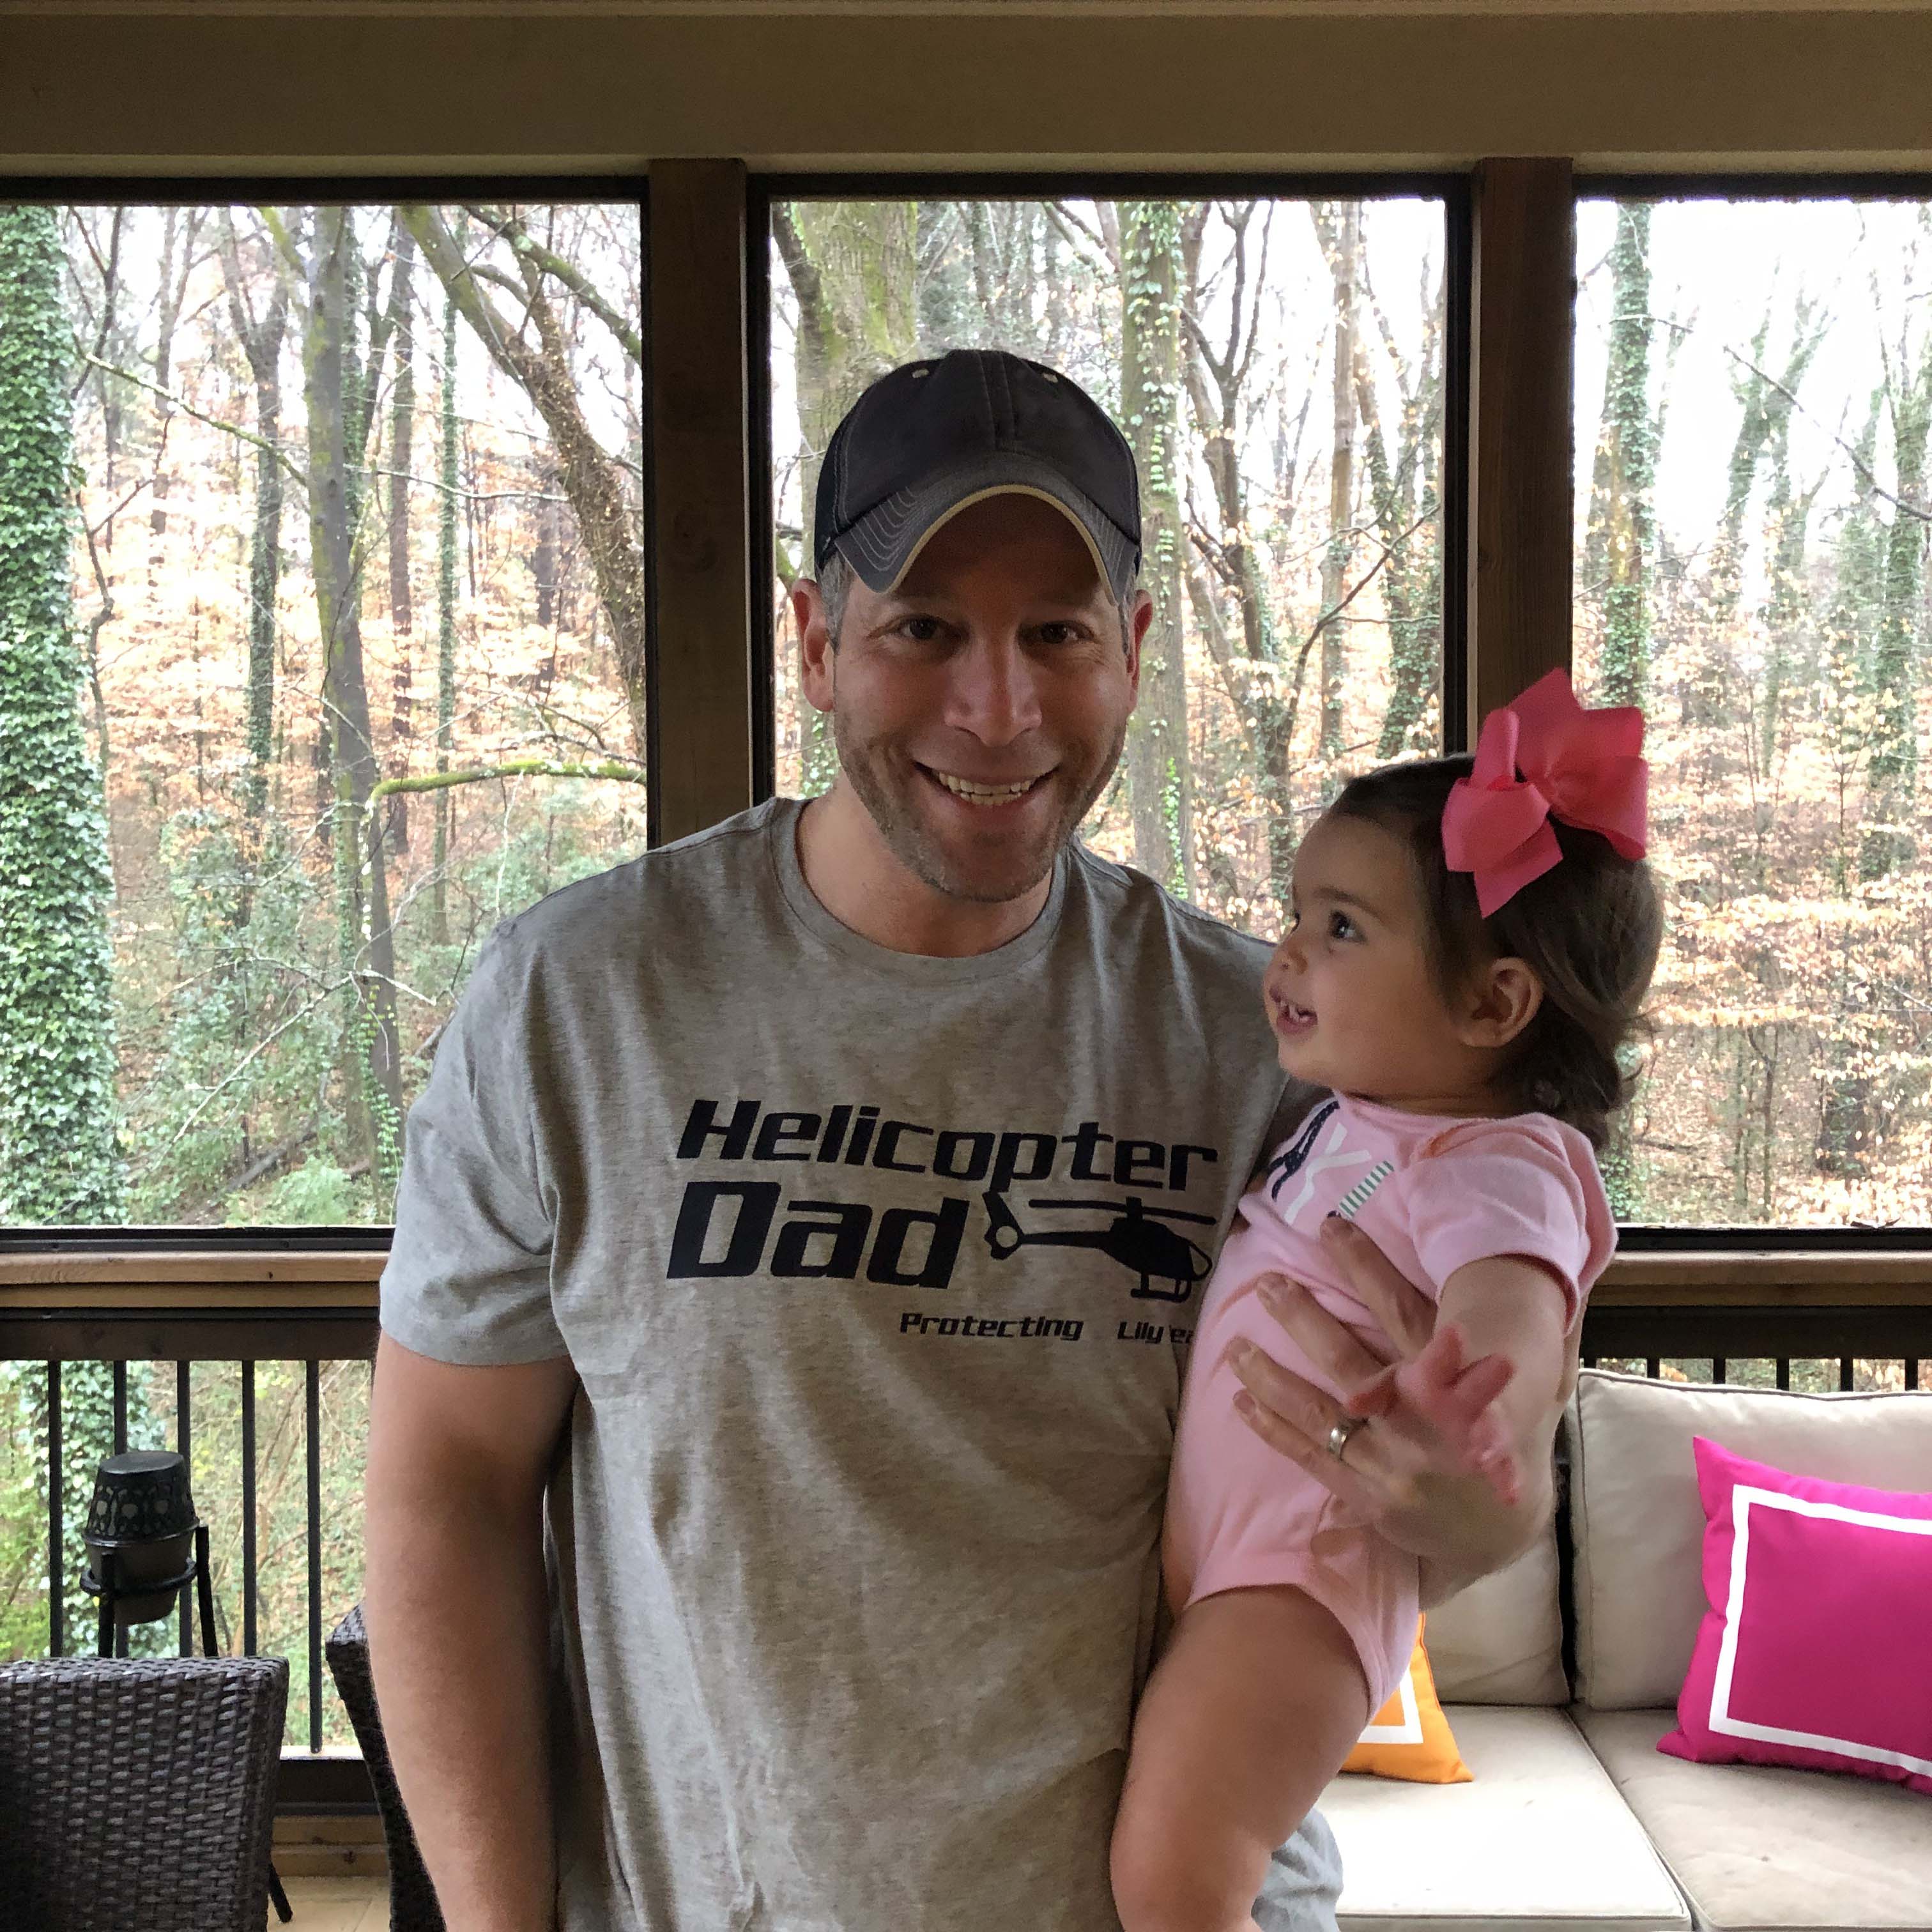
How cute does my husband look in the shirt with our sweet baby girl? This has since become his favorite shirt. I am probably going to make a second one just so I can get this one in the wash!

This was such a fun project and it only took about 30 minutes! Stay tuned for more easy projects as I explore all the capabilities of the Brother ScanNCut DX!
xoxo- LL


