Letter boards have been very popular over the last couple of years. They are the perfect vehicle for inspiring quotes, quirky comments, and relatable commentary. There are numerous tutorials on how to make your own letter board, but most of these take a ton of time to make. If you like the look of a letter board (but don’t have the time to commit to making the real deal), this DIY foam letter board art is just for you!
This DIY foam letter board art is more of an art piece rather than one that you change based on an upcoming holiday, season, or your mood after a trip to Target. Since this tutorial is so easy, you could whip up a few different letter boards to fit any theme you might want to use over and over again. Let’s be real, most of us don’t have the time to change out the sayings on a daily or weekly basis, so this project is perfect! Check out the tutorial below to see how you can make your very own DIY foam letter board art!
Supplies:
- 8x8 Wooden Canvas
- Yellow Foam Sheet
- Adhesive Foam Tape
- Beacon Foam Glue
- Scissors
- 2 Sheets of 8.5x11 Paper
- Pencil
- Thickers White Stickers
- Scoreboard and Scorer

Directions:
- Place your wooden canvas on top of a piece of paper and trace around the outside.

- Measure the outside frame, mark your paper square (so you know how much to cut), and then cut it out. You’ll be left with a square that fits inside of your wooden canvas.

- Trace and cut another square. You’ll have 2 squares in total.

- Grab one of your squares, fold it in half, and cut out a heart. You’ll want a large heart so you have enough room for your quote.

- Place the heart template on your foam sheet, trace around it, and cut.

- Place the square template on the foam sheet, trace around it, and cut.
- Lay your square foam piece on a scoreboard. Then, place the heart in the center. While holding the heart with your hand, begin making ½ inch score marks on the square and heart. You’ll add the full score lines in the next step.

- Follow the score marks you made and add score lines to your square and heart until both are full of score lines.

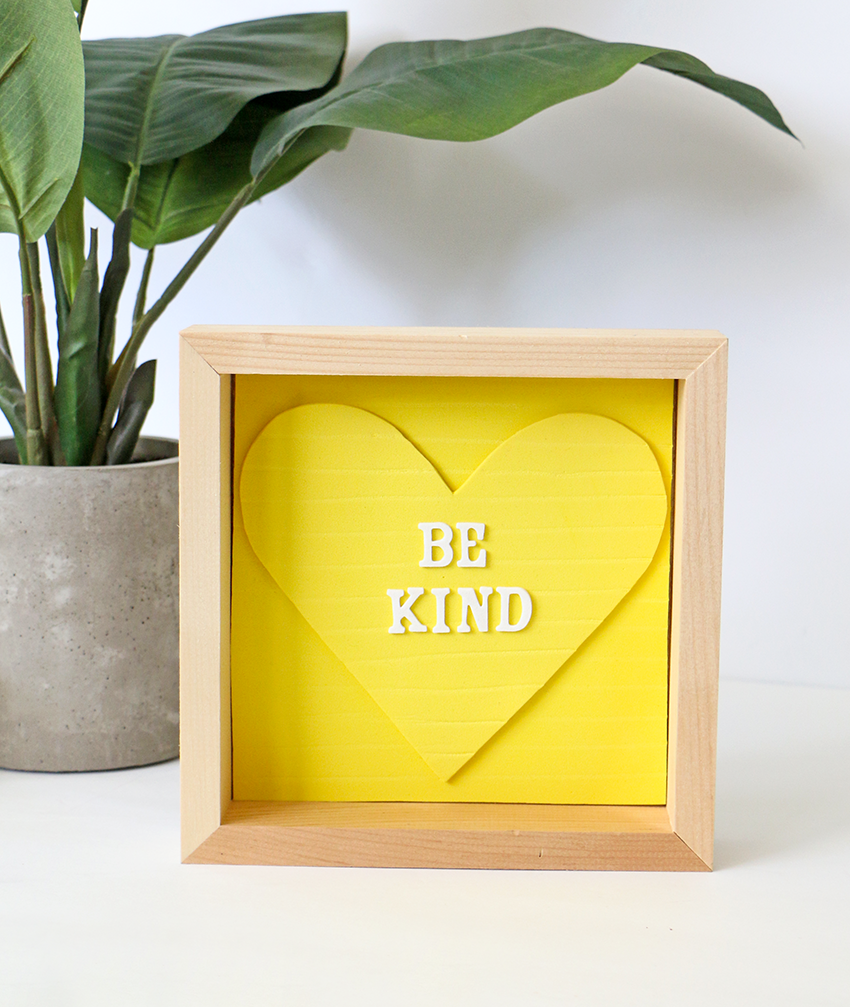
- Decide on your saying for your letter board and add your stickers to the center of the heart.

- Add foam tape to the back of the heart.

- Peel off the adhesive liners and adhere the heart to the center of your square piece of foam.

- Add glue to the back of the foam square and place it on the inside of the wooden canvas.


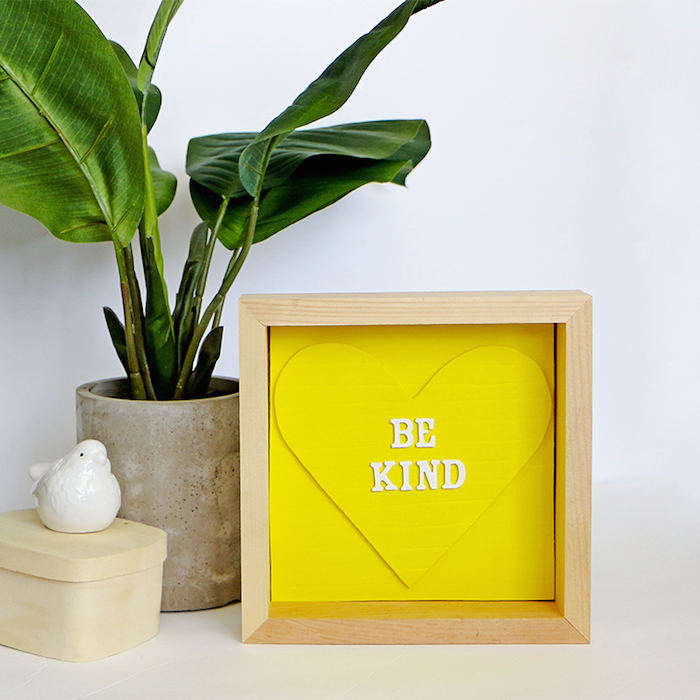
That’s it! You’re now left with a colorful and playful take on the very popular letter board! This DIY foam letter board art is perfect for a table, shelf, or mantle!
- Meghan Quinones
Meghan Quinones is a Craft Box Girls contributor as well as a blogger, content creator and author of her blog Happiness is Creating!