Have you tried paint pouring? It is one of my favorite projects. I have been paint pouring for a few years, and it never gets old. It is one of my go-to crafts that relaxes me and surprises me every time because the finished product is always different. For this project, I partnered with Michaels Stores to get creative with supplies I already had at home. Of course I had a ton of Craft Smart Acrylic Paint and I always am stocked with stretched canvases.
The best part about paint pouring is that it is almost impossible to mess-up! There are different ways to paint pour and different mediums to help you achieve a marbled design but I went with the easiest method. This method is called a dirty paint pour.
Supplies:
- Craft Smart Premium Multi-Surface Acrylic Paint (or you can use Craft Smart Acrylic Paint)
- 12" x 12" Stretched Canvas
- Craft Sticks
- Glitter
- Plastic Cups
- Water
I went one step further to personalize my project by adding a vinyl message using my Cricut Joy and Permanent Smart Vinyl.

Directions:
- Cover your work surface.
- Select 3-5 colors of acrylic paint.
- Pour each color of paint into a cup. For every 4 tbsp of paint add 1 tsp of water to thin the paint. You want to the paint to be a little thicker than the consistency of water. You want it to flow freely but you don't want it to be watery.

- Take one empty cup and pour each color of paint in the cup. You can alternate and layer the colors until all the paint is in one cup.

- Take 4 cups and set them under each corner of the canvas. You want the canvas to be raised off the surface so the paint can freely flow over the edge.
- Place the canvas face down over the open of the cup. Hold the cup firmly to the canvas and flip over so the canvas is right side up and the cup is upside down.

- Slowly lift up the cup for the paint to flow. Gently tilt the canvas to make sure the paint evenly flows over the entire canvas and the edges.


- Once all the edges are covered, set it back on the cups. Use a craft stick to wipe away the drips on the back of the canvas.
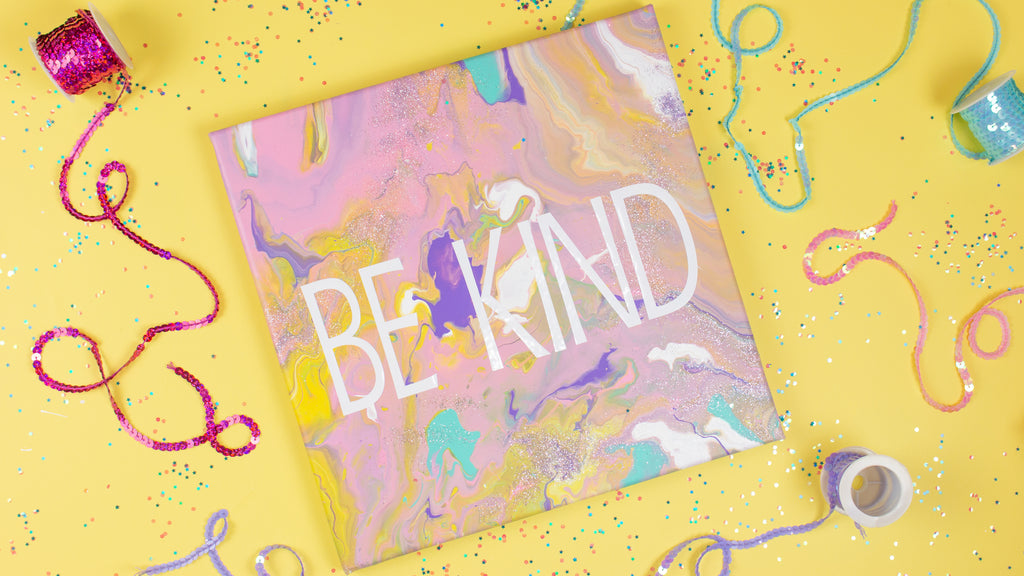
- As a finishing touch, I sprinkled glitter on the canvas.

- I let my canvas dry overnight. Depending on your climate it might take a little longer for humid areas.
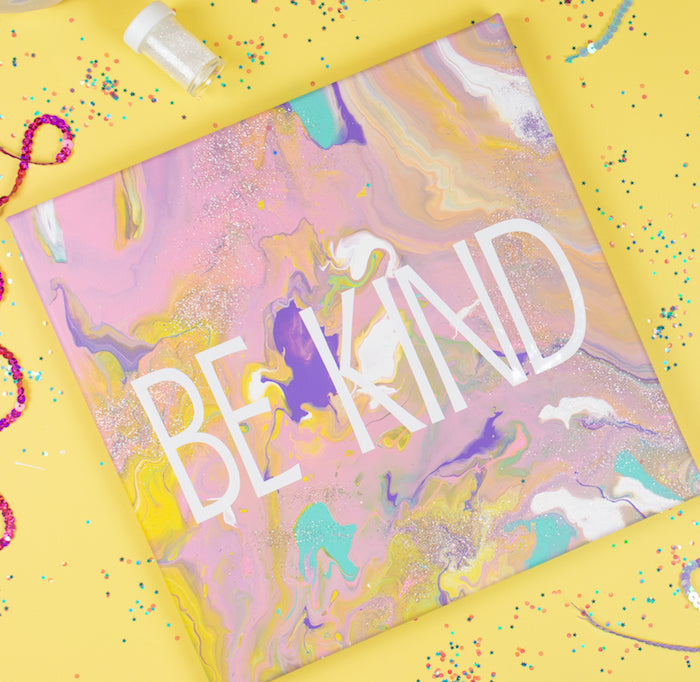
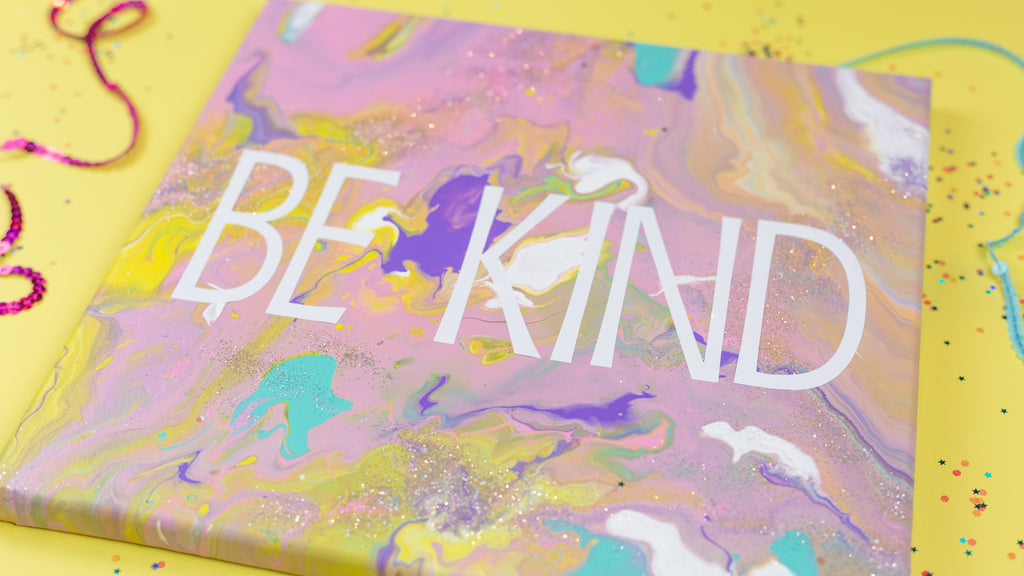
- I wanted to use my canvas to add a little inspiration and reminder to be kind so I cut the words "Be Kind" using my Cricut Joy and Cricut Design Space. I love that I can use the Cricut Smart Vinyl with my Joy. No mat required and it is super easy to weed making the Joy the perfect Cricut tool for a quick project.

- I typically use transfer tape to apply vinyl but because this canvas had fresh paint I opted to manually apply the letters. I used a ruler to help with spacing and placement.


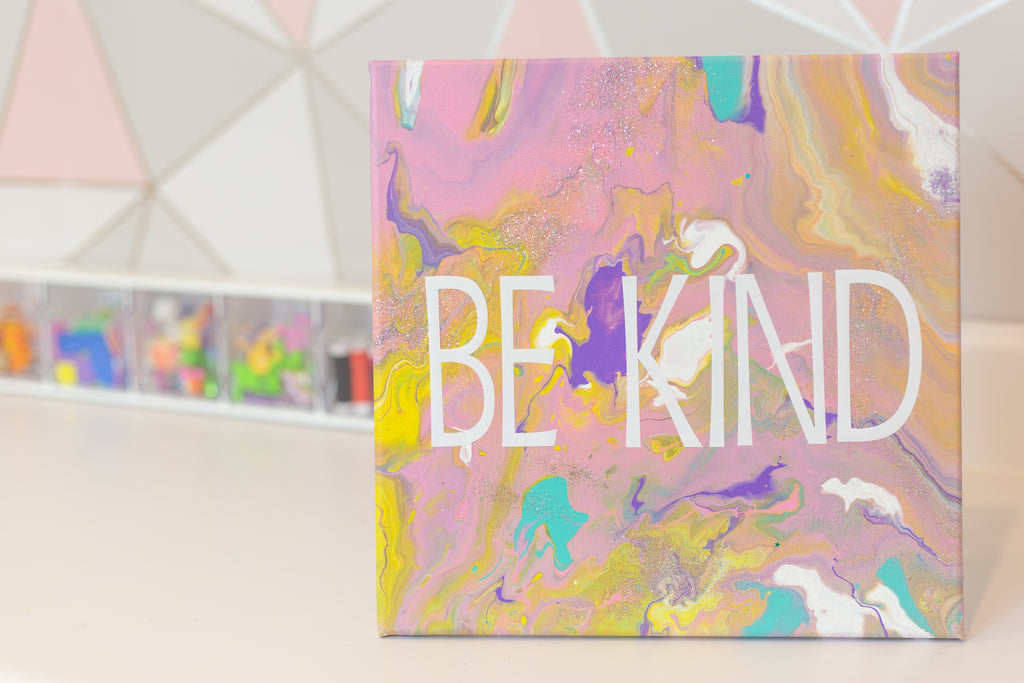
I love how the canvas turned out and it looks great in my craft room. It is a daily reminder to above all be kind.
If you don't have supplies at home you can shop Michaels.com and opt for curbside pick-up or in most markets same-day contact-less home delivery! I have used the same-day home delivery 5x in the last month and it is fantastic!
If you make your own paint pour canvas make sure to tag me @craftboxgirls and use #MakeItWithMichaels
xoxo- LL
This blog post is sponsored by Michaels. All thoughts and opinions are my own. Thank you Michaels for sponsoring!