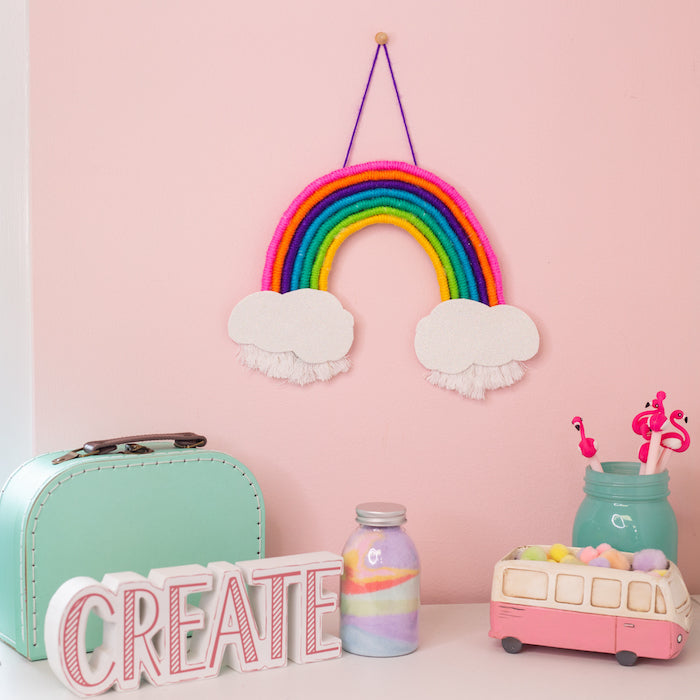
Brighten up any room with this colorful hanging rope rainbow . Easily apply layers of yarn with the help of E6000’s precision tip, and create a beautiful rainbow color by color.

Materials
- E6000 Industrial Strength Adhesive with the precision tip
- Assorted colors of yarn
- 3-6 yards of Rope(Depending on the number of colors used)
- Painters tape
- Marker
- Scissors
- White glitter foam (Optional for clouds)
Instructions
Step 1
Use a single cut of extended rope and lay out the rope swirling around in the formation of a rainbow.

Step 2
Lay painters tape horizontally across the bottom of the rainbow to section off the portion that will be considered space for the clouds and will not be wrapped in colorful yarn.

Step 3
Mark the top of the painters tape with your marker so that you know exactly where to wrap your tape when it's time to separate your rope layers.
Step 4
Cut the curved spaces off of the rainbow at the bottom.

Step 5
Remove painters tape from the rainbow
Step 6
Take each rope layer and wrap painters tape around the rope on the left and right sides where the marker indicates. Be sure to keep the layers in order

Step 7
Starting with the bottom rope, use the E6000 precision tip and add adhesive to the section above your painters tape.

Step 8
Add your first color of yarn and begin to wrap the yarn tightly around the rope. This can be done easily by rotating the rope as you intermittently add E6000 to it.

Step 9
Repeat step 8 for each color.

Step 10
Place your rainbow rope layers in order, and curve them into the shape of a rainbow.

Step 11
Using the precision tip of your E6000, add adhesive to the top of each rainbow rope layer to attach them.

Step 12
Finish your rainbow by glueing clouds to the ends.
Step 13
Add a loop of yarn to the top as a hanging loop and allow your E6000 to dry for 24 hours before hanging.

Happy Crafting!
This post is sponsored by Eclectic but all thoughts and opinions are my own!


