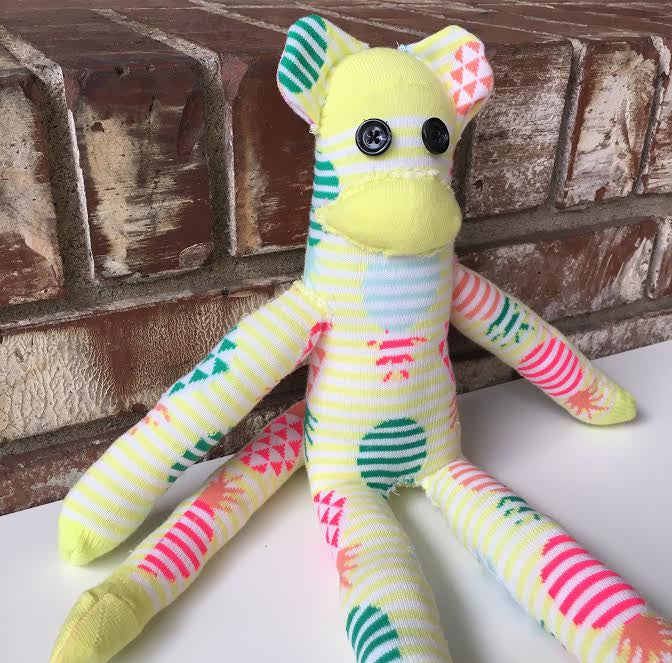
Spring is almost here! Yay! I am so excited for warm weather! And with warm weather coming means spring cleaning will soon be underway! Time to put away sweaters and clean out your dresser drawers. I'm sure y'all can attest to the many times you've gone through your sock drawer to only find that some of your socks have broken up and their partner has gone M.I.A. Well instead of throwing out those single socks, here is a cute pattern for an easy sock monkey DIY that you can do with your kiddos!
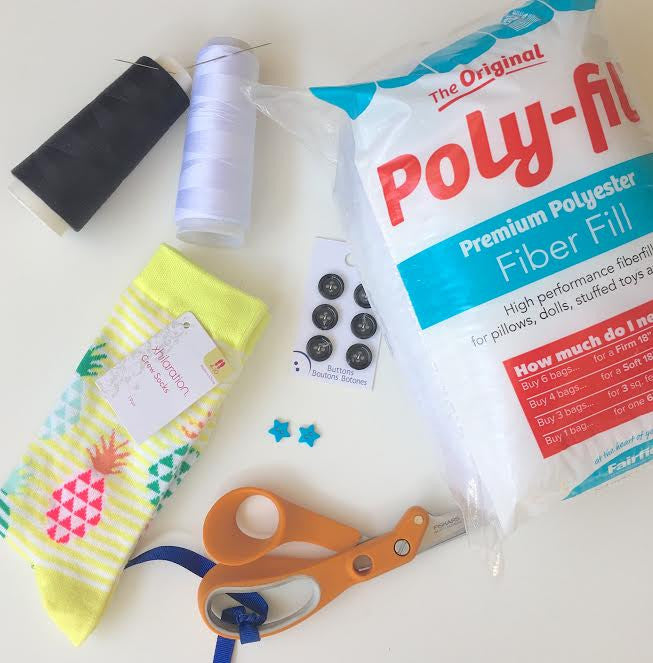
This is what you'll need:
- A pair of socks
- Cotton batting
- Scissors
- Thread and needle
- Sewing machine (optional)
- Marker
- Buttons
Step One:
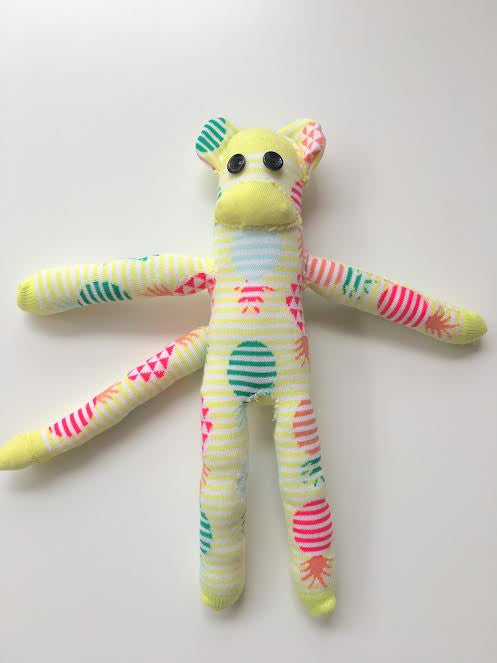
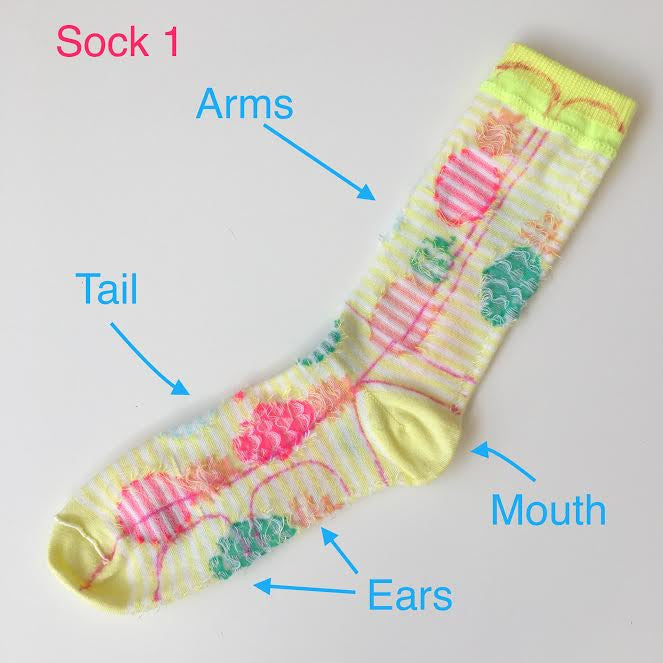
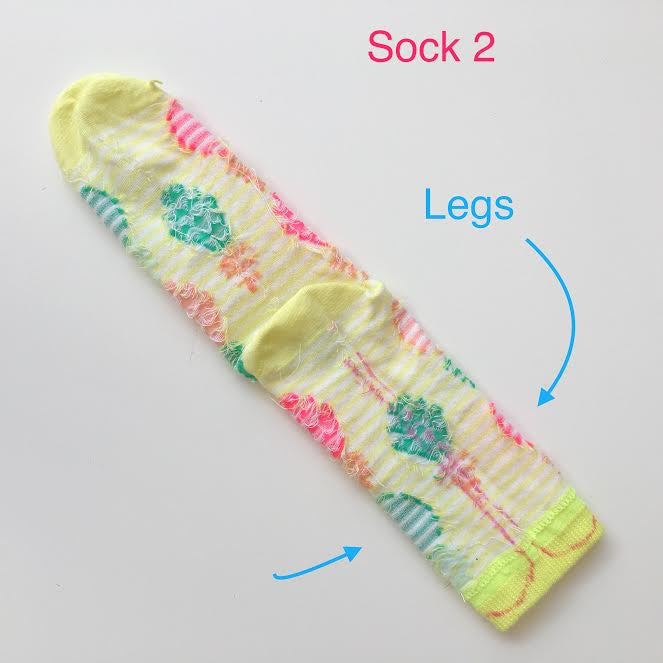
Turn socks inside out. Follow drawing instructions on the picture of Sock 1 to create the arms, tail, ears and mouth. Do the same for Sock 2 to create the legs. Sew around the marker lines for the arms and tail. Cut ears out and make slits in the bottom, then sew around the ears. Cut out mouth and put aside for later. On Sock 2, sew around the marker lines to create the legs. Once everything is cut and sewn, flip sock pieces right side out.
Step Two:
Start stuffing the arms and legs, using as much or as little batting as preferred. Use the crotch opening on the other sock to stuff the head, body and legs of the monkey. After body is stuffed, hand stitch the opening in the crotch closed.
Step Three:
Begin to attach the arms, ears and tail to the body by hand stitching them in place. When you are ready to stitch the mouth on, slip stitch it around the face and once you have half of it stitched down, add a little batting to the mouth to make it full. Then continue stitching the mouth
Step Four:
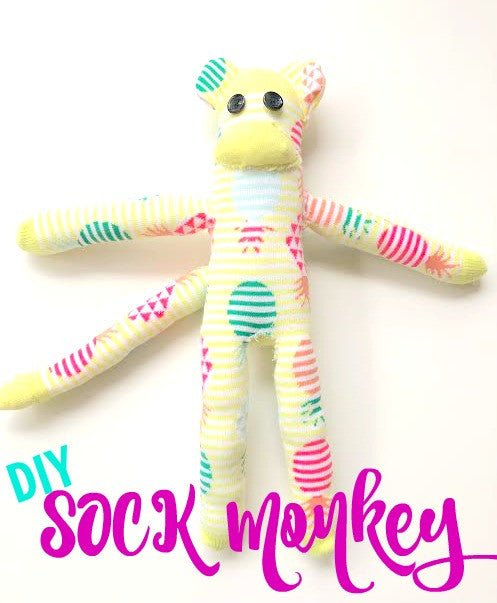
Once you have the body complete, place the buttons on the faces for the eyes and secure them by sewing in place. Then your sock monkey is ready to play!
Follow me on Instagram for more fun crafts and ideas. Visit my blog at Jersey Peach Designs.
Laura


