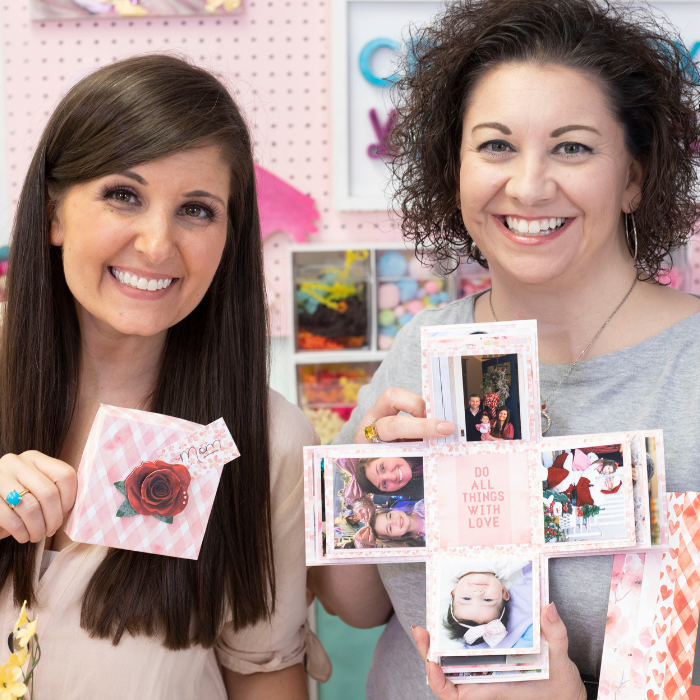
Project: DIY Surprise Box
Project Video:
Project Materials:
- 4 sheets of 12 x 12 decorative scrapbook paper from Paper House Productions
- Your choice of embellishments from Paper House Productions
- Double sided tape
- Scissors
- Templates
- Decorations/items for inside your box - photos, gift cards, small quotes, candy, etc.
Project Instructions:
- Choose 4 sheets of 12 x 12 scrapbook paper for your surprise box. 3 of these will create the box itself, and 1 will create the top of the box.
- Using the template provided (one size at a time), trace 9 squares onto your 12 x 12 sheet. Then, you will cut out the 4 corner squares and you will have what looks to be a cross shape.
- Once you have all of these cut out and scored, you will use your double sided tape to put them together. Put your adhesive in the middle and center the sheets together with the smallest on top.
- Next, we will take our 4th sheet of paper and create the box top. Cut down to 6 1/8th x 6 1/8th. Score at 1 inch from each side - no cutting required in this step.
- Then, you will fold and pinch each corner (similar to a milk carton).
- Add any photos, gift cards, small sayings, candy or anything you desire and then fold your box up and apply the top.

This post is sponsored by Paper House Productions but all thoughts and opinions are my own!
xoxo - Lynn


