This post is in collaboration with the DIYZ® app. All opinions of apps and companies that help me complete DIY Projects are my own.
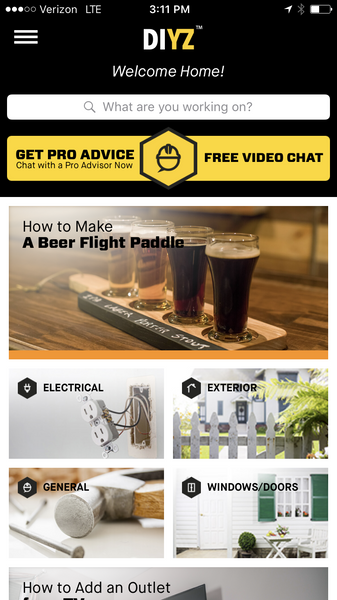
Over the last few weeks, our team at Craft Box Girls has been using the DIYZ app for project inspiration and to help with home improvement projects. We love the DIYZ app because if you have any questions or need advice when you are building a project, you can chat with a licensed contractor without leaving the app. With the tap of a finger, you can get answers via phone or video-chat. We are excited to collaborate with them to create new and simple projects that inspire our audience.
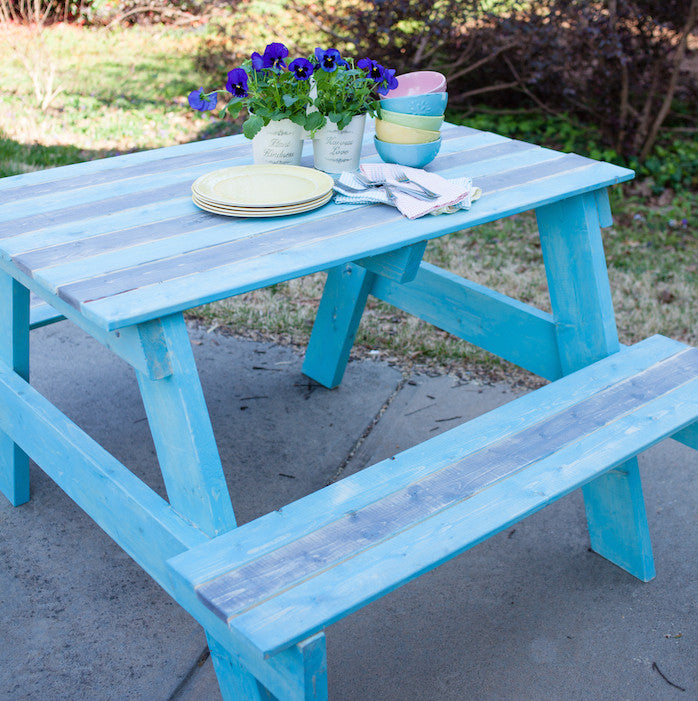
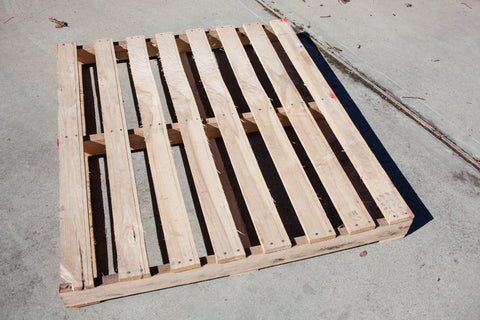
I have been collecting pallets from deliveries and have been saving them to create just the right project. Spring is in full bloom, so I thought a DIY picnic table created with pallets and inexpensive scrap wood, was the perfect project to kick off this outdoor entertaining season. This was the first time Chan, Laura and I built a DIY picnic table, so we made sure to create an easy step-by-step guide for other first time DIY picnic table builders.
Time to start making your own DIY picnic table!
Project Time: 4 hours
Difficulty Level: Intermediate
Materials:
- 1-2 Pallets
- 2 in. x 4 in. x 8 ft. Pine Wood
- 2 in. x 5.5 in. x 8 ft. Pine Wood
- Miter or Table Saw
- Nail Gun
- Drill
- 8 Bolts, 8 Washers & 8 Fasteners
- Stain or Paint
- Sander with Heavy and Light Grit Sand Paper
- Crow Bar
- Hammer
- Eye Protection
- Gloves (if staining)
- Clamps
Directions:
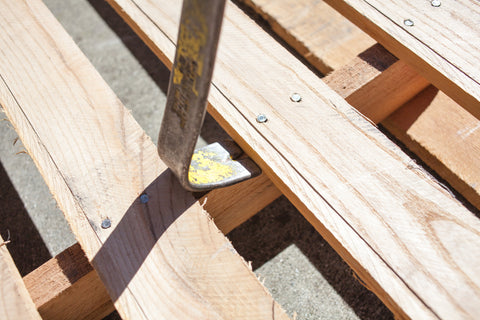
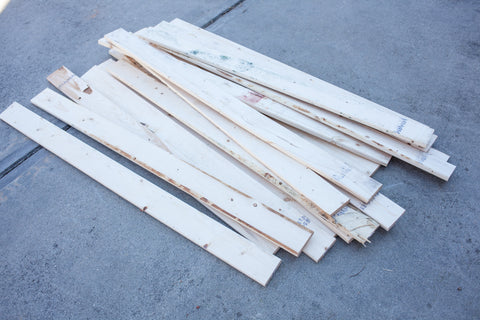
- Using a crowbar and hammer, remove the boards from the pallet. Once you have removed the boards use the hammer, to remove the nails.
- Set boards aside
- Create a cut list for the non-pallet wood. As the old saying goes, measure twice and cut once.
- Legs: (4) 2 in. x 5.5 in. x 36 in. pine wood planks with 20-degree angle cut at each end.
- Top Brackets: (3) 2 in. x 4 in. x 29 in. pine wood planks with 20-degree angle cut at each end.
- Seat Bearers: (2) 2 in. x 5.5 in. x 59 in. pine wood planks (20-degree angles optional)

- Using a miter or table saw make all necessary cuts. But don’t forget this safety tip: don’t wear loose clothing or gloves when using any type of saw, but always wear eye protection.

- Lay the non-pallet pieces of wood out to form the side leg panels.
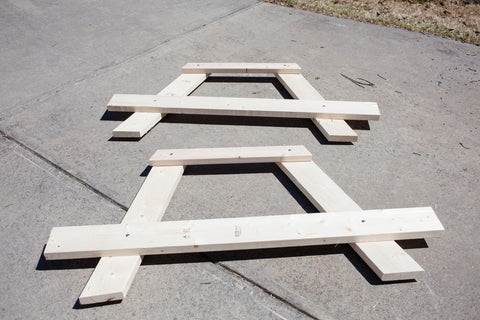
- Measure and mark placement of seat bearers. Measure 14 inches down from the top of the table bracket. Mark a line for the placement of the top of the seat bearer.
- Mark bolt holes in the seat bearer and table brackets.

- First drill holes in the seat bearers and table brackets. Then mark and bolt holes on leg panels to ensure holes line up. Drill holes in the legs.

- Insert bolts and secure tightly from the side panels of the table.

- Attach pallet board to the top of the table by using the nail gun to secure the ends of the boards into the top of the table bracket.

- Attach the third table bracket under the pallet tabletop. Using the nail gun, shoot nails through the pallet wood into the table bracket.
- If your pallet boards are sturdy use these for the seats. If not, build seats with 2 in. x 4 in. x 4 ft. pinewood lumber
- Attach seat planks with using the nail gun.
- Using the sander and a heavy grit sand paper, sand the entire table, including all the edges.


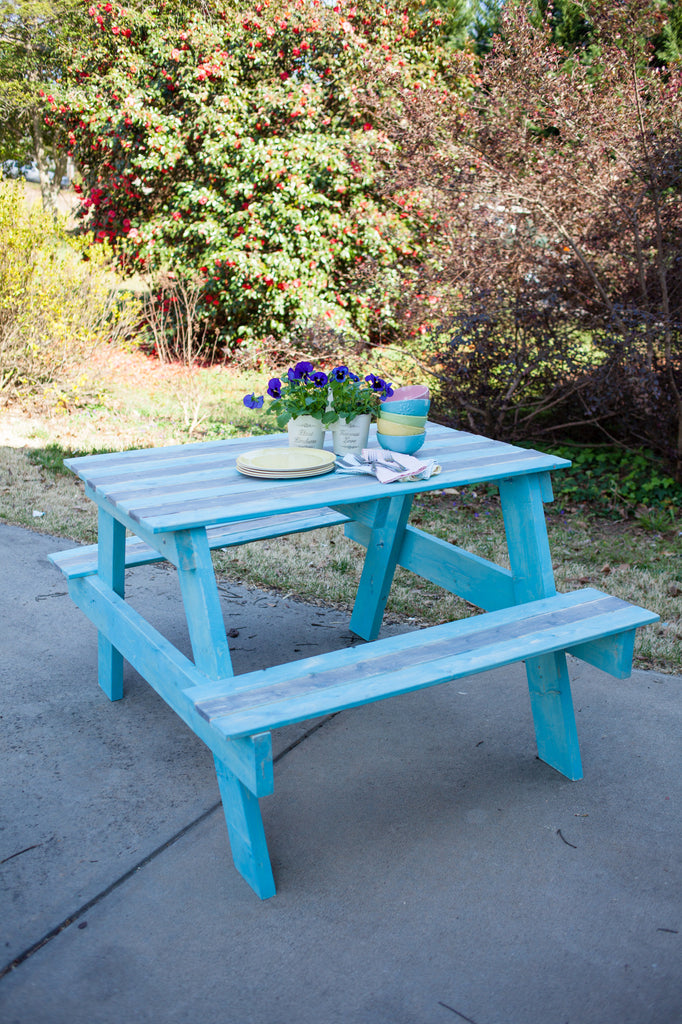
- Stain or paint your DIY picnic table to match your style! We selected a vibrant turquoise paint and a shabby chic gray stain. Wipe away the excess stain and let it sit for an hour. For a rustic look, we sanded the table one additional time with a light grit sand paper.


- If your table feels wobbly and you’d like to give it additional support, add in diagonal support panels from the legs to the center table bracket.


Enjoy your DIY picnic table and remember to check out the DIYZ app for more project inspiration and step-by-step home improvement tutorials. The app is available from the Apple App Store for iPhone or Google Play for Android and includes lots more project ideas!
Connect with DIYZ: Facebook | Instagram | Twitter | Pinterest | Blog | #DIYZ #GetWise
xoxo- Lynn, Laura & Chan
