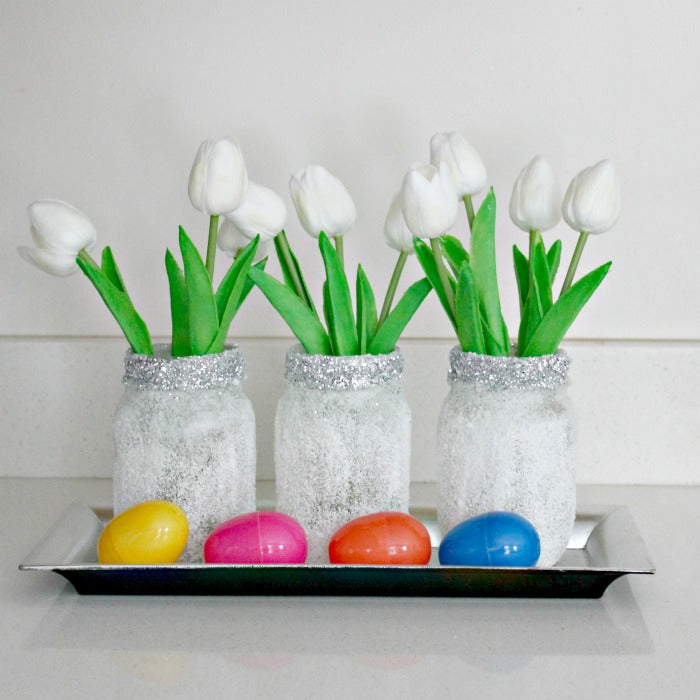
Epsom salt luminaries make a beautiful Easter table setting idea. I love adding a pretty centerpiece to the table during the holidays. Sometimes we do fresh flowers, but this year, I wanted to try these pretty luminaries filled with tulips instead. In the evening, you can remove the flowers and replace them with tiny tealight candles so that they shimmer in the darkness.
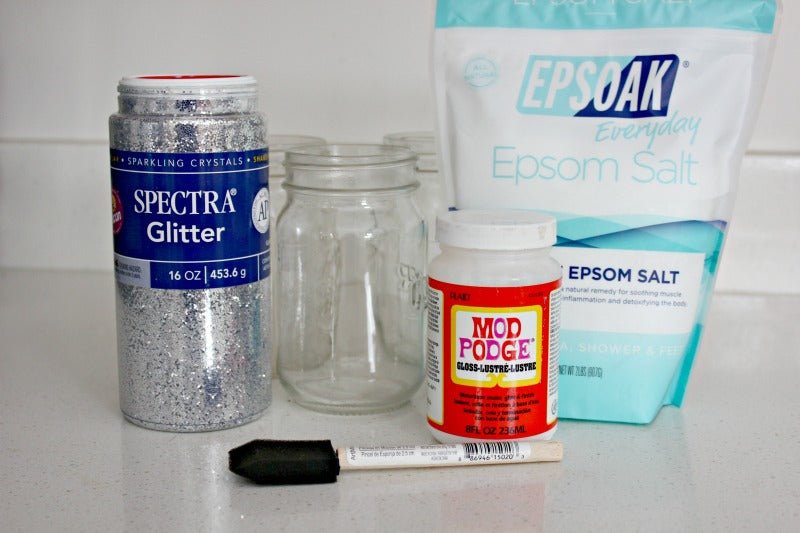
Supplies for Epsom salt luminaries
- 3 or more mason jars
- Epsom salts
- Mod Podge
- Foam paintbrush
- Glitter
- Paper plate
- Newspapers to protect the surface you work on
- Flowers, Easter eggs or other decorations
Directions for Epsom Salt Luminaries
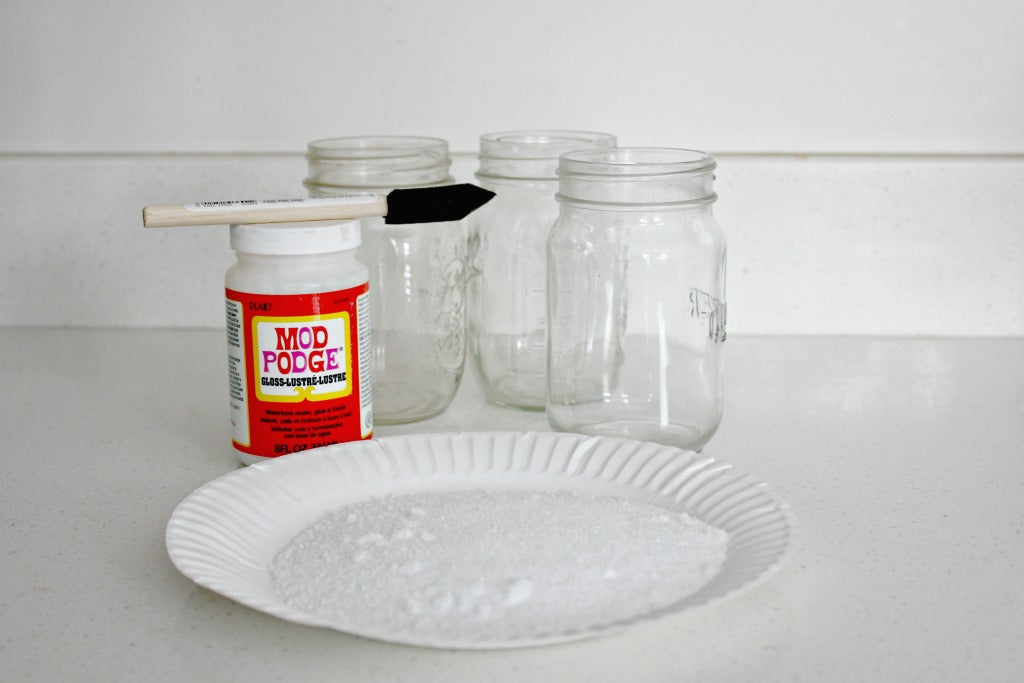
1. Spread the Epsom salts evenly on a paper plate.
2. Using the foam paintbrush, cover the entire surface of the Mason jar with Mod Podge. To keep your hands clean, place your hand inside the jar to hold it.
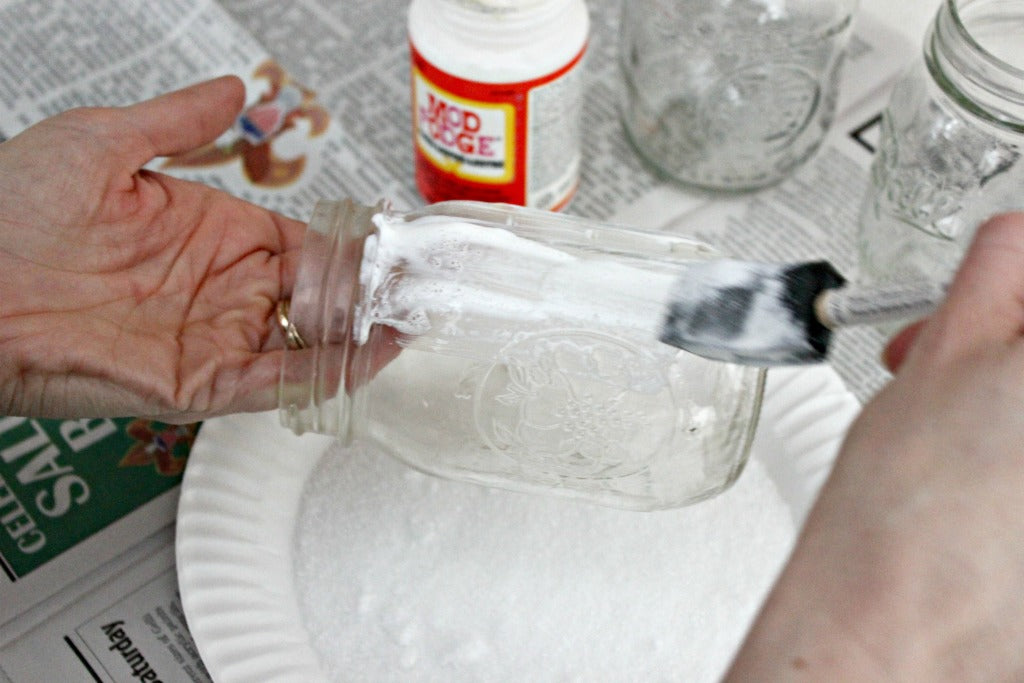
3. Roll the Mod Podge covered Mason jar in the Epsom salts so that it's covered evenly. Allow it to dry completely.
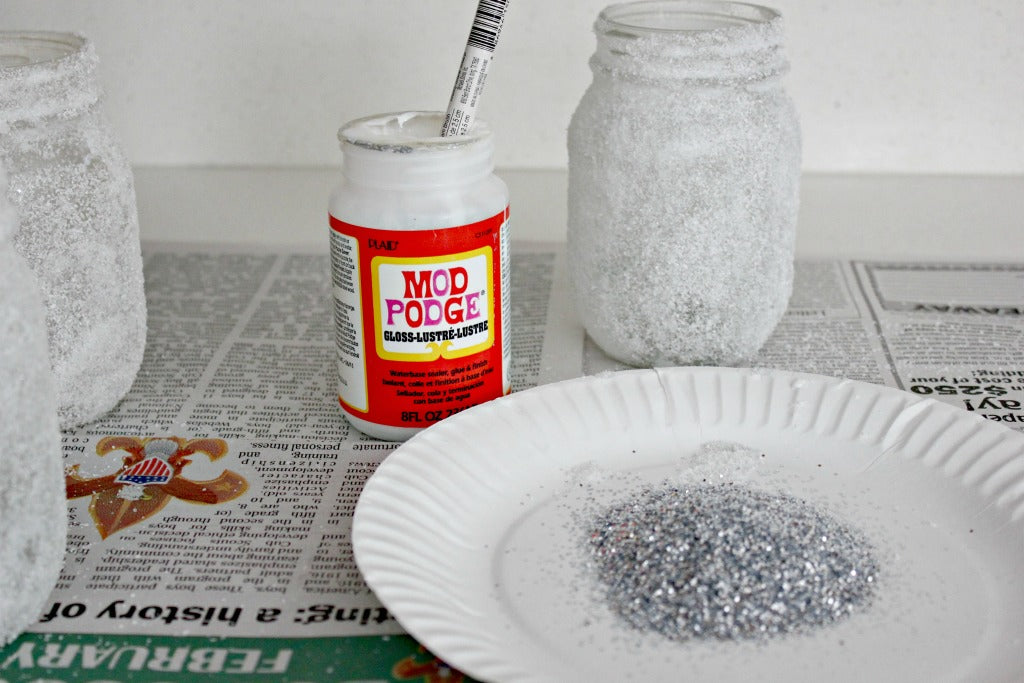
4. Place the glitter for the Epsom salt luminaries on a paper plate.
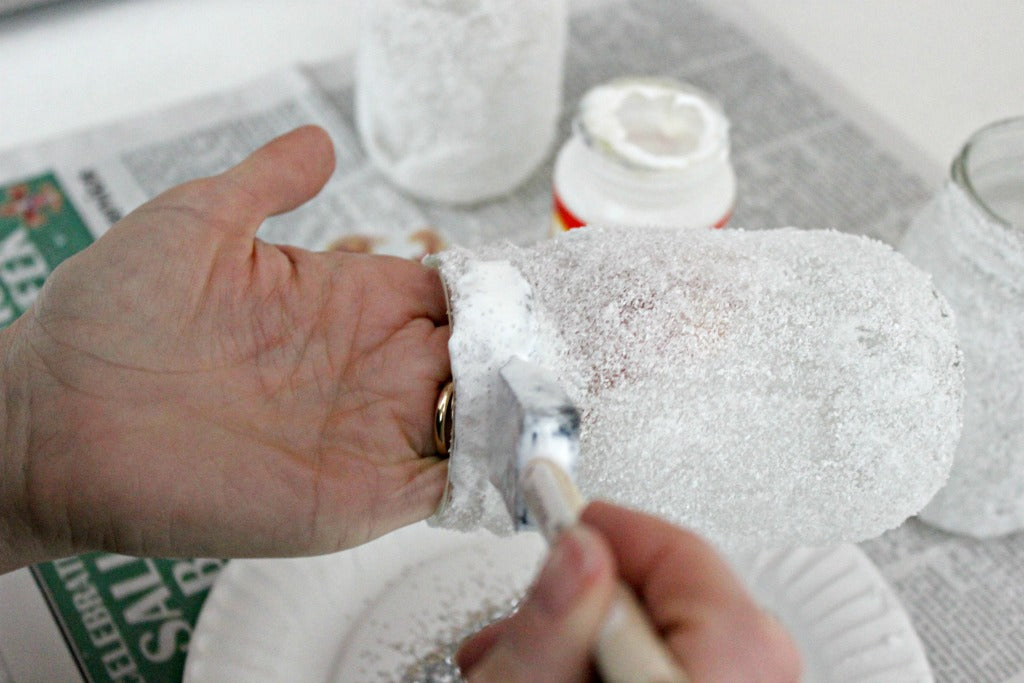
5.Apply Mod Podge to the edge of the Epsom salt luminaries.
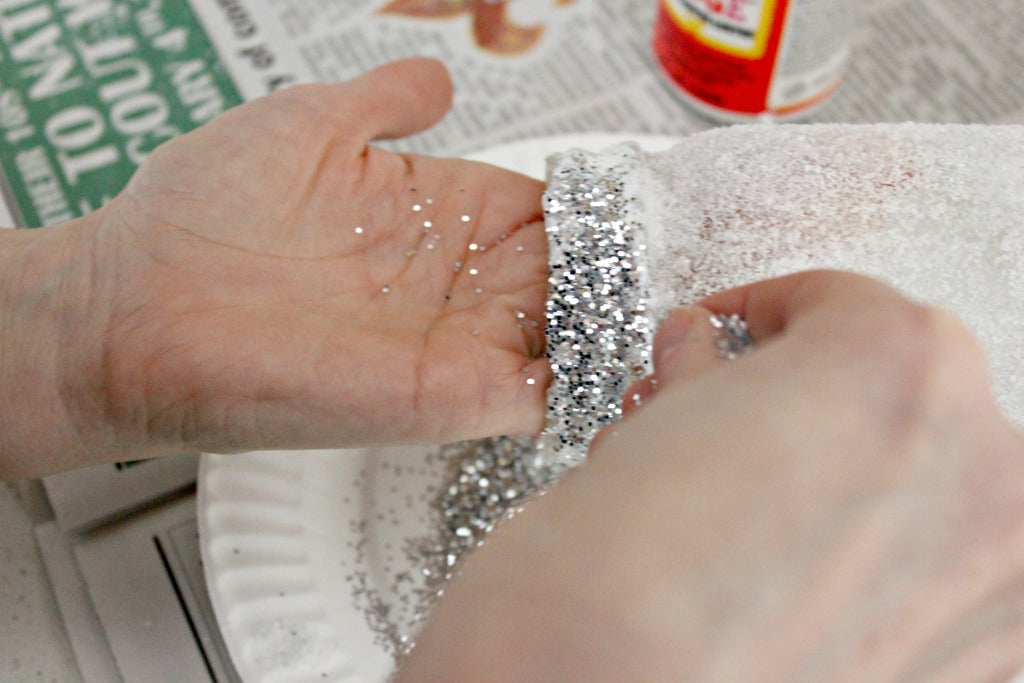
6. Let the glue dry and use these Epsom salt luminaries as part of your Easter centerpiece. This is a fun craft that even younger children can help.
If you want to create these Epsom salt luminaries in different colors, you can mix food coloring in with the Epsom salts before you apply them to the mason jar. Be aware that the colors will fade gradually and become white again especially when exposed to sunlight. If you dye them, be sure to create them only a day or two before your party.
To make these last longer, you can spray the jars with a clear acrylic spray before you fill them with flowers.
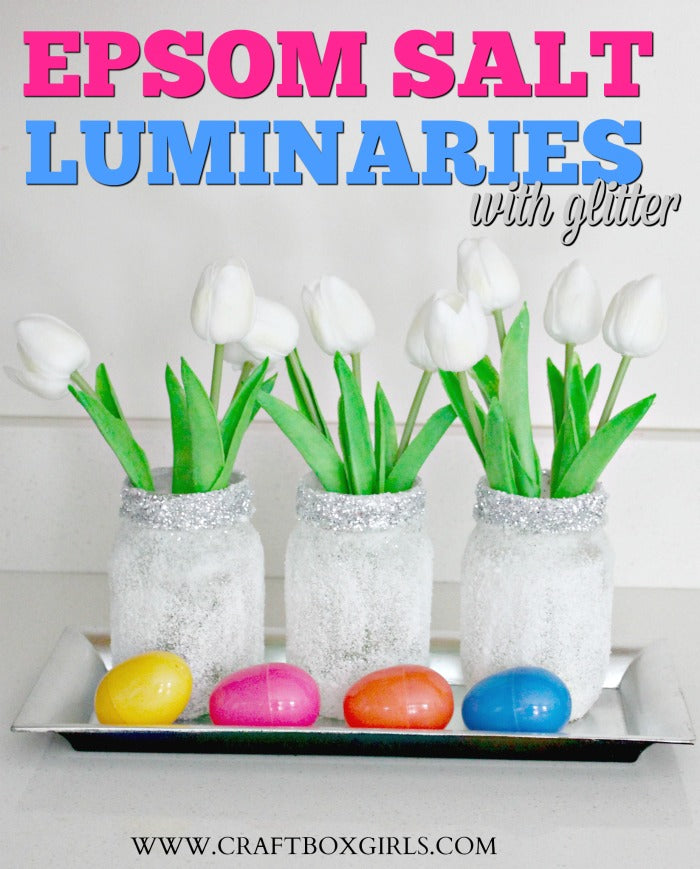
Let me know what you think! I'd love for you to share on social media if you like this craft. Tag us @craftboxgirls.
For more crafts and DIYs, visit my personal blog at Confessions of an Overworked Mom. You can follow me on Pinterest.
-Ellen


What a great idea! We love all things glitter in our home- will be sure to try!