I have been a fan of Cricut for years. I may have two machines set up and ready to go in my craft room on any given day. With spring and National DIY Day (April 2nd) tomorrow coming up, my Cricut paper cutting machine is ready for a crafternoon of fun and creativity!
We are thrilled to partner with Cricut to celebrate National DIY Day by giving one lucky winner a Cricut Explore Air 2! Visit the contest page to register to win! Contest closes at 10:40 am EST on April 2! We will be broadcasting Live from Craft Box Girls facebook page, demoing the Cricut Explore Air 2, creative projects and announcing the winner!!
This is a sponsored conversation written by me on behalf of Cricut. The opinions and text are all mine.
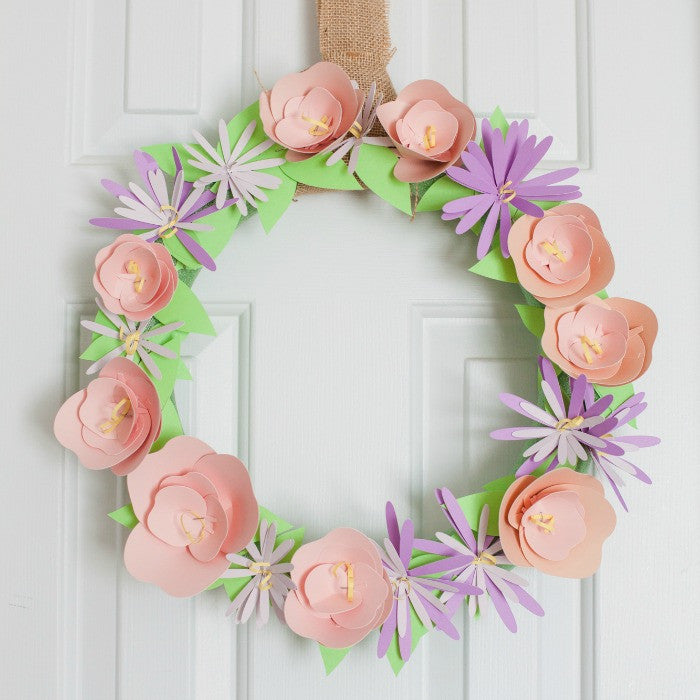
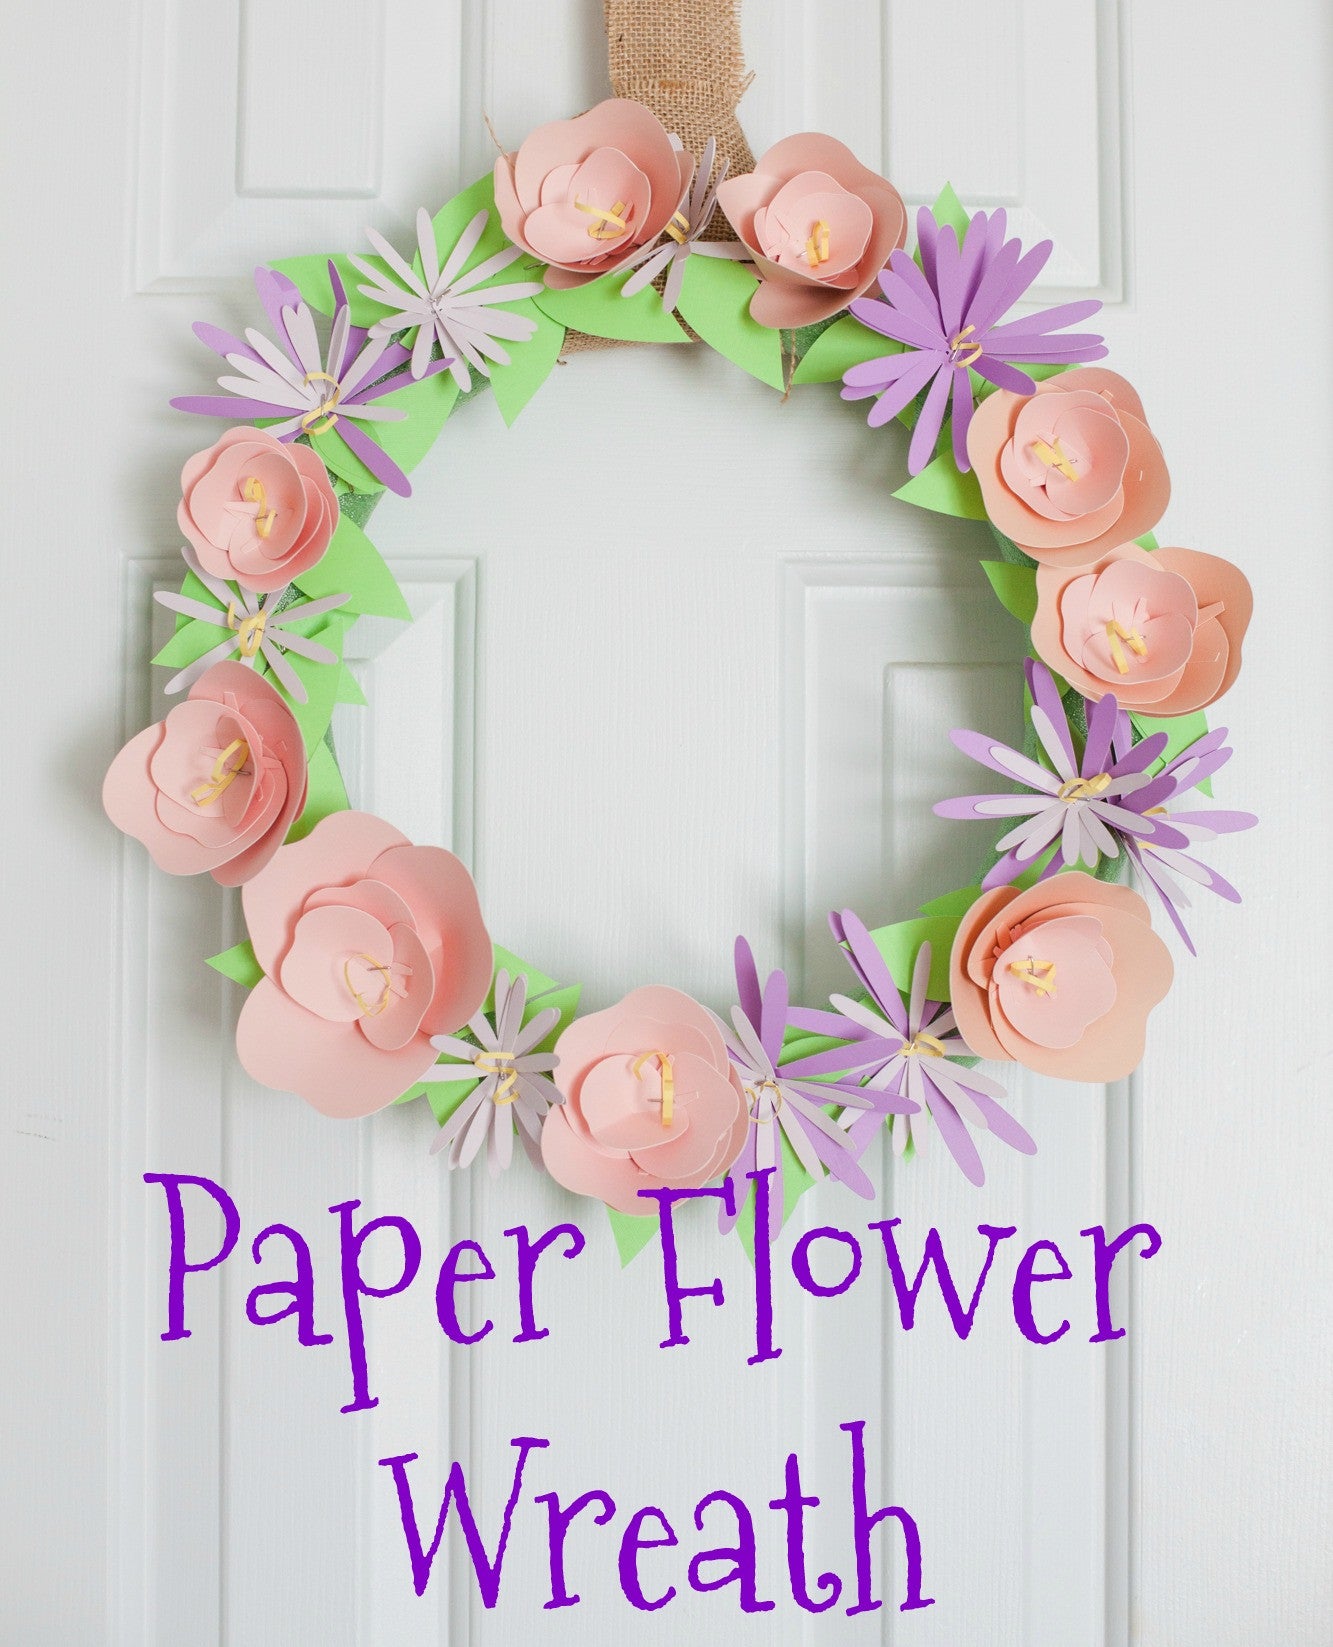
The precise and consistent cuts allow me to make this adorable paper flower wreath in no time! The Cricut Design Space lets me pick the flower petals I need right from my tablet. When I'm done designing, I simply plug in my machine, lay some card stocks on the adhesive mats and feed it through. Out, comes perfectly cut flower petals!
Here is what you'll need to make the paper flower wreath.
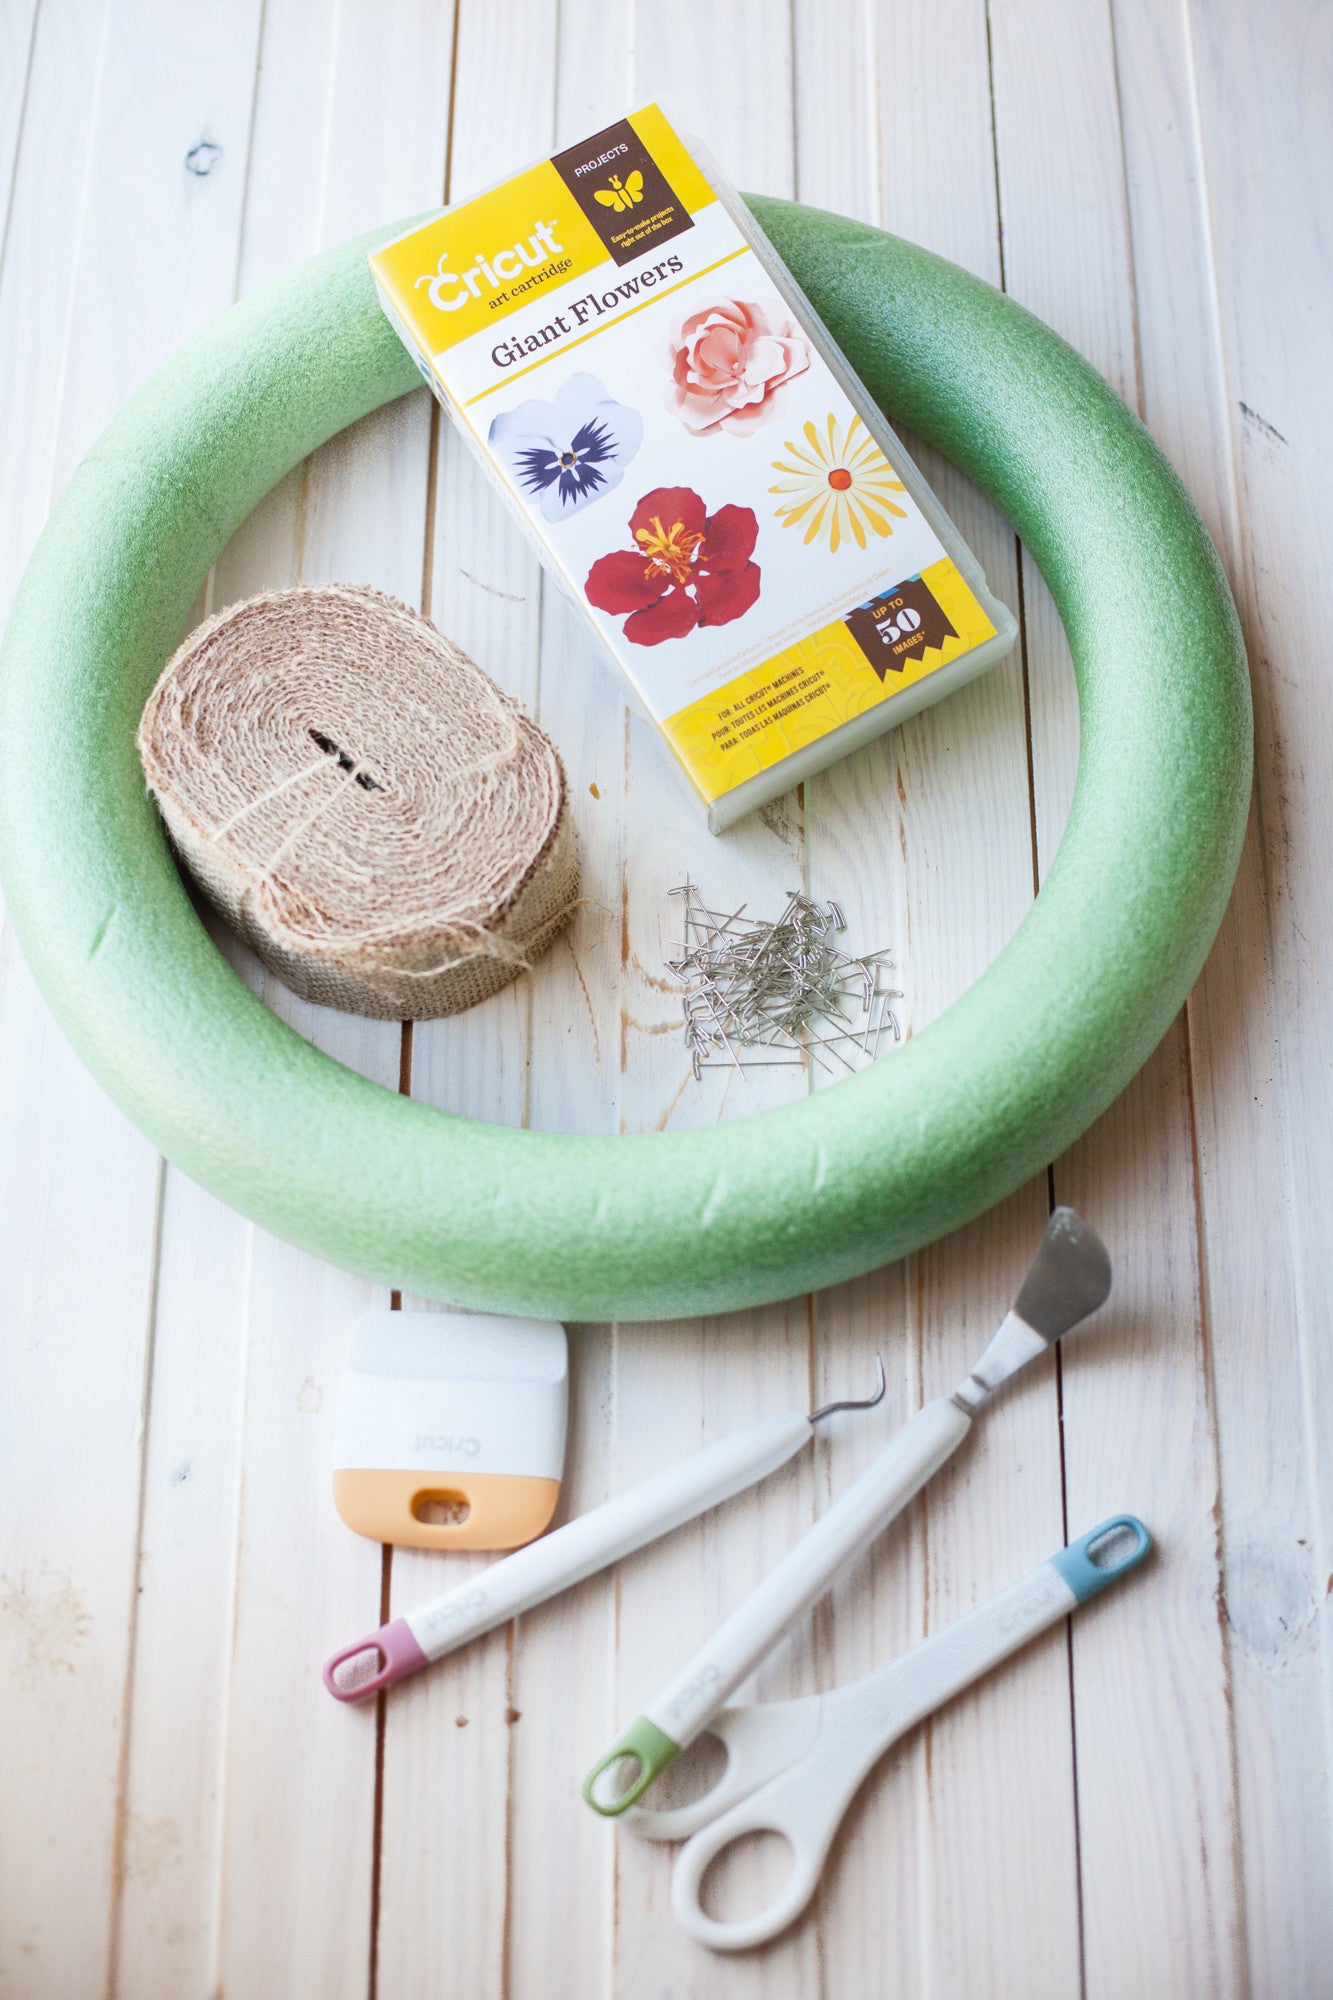
Supplies:
Foam wreath
Pastel card stocks 12 x 12 (green, blush, yellow, lilac, and purple)
T-Pins
Burlap ribbon
Cricut Explore Two
Adhesive mats
Cricut utensils
Giant Flower cartridge (optional)
Directions:
1. Use the Cricut Design Center to search for "Giant Flower" cartridge. Since I had the cartridge already, I just simply link my cartridge to my online image library and I'm ready to go.
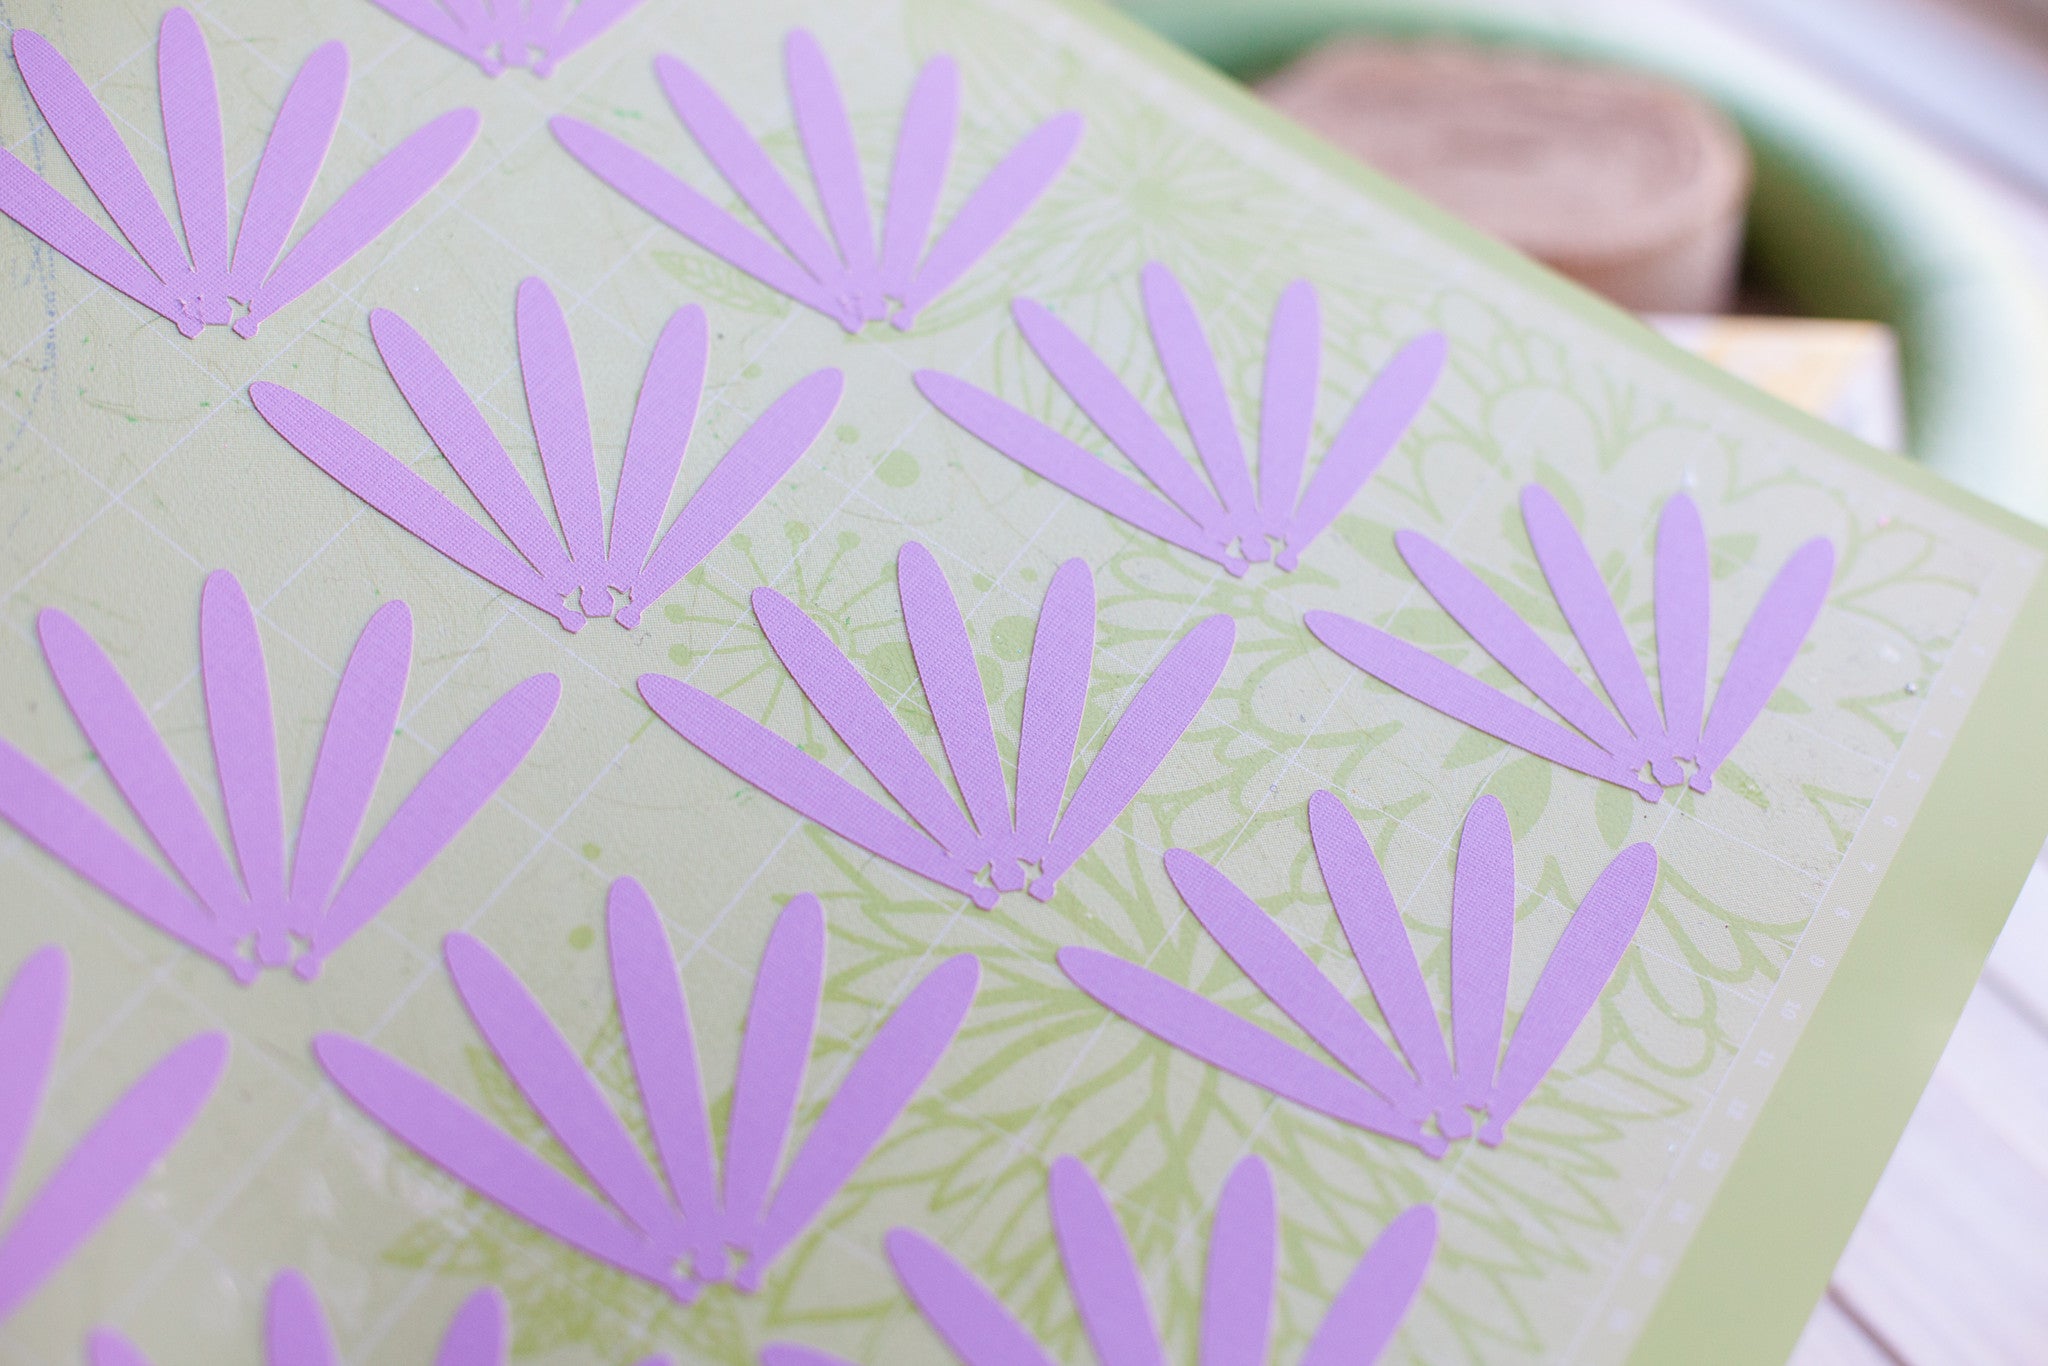
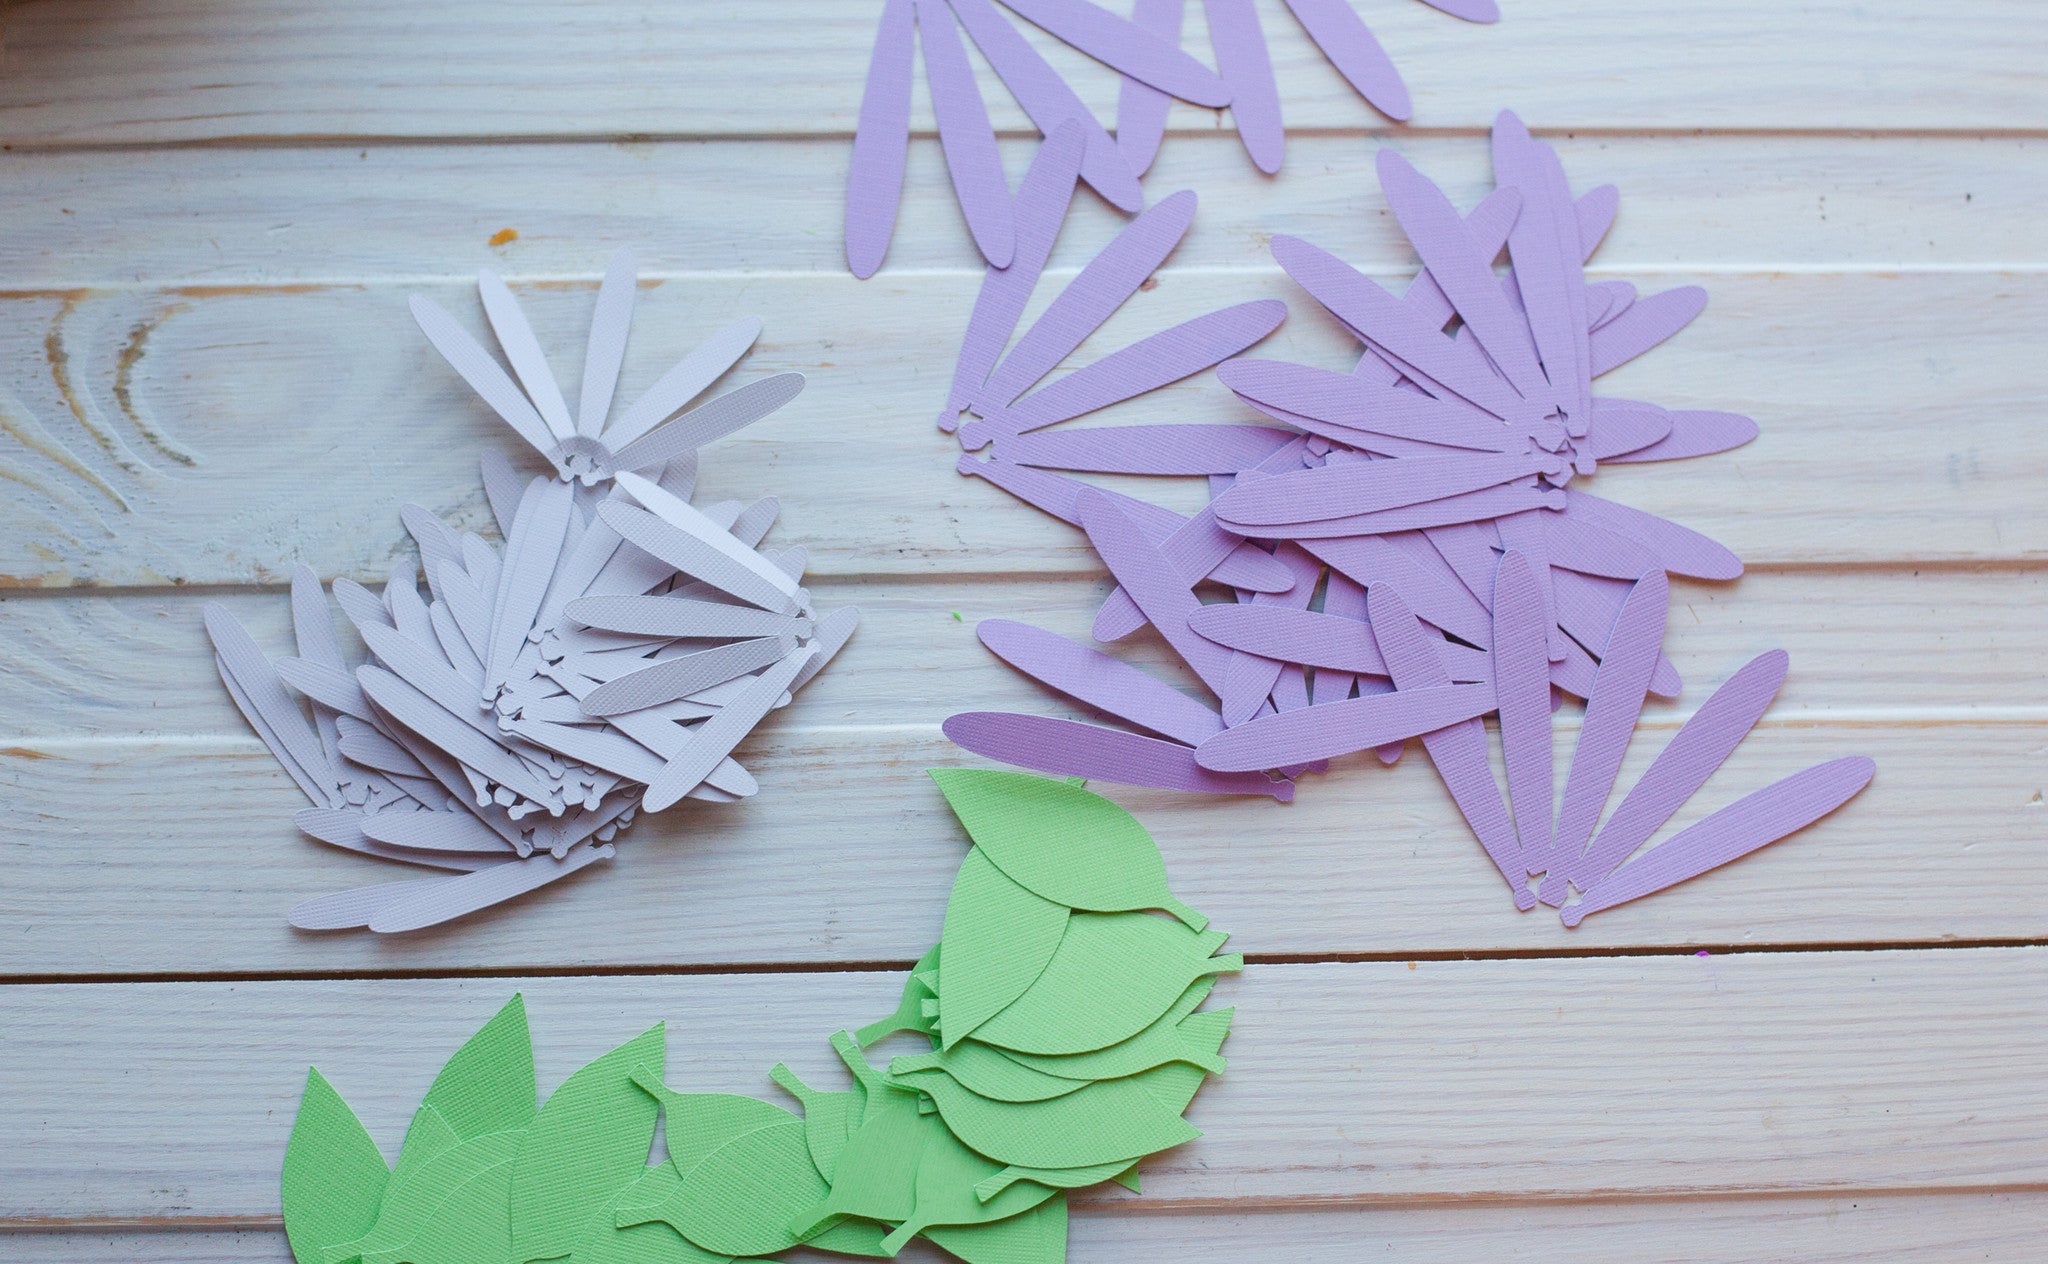
2. I selected the Daisy and Rose flowers from my image library.
3. Next, I designed the petals to the size and layers I want. For the roses, I made the large petal 3x3.5 inches. The smaller rose is 2x2.5. For the Daisies I use the same measurements. Then I send the images through the Cricut machine and peel out my petals.
4. Next, I searched "leaf" and picked my favorite leaf design.
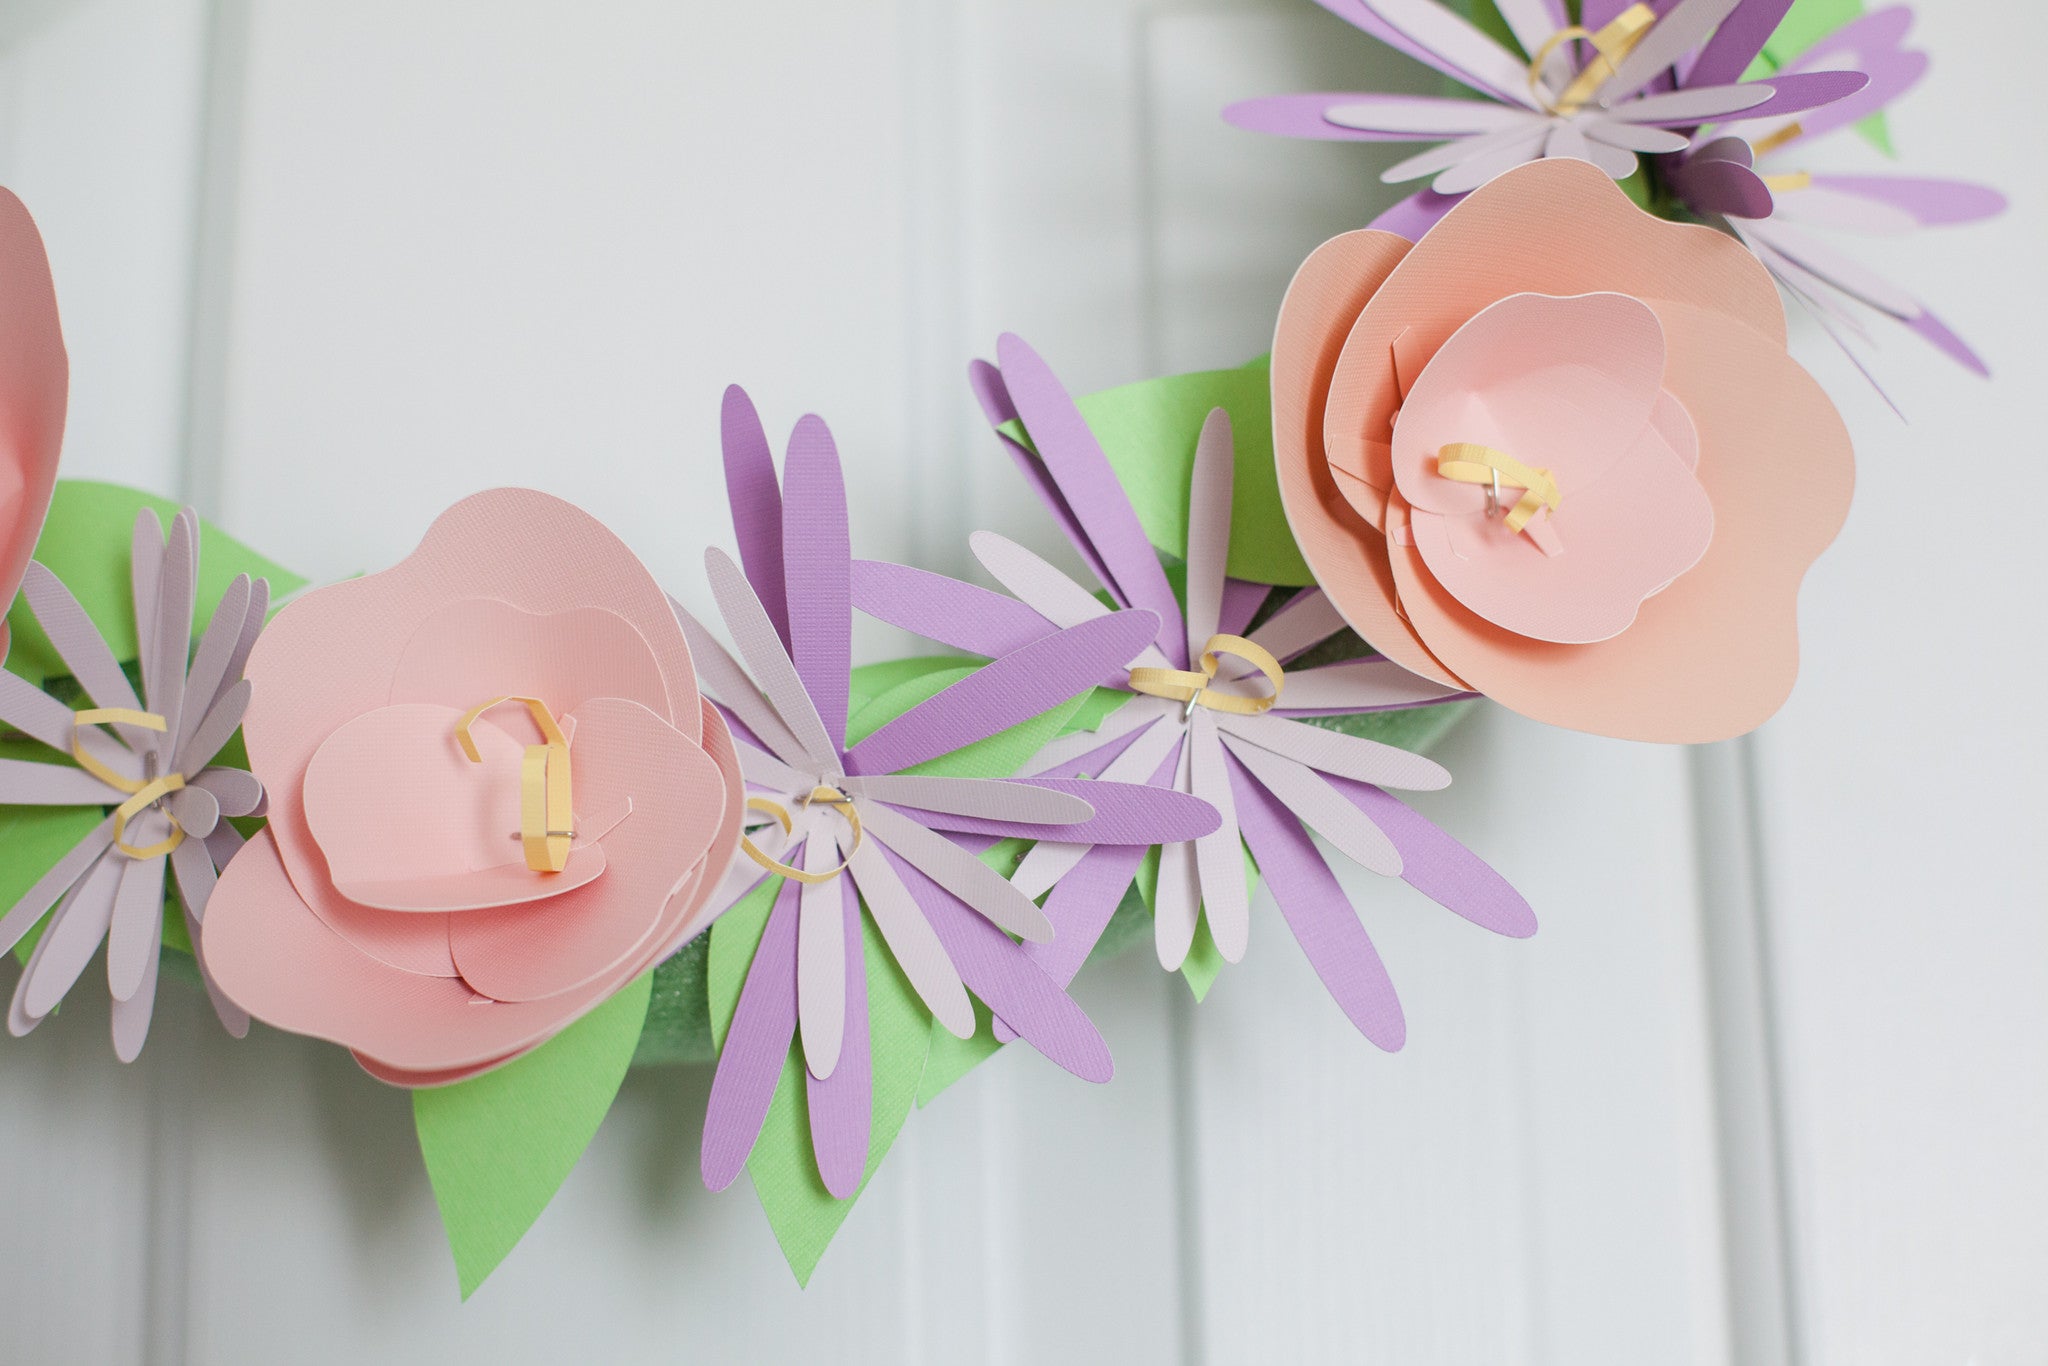
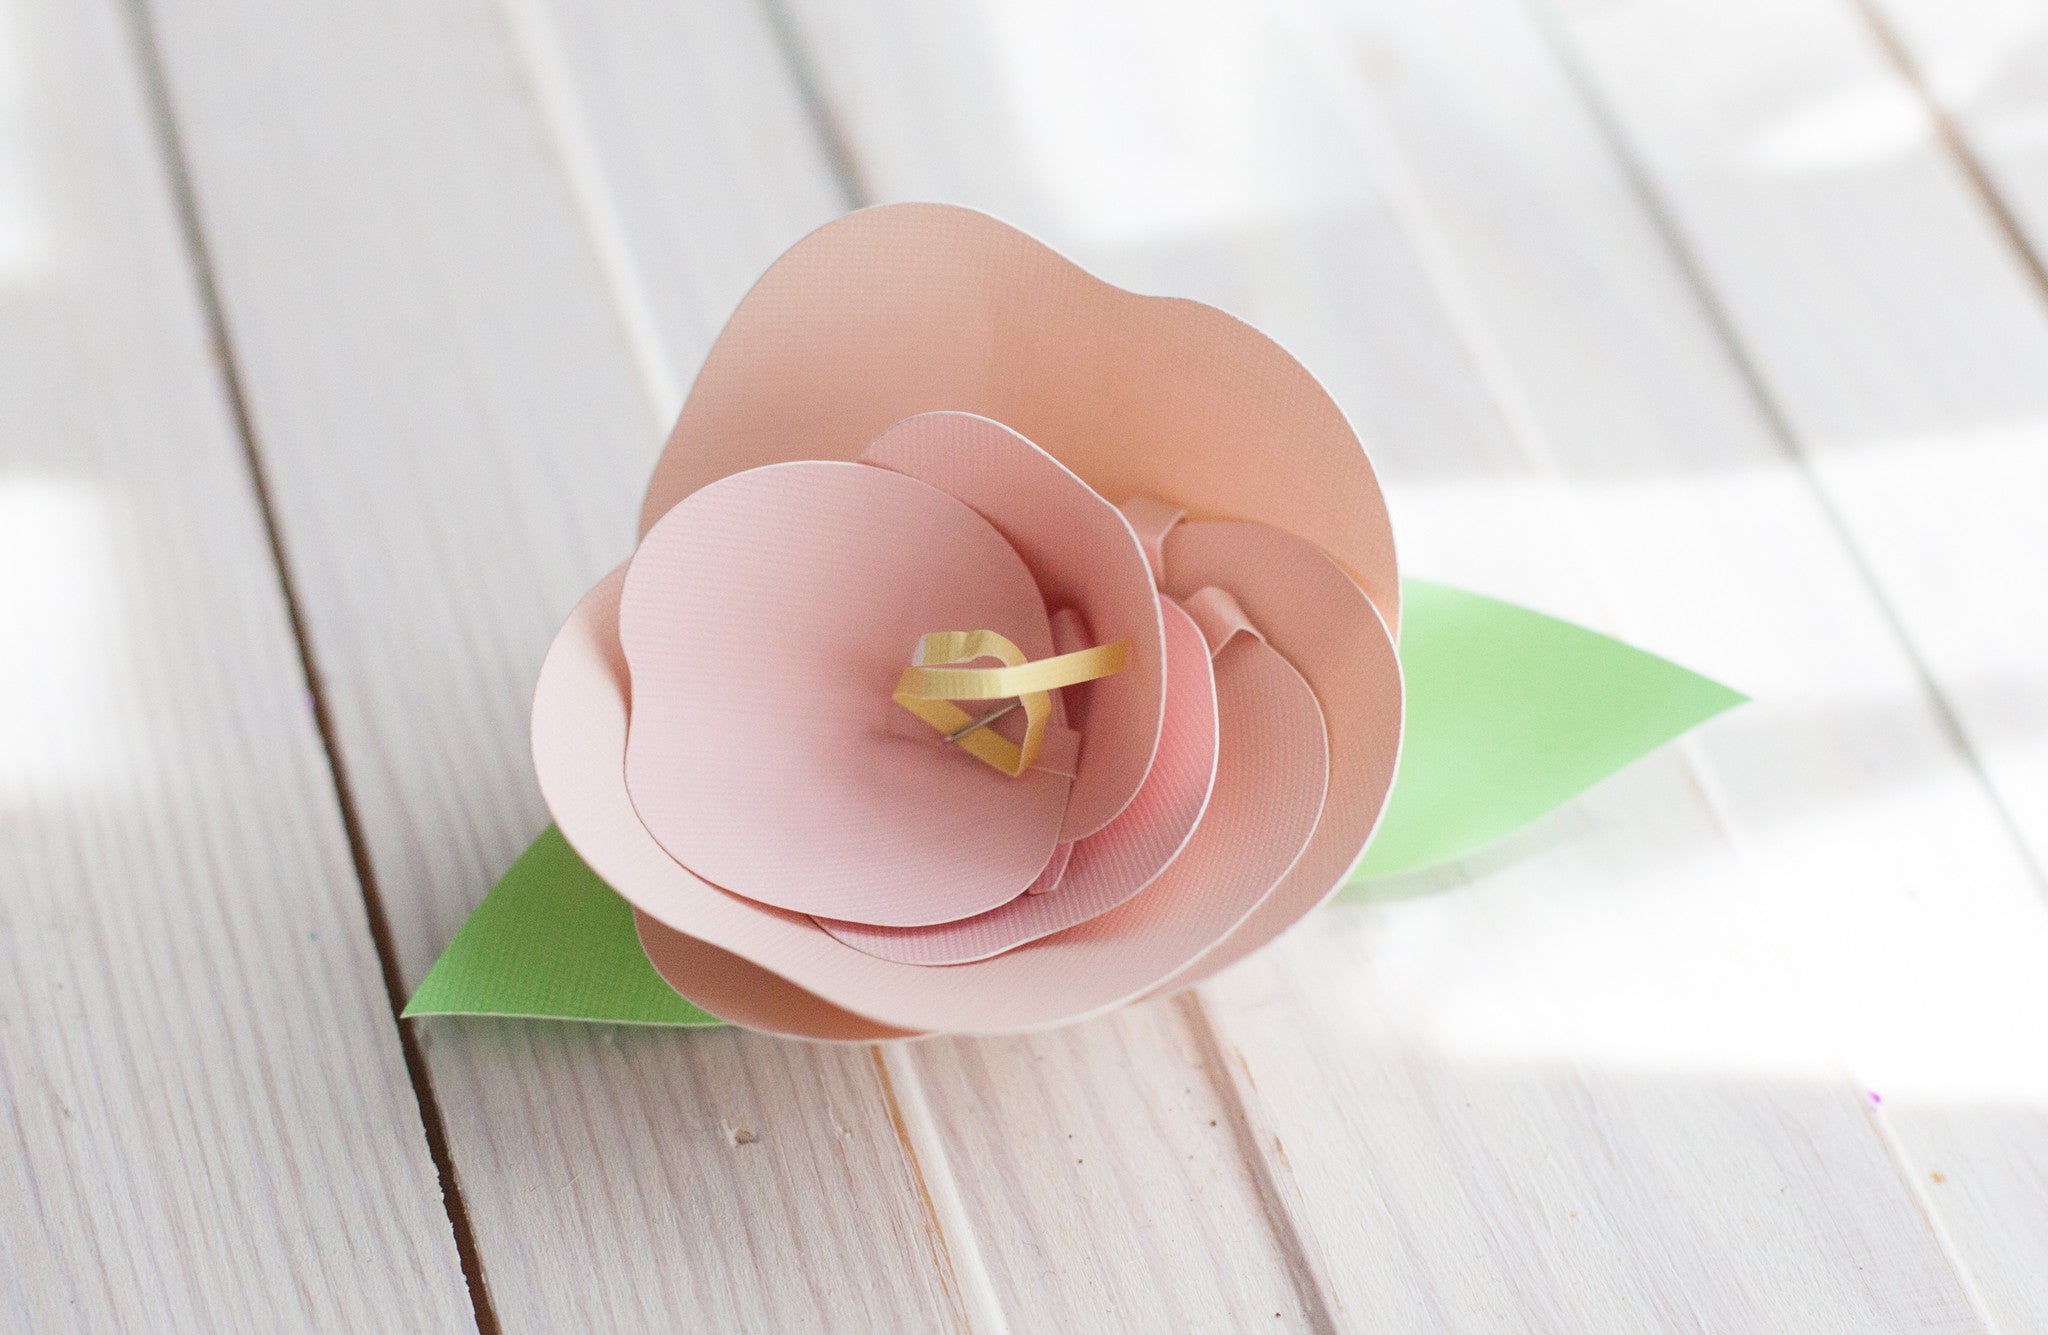
5. Now we are ready to assemble paper flowers. Start from the smallest rose petals and connect the "legs" of the petals. Poke the T-pin through it. Next add another layer and do the same thing.I used three small petals and three large petals. Then pin the leaves under the rose.

6. Cut a thin strip of yellow card stock. Insert the yellow strip through the eye of the T-pin. Curl the yellow strip with scissors to look like pollen in the center of the rose.
7. Pick a spot on the foam wreath and push the T-pin with the rose into the foam. Continue to make more roses and spread them out on the wreath.
8. To make a daisy, start with the smaller petals. Secure the "legs" with the T-pin. Make two layers. The first layer should be the smaller daisy petals. The second later is the larger daisy petals. Pin the leaves and make a pollen like in #6.
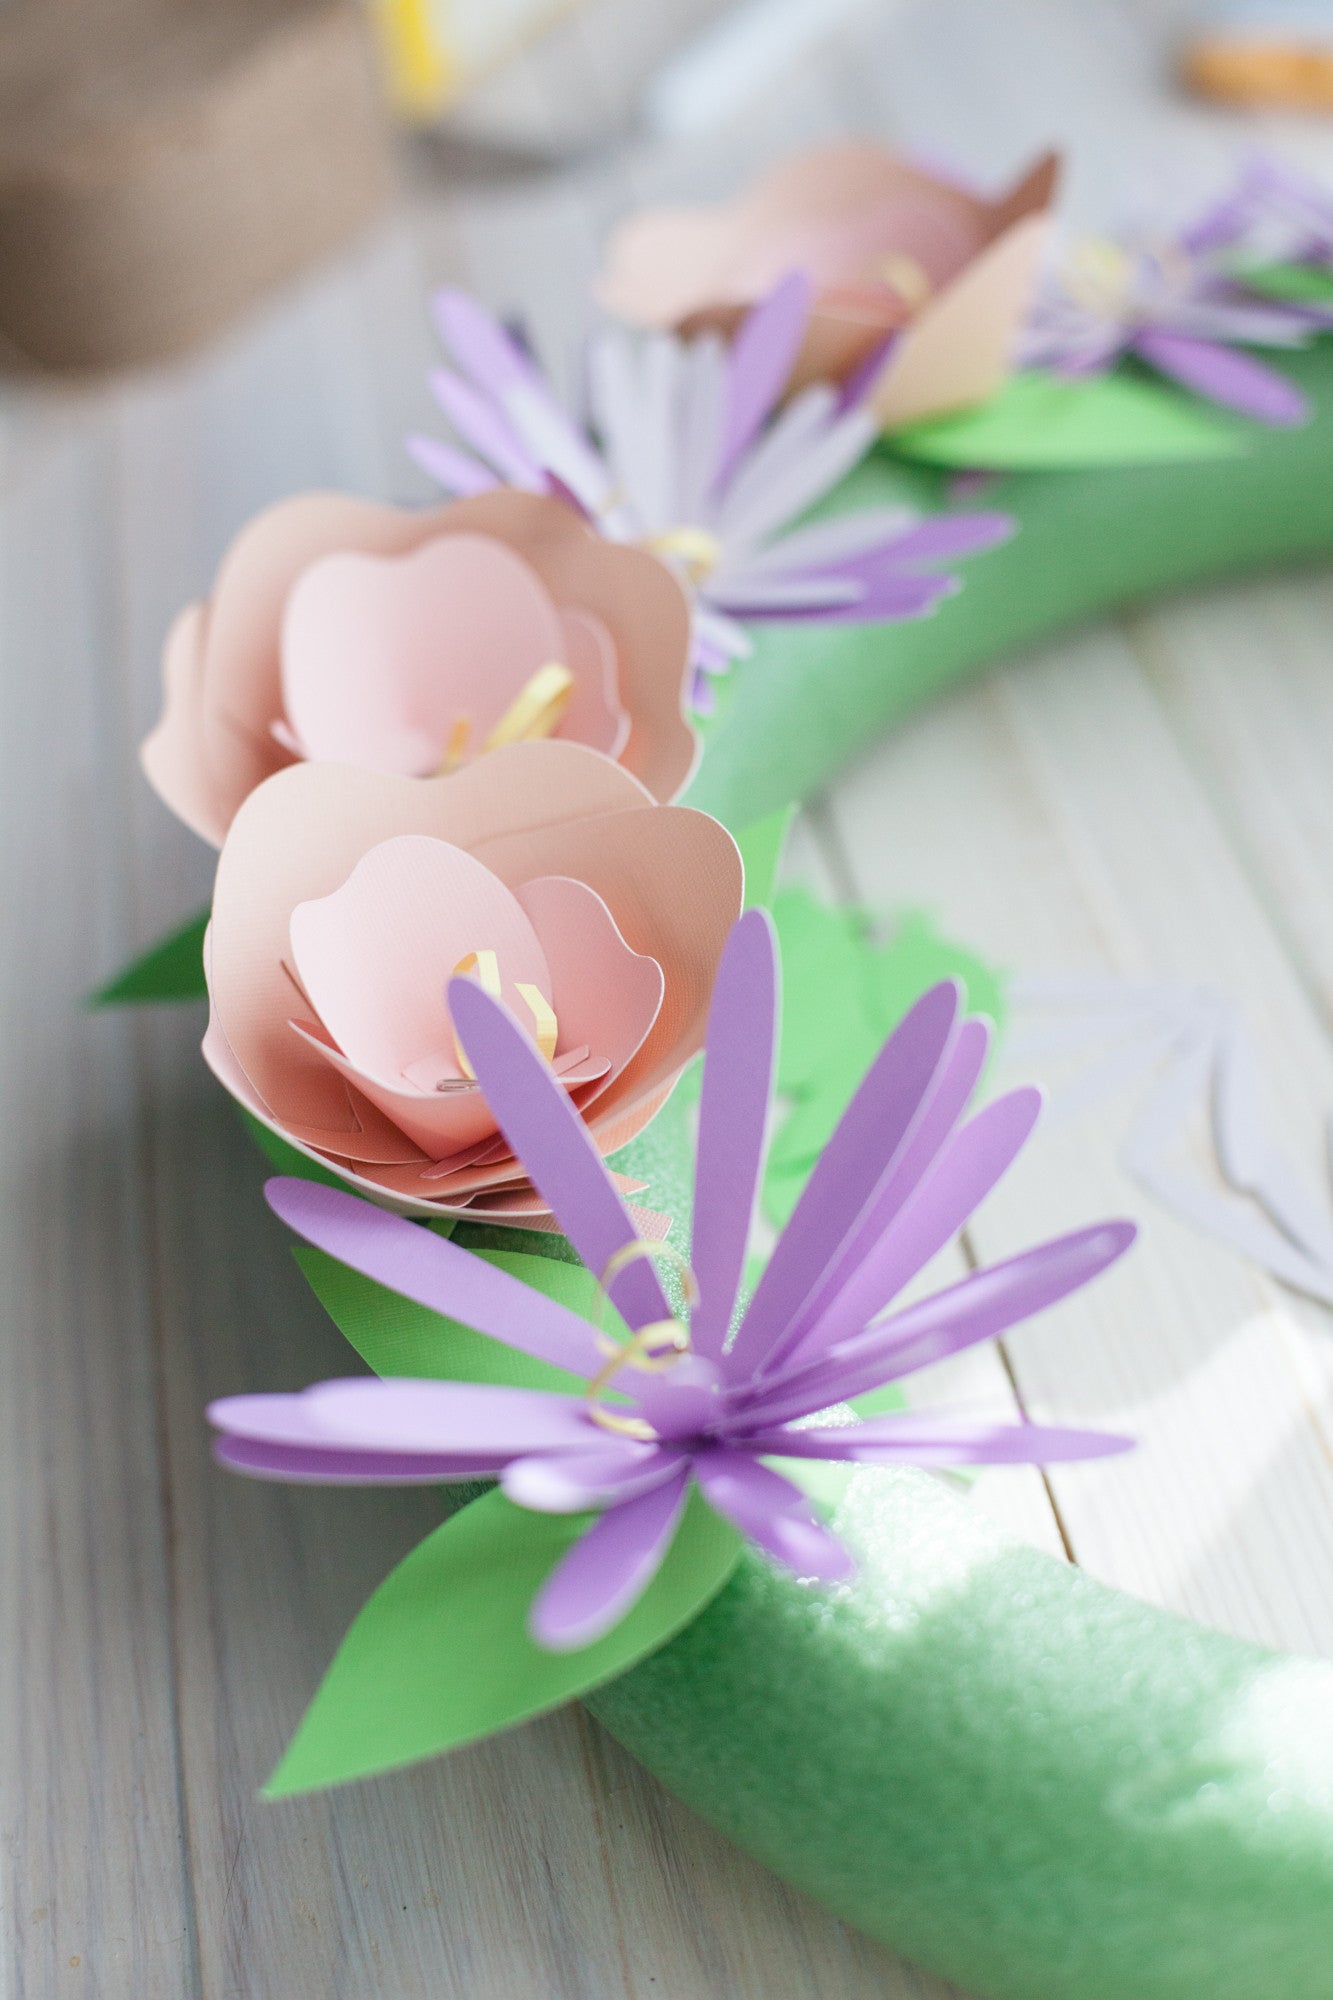
9. Pin leaves in the gaps to make the wreath fuller.

10. Add a burlap ribbon to hang the wreath on the front door.

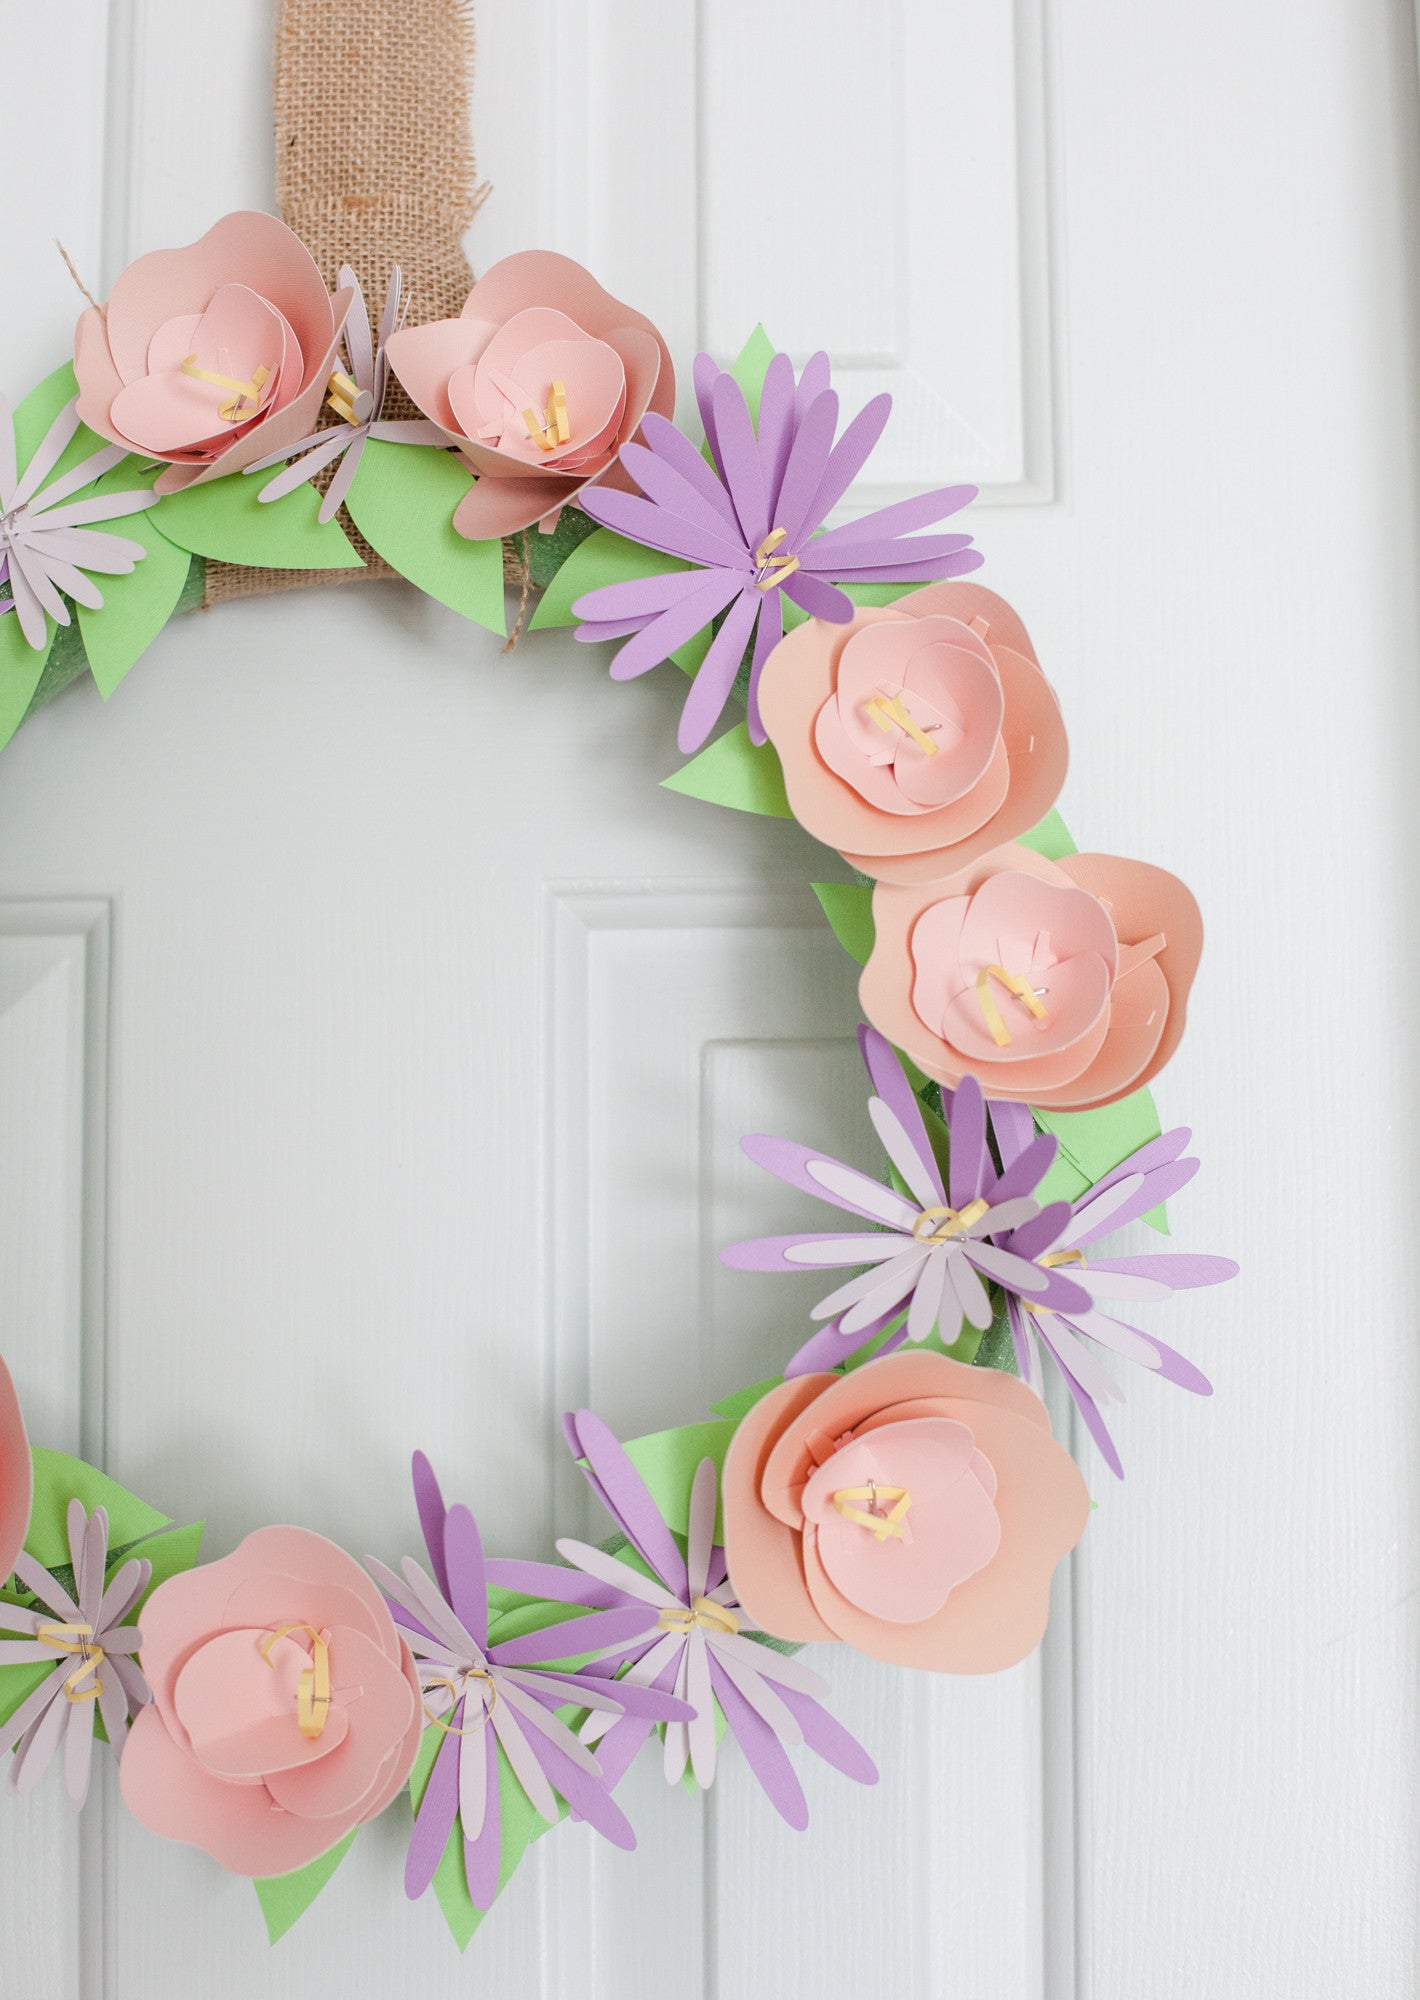
Now you can make this perfect paper flower wreath. If you don't have a Cricut, I suggest you look into buying one. It makes crafting so much fun and easier! You can do so much with this machine. Do you blame me for having two Cricut machines in my craft room? I'm completely obsessed with it. You need this too!
Share your # NationalDIYDAY creativity by tagging @craftboxgirls and using the hashtags. See you online April 2nd!
-Chan
Connect with Cricut: website | instagram | twitter | facebook | pinterest
This is a sponsored conversation written by me on behalf of Cricut. The opinions and text are all mine.