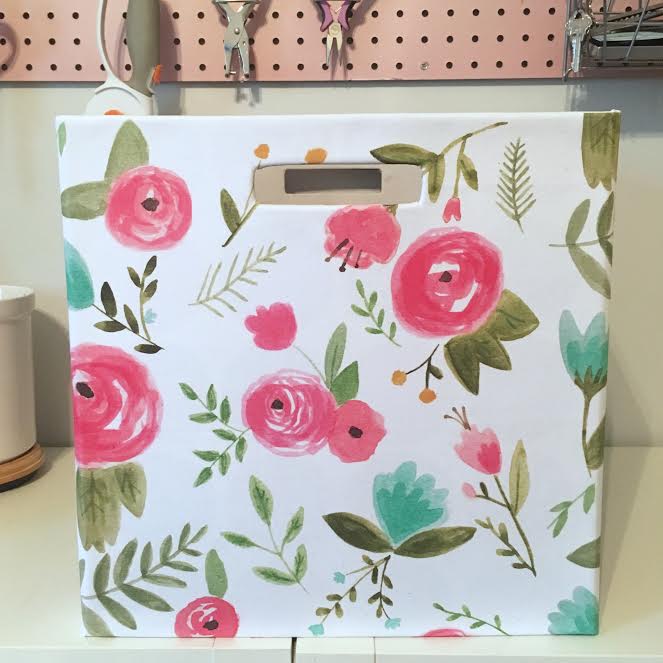
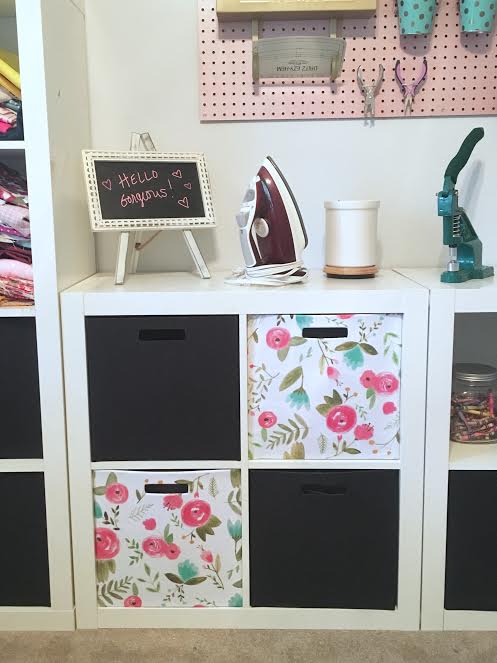
I recently purchased my first home! YAY! And anyone who has moved into a new home, apartment or dorm knows that moving is A) expensive and B) a pain in the butt. I wanted to give my sewing studio an update and I didn't want to spend a fortune but some of the essentials I use for storage were not fitting my vision I had for my studio. You know those collapsible fabric bins that fit oh so nicely in cubbies? I love those but replacing all of them can be pricey so I decided to give them a makeover myself. This is great for anyone on a budget and wanting a little change to their decor like college students!
This is what you'll need:
- Storage bins
- Fabric*
- Multipurpose adhesive spray
- Scissors
- Binder clips
- Ruler and pen
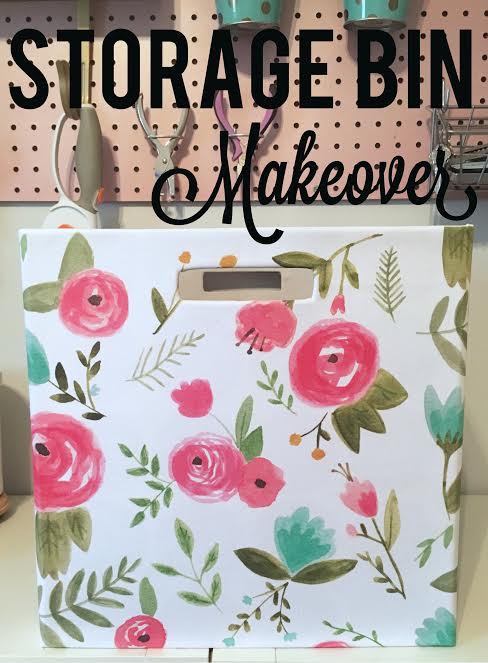
*The amount of fabric you will need will be determined by the size of your storage bins. My bins are 13"Lx13"Hx13"W and both pieces of fabric were roughly 16"x58" - that being said 2 yards of fabric should cover 2 bins comfortably.
Step One:
Iron your fabric and lay it out on a flat surface. Place your bin on one of the sides that will be covered in fabric. Measure and mark 2" from the bottom of the bin and 2" from the top. Cut along the lines. Now that you have the width of the fabric cut, wrap the entire piece around the bin as if you are wrapping a present, and just like wrapping a present, mark and cut off access fabric once the bin is completely covered.
Step Two:
Keep the fabric right sides down. In a well ventilated area, spray the back side of the fabric liberally with the adhesive spray. Carefully lay the bin on its side in the center of the fabric, press to secure. Then slowly, wrap the fabric around the sides of the bin, smoothing the fabric across with your hand making sure that the fabric does not bubble.
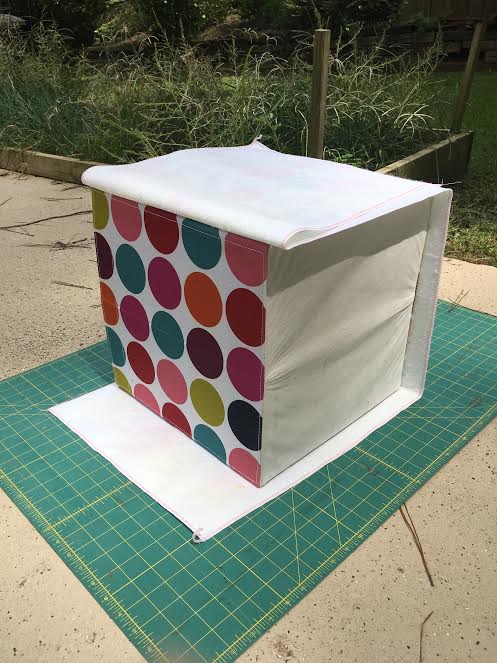
Step Three:
Begin to fold the bottom of the fabric to the bottom of the bin, respraying the adhesive where necessary. You may need your scissors to clip and smooth out corners so there's minimal bulk. Think of this as wrapping a gift when folding over the bottom and top edges.
Step Four:
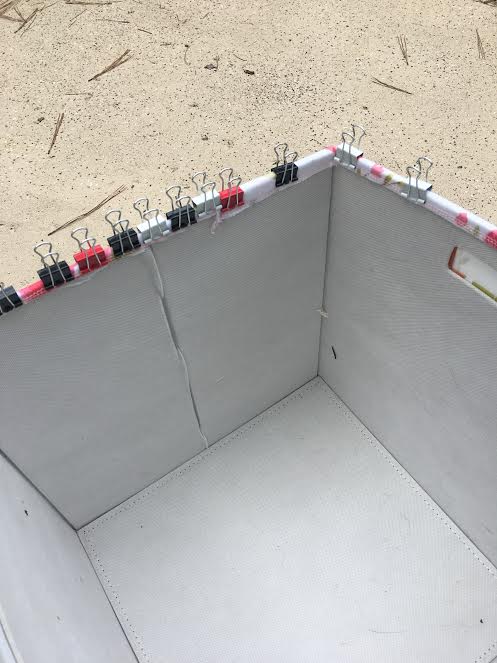
Take your scissors or an Xacto knife and cut a straight line in the center of the fabric at the handle, then cut a slit at all 4 corners. Spray adhesive and fold inward toward the inside of the bin. Use binder clips if necessary to hold the fabric to the bin. Allow 24 hours to completely dry before using.
Enjoy your new bins and your easy makeover to your space!
Follow me on Instagram for more fun crafts and ideas. Visit my blog at Jersey Peach Designs.
Laura