
We posted a reel a few weeks ago on Facebook and it went viral with over 1.4 million views, 4200 likes and 1400+ shares. Everyone was asking for a full tutorial and templates so we put together a comprehensive visual tutorial and created templates! I hope this helps make it easy for everyone!
If you love this project, you can get full project tutorials for the whole family delivered to your inbox! I would love for you sing up for my newsletter.
Here is the Facebook Reel that went viral or you can watch it on Facebook:
Click HERE to download the template for the layers for free. Save to your computer, print and cut out the pieces. Additional templates linked below.

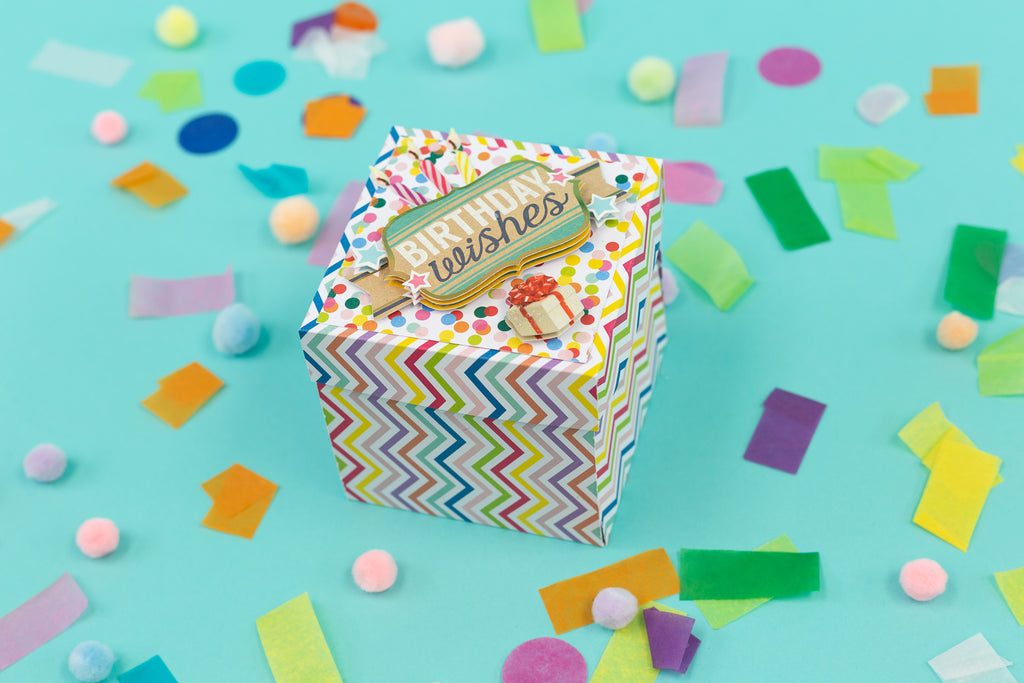
Here is what the box will look like once you are done. You can customize by selecting your favorite paper, stickers, adding pockets to the layers and more! You can also put something in the box as an extra surprise.

Once your templates are downloaded you will need the following to get started:
- Templates for layers. CLICK HERE to save, download and print the template.
- Template for Lid. CLICK HERE to save, download and print.
- (4) 12"x12" pieces of cardstock
- Additional cardstock to add pockets or mat photos. CLICK HERE for a template to use for pockets or photo mats.
- Scissor
- Pencil
- Tape Runner or Paper Glue
- Stickers for Decorating
- Ruler
Follow these steps to make the first (largest layer). You will use the 4" square.

Follow these instructions to make the middle layer. Use the 3.75" template.

Follow these instruction to make the top layer (smallest). Use the 3" square.

Now it's time to attach all three layers of the box. You will fold them at the seams so you can easily fold them up form the box.

Follow these instructions to make the lid of the box. You will use the lid box template.


Once all 4 corners of the lid are taped/glued together it will slip onto the top of the box and hold it together!

All that is left is the fun part of decorating your box, adding photos and stickers!
This is the our final box that went viral!
If you love this project please share it with friends, feel free to pin it on pinterest and I would love for you to subscribe to my newsletter.
Happy Crafting
Lynn :)
