

How do you re-cover a stool? It sounds pretty complicated right? It's actually a really easy DIY and one that can make quite a dramatic change to your decor. I absolutely love the fact that you can completely change the look of a room just by choosing a powerful print to re-cover your stool with!
I have a thing where I hate to throw things away or spend too much money changing something especially if it can be done at home which is why I decided to do this DIY. I thought it's time to change the fabric of my dressing table stool. It's a very easy and cheap way to give a stool a whole new look.
This stool I am recovering came with my lovely dressing table. The dressing table is a French style dressing table and while I feel it is a timeless piece, the fabric on the stool has become a little old. On the other hand, the colours of the fabric stool were so gorgeous that I ended up buying a stripy fabric that were similar in colour with the old fabric. I kind of kept it safe as I still want the dressing table to look timeless so I just went for a simple striped print.
It is also so easy to do and you can jazz up pretty much any old stool. (Except the ones with buttons, those are covered a little differently to these.)
What You'll Need:
- Fabric
- Stool
- Scissors
- Screwdriver
- Staple Gun
- Pins


- Once you have separated the two parts, pull the staples out of the fabric. This is going to need quite a lot of yanking and pulling as the staples are held down quite tightly. I used my scissors to pull them out with but you can use a stronger tool if you feel it's too hard to pull out.

- Once all of the staples are out, take the old fabric from the cushion board and use it as a guideline to measure out your new fabric.

- Place your new fabric down flat making sure there are no creases. Take the old fabric and place it on top so you have a guideline for what size you should cut the fabric down to.
- Pin both of the fabrics together around the edge.
- Cut around your fabric. I cut mine a little larger than the old fabric as I wanted some extra space to be on the safe side. You can always cut this excess off later.
- Unpin your fabric and place the cushion board on top.
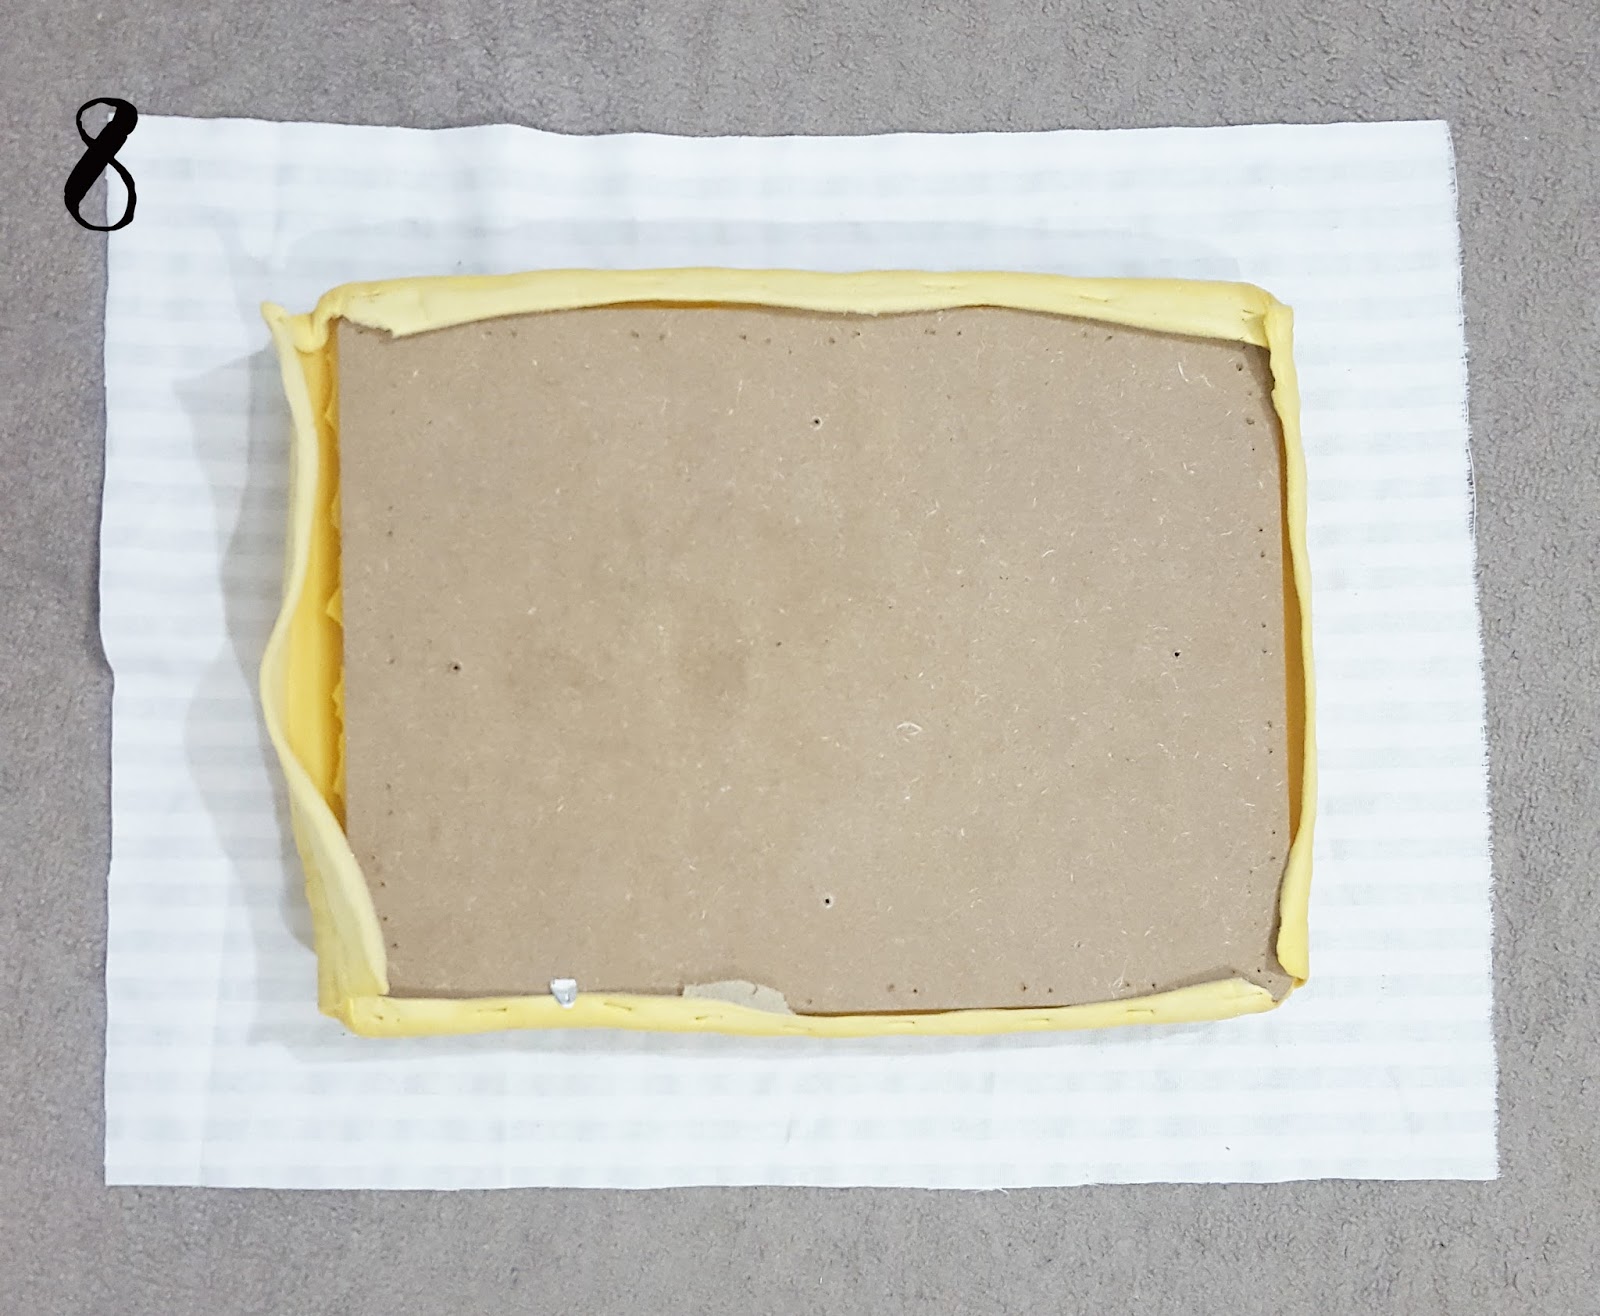
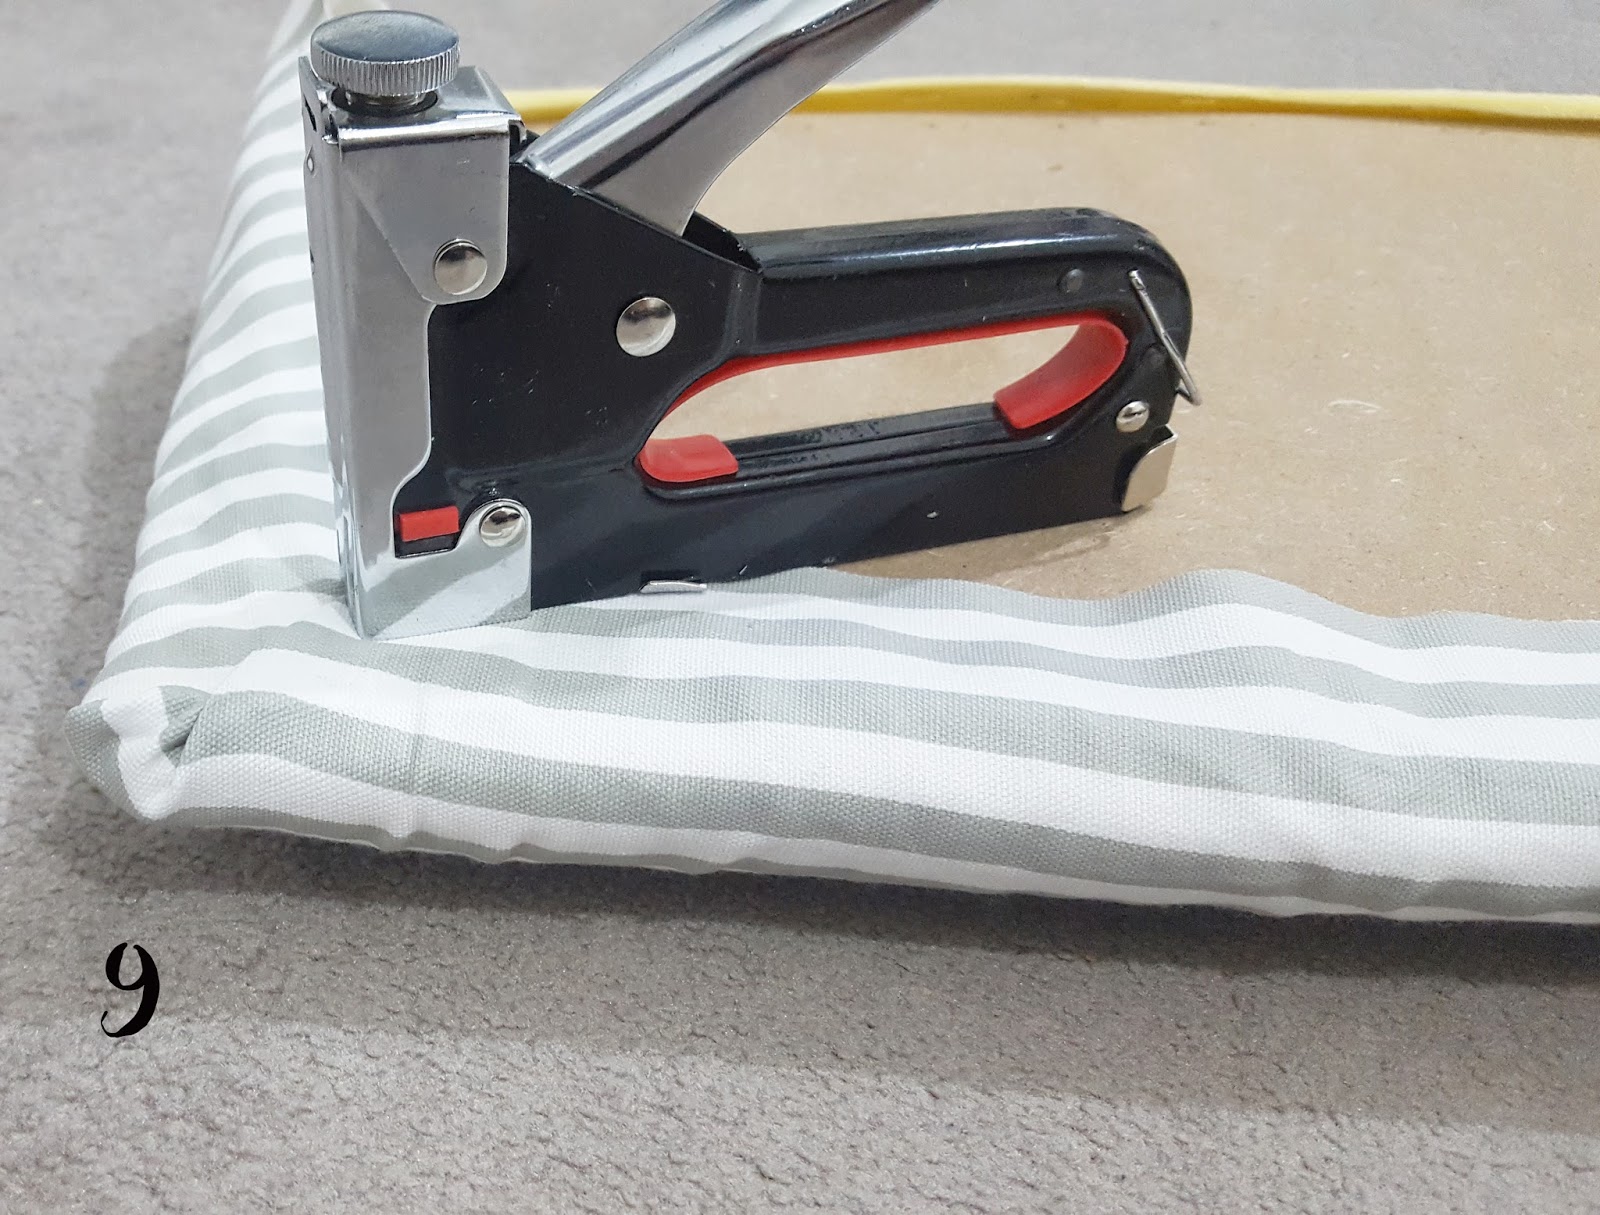
- Fold over your fabrics quite tightly and staple down the fabric. Keep the staples quite close to each other so there isn't any loose fabric later. If you like, you can tape down the fabric first, so you know how tight you would like to staple it down. Then when you've finished stapling it, just take the tape off.
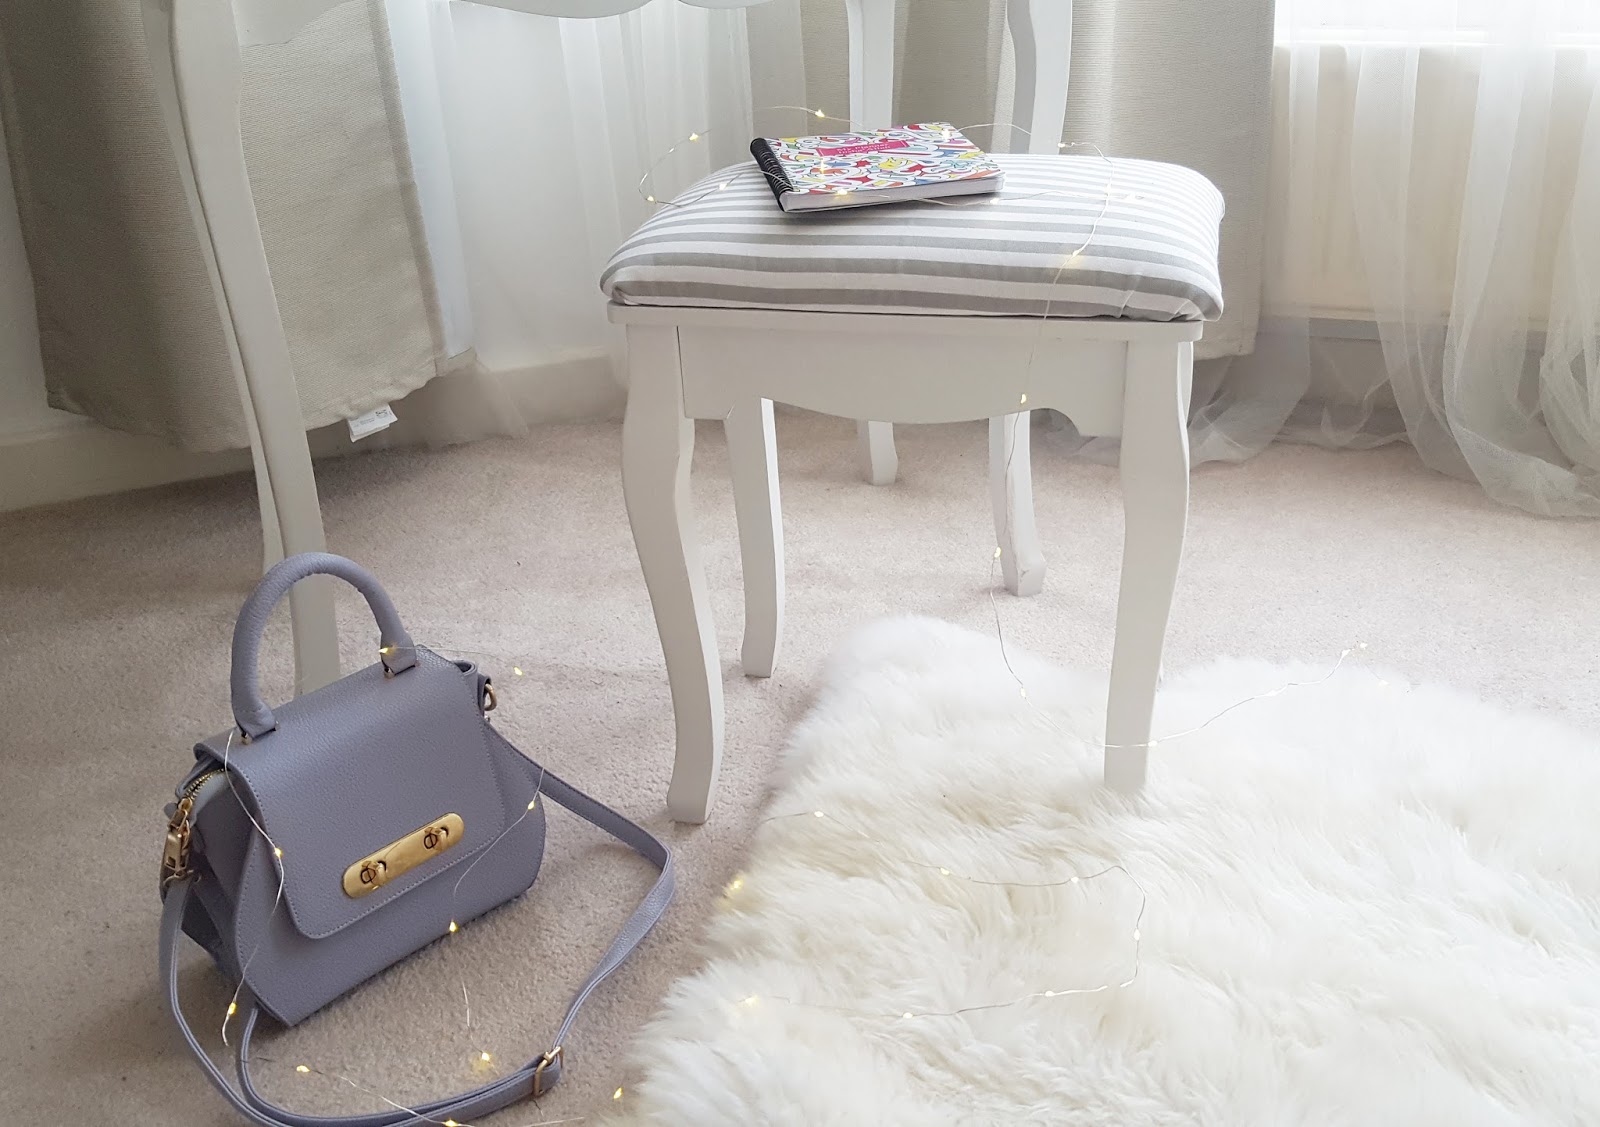
- Once you have stapled it all down, screw the cushion board back onto its legs.
- Check for any creases or loose fabric. If all looks great, then you're done! A "brand new" stool!
National DIY DAY Ambassador| Step Inside My Handbag
About Sainab:
London
My blog is a interior and creative lifestyle blog which I started after moving into my new flat. I wanted to show snippets into my little world of getting settled in and decorating my new home. As I have always been such a craftsy person, doing DIY's just naturally became a part of making it a home for my family and I.
Connect with me: Website | Facebook | Pinterest | Twitter | Instagram |Email