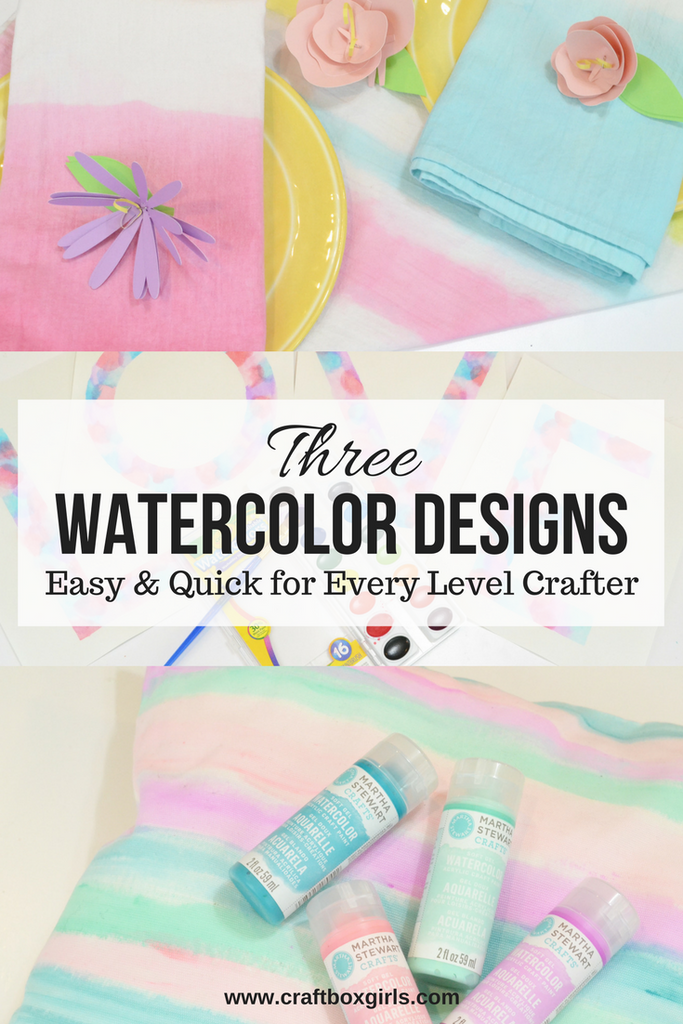
I am completely obsessed with the watercolor trend. Watercolor patterns are showing up in fashion, home decor and art! The best part about watercolor is that you easily can create beautiful pieces uses multiple different projects. This is literally the perfect DIY for the self-proclaimed non-crafty! I created three different watercolor styles using Rit Dye, Crayola Watercolor Paint and Martha Stewart Acrylic Watercolor Paint (brand new)!
Watercolor Throw Pillows
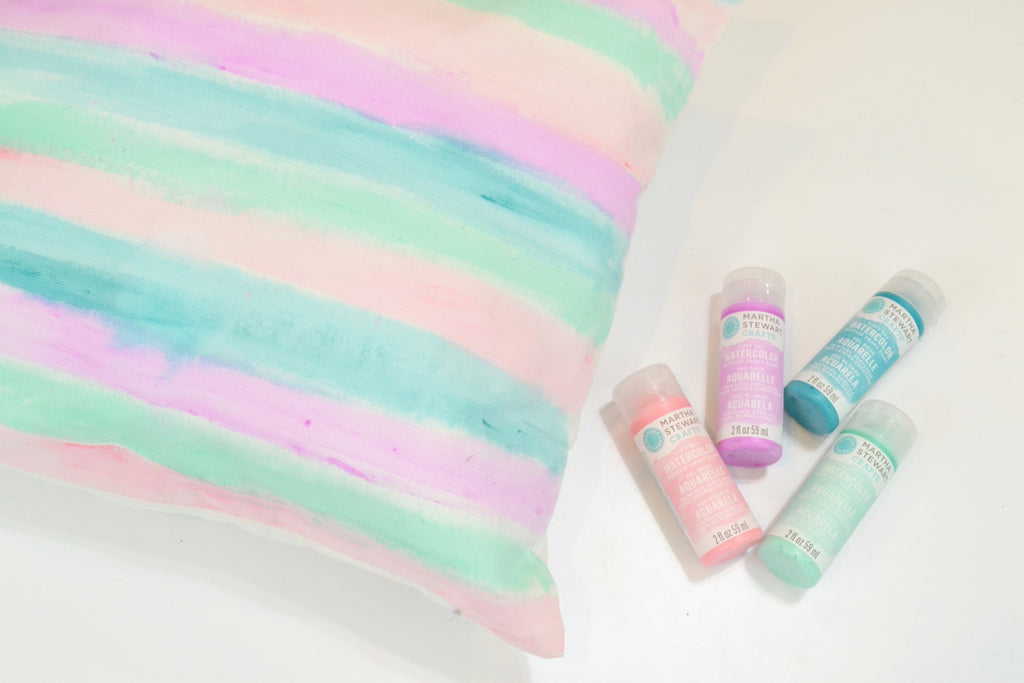
Supplies:
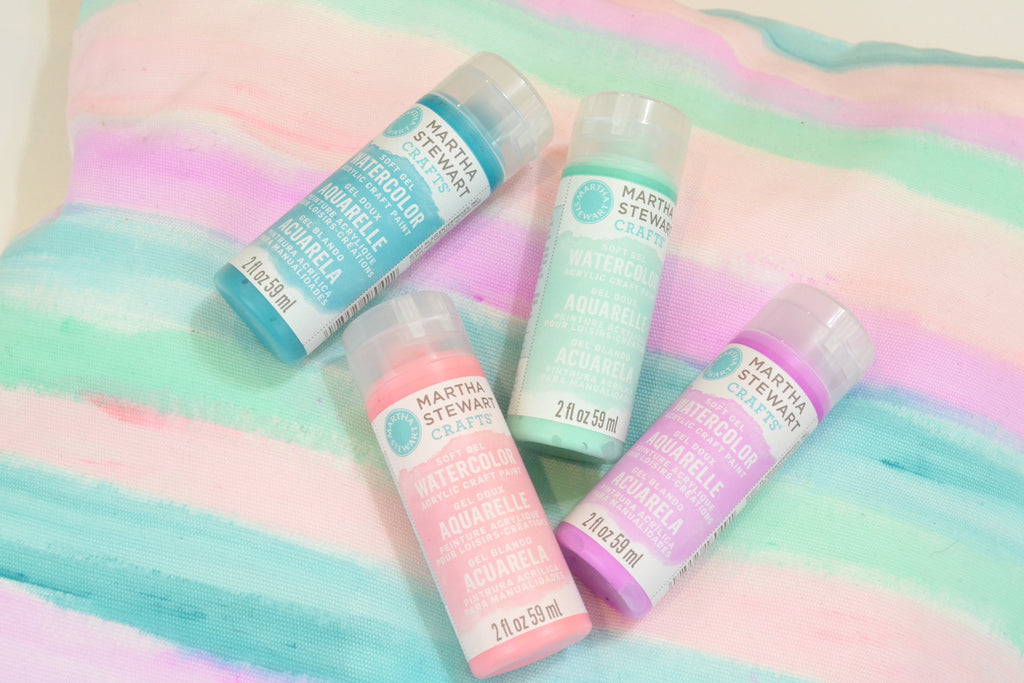
- Martha Stewart Acrylic Watercolor Paint (exclusively at Michaels)
- Brush
- Water
- Plastic cup or plate
- Fabric throw pillow case
- Cardboard
- Paper
- Paper towel
Directions:
- Place cardboard inside the pillowcase so it does not bleed.
- Squeeze a quarter size of paint in a cup. Add a little bit of water to water it down until you get the desired consistency. Test it on paper. I wanted mine watery so I added a decent amount of water.
- I suggest offloading your brush on a paper towel before applying paint to the pillow. This will avoid adding more paint than you intend.
- To get the look I created apply long strokes across the pillow and create color blocks. I left a slight amount of negative space between each color so the white was still visible.
- Throw the wet pillowcase in the dryer for 30 minutes on high heat to set the paint.
- Wash by hand for all future uses.
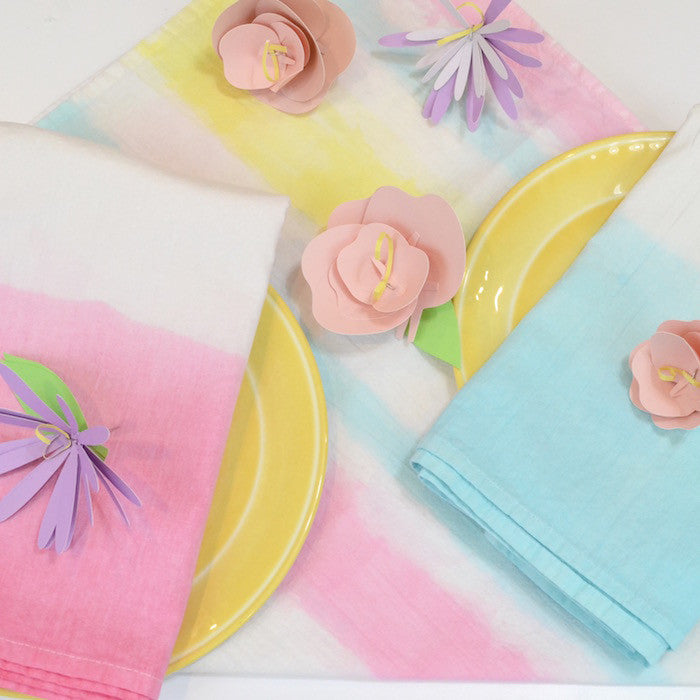
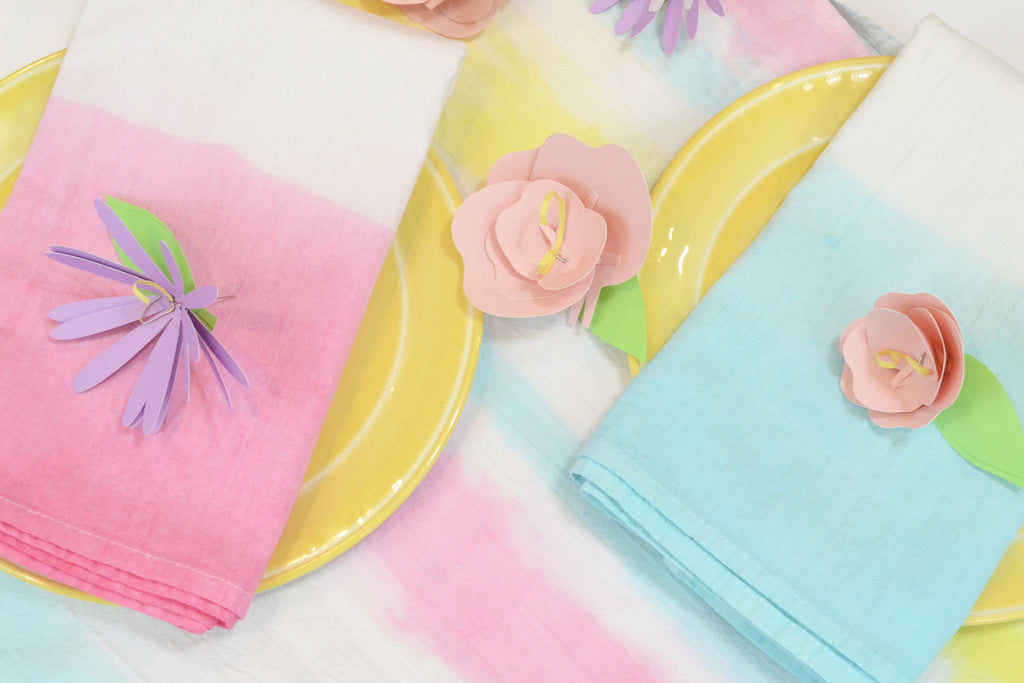
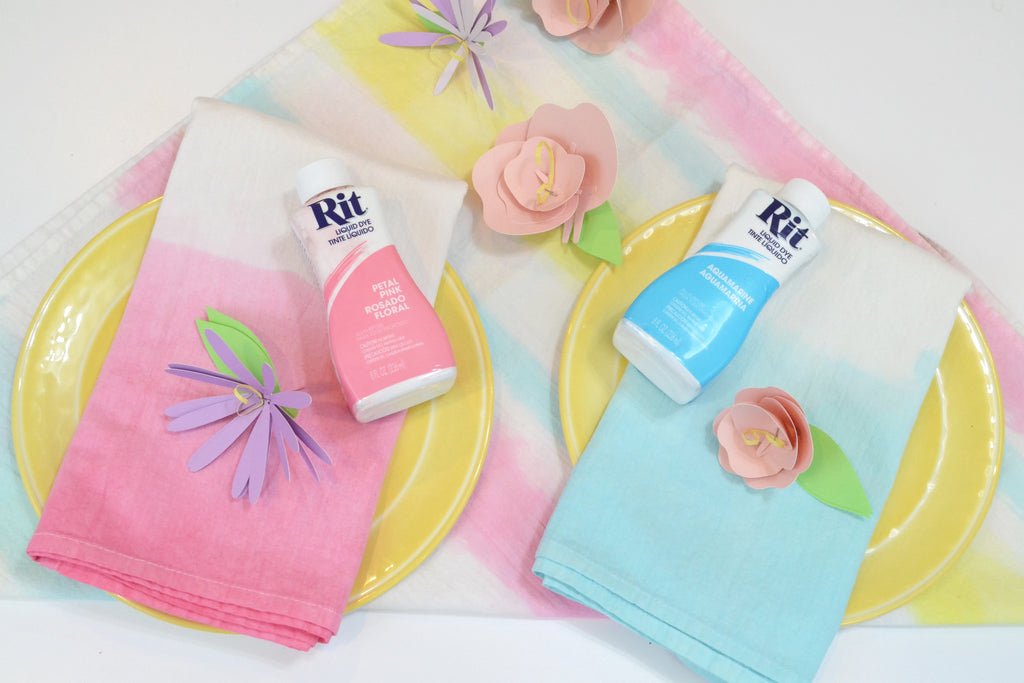
Rit Dye Ombre Linen Napkins
Supplies:
- Linen Napkins
- Rit Dye
- Hot Water
- Glass or Metal Bowl for Dipping
- Gloves and Apron
- Salt
- Parchment
Directions:
- Heat water on your stove top. It should not be boiling but really warm.
- Pour water in a metal or glass bowl.
- Put on gloves and apron. Dye stains!!!
- Spread parchment paper on a flat dry surface.
- Follow the instruction on the dye bottle to add the correct amount to the water. I added about 1/4 cup of salt to about 10 cups of water. The salt will help set the dye.
- Fold the napkin like you want to display it on your table.
- Dip the napkin 1/2- 3/4 of the way in the dye. Dip again but do dip as far down. Continue to do this until you get to the bottom. This will create an ombre effect.
- Place the napkin on parchment until you are done dipping all your items.
- Once you are done dipping, run the dyed part of the towel under cold water and ring out. Make sure the water runs down over the dye so it does not hit the non-dyed part of the linen. This will release the excess dye.
- Throw the linens in the dryer while it is wet and dry for 30 minutes on high heat. This will set the dye.
- I suggest the first wash should be by hand with like colors. After the first wash, you can machine wash. I still recommend washing with like colors.
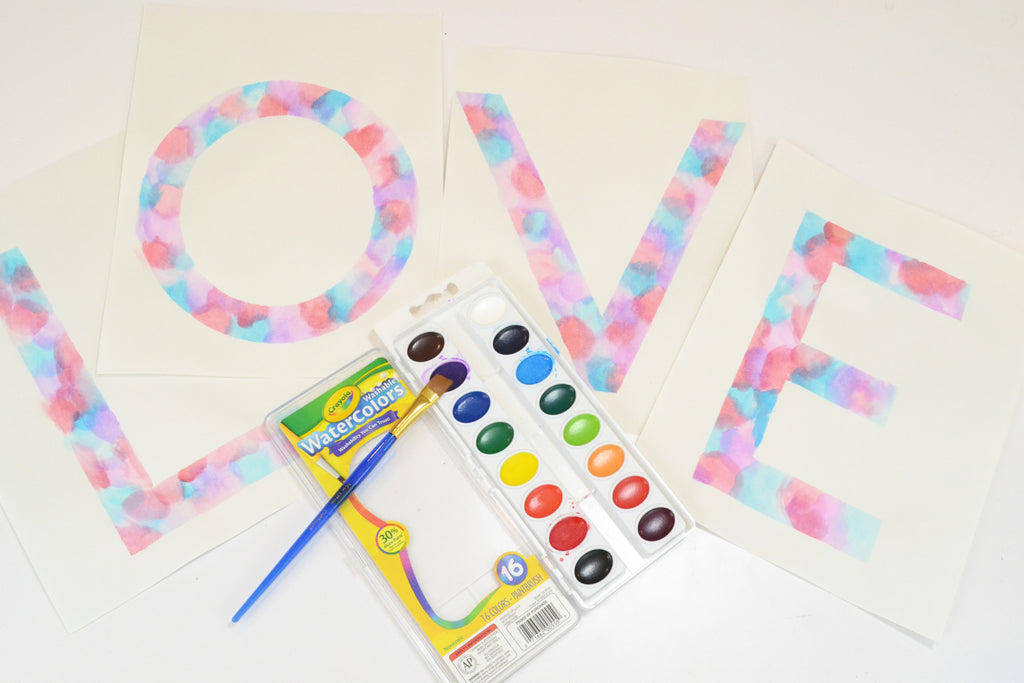
Watercolor Wall Art
Supplies:
- Crayola Watercolor
- Brush
- Watercolor paper
- Paper towel
- Stencils
- Paperclips
- Water
Directions:
- Use paperclips to secure the stencil to your paper. I used letters as my stencils to spell out the word, LOVE.
- Add a small amount of water to the color you want to start with. Use the paper towel to offload the excess paint so you do not soak the paper.
- For the technique pictured, I created small circles using pink, purple and blue. I blended each into each other.
- I created different shades of each color by varying the amount of paint on my brush.
- Once the stencil is filled, remove it and let your art dry completely!
- I suggest framing it for everyone in your family to enjoy!
Happy watercoloring!!
xoxo- LL