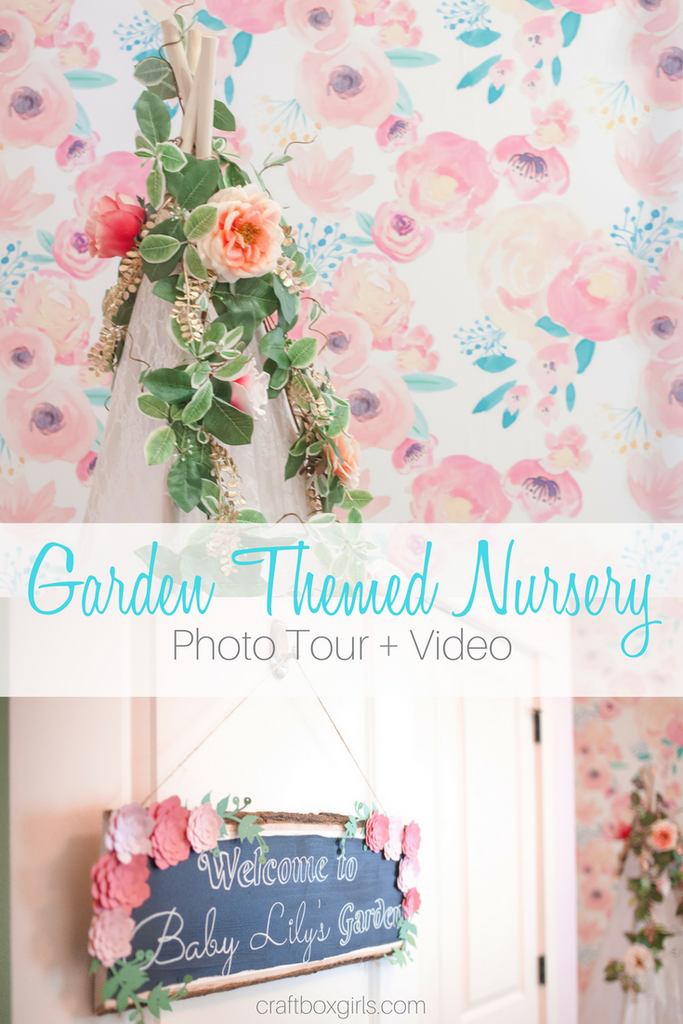
For the last few weeks my husband, parents and I have been working hard to perfect Baby Lily's garden-themed nursery. I am so excited to share it with you! Enjoy a "cribs" style video for the reveal. All the DIY, design elements, furniture, and products are detailed below the video with more photos (photo credit: Chan Vu)
Theme: Secret Garden
When I was selecting a theme for Baby Lily's nursery, my goal was to create a happy bright space that could grow with Lily well into her elementary years. Each element of her room was carefully selected and crafted to design the perfect sanctuary.
Walls: Color
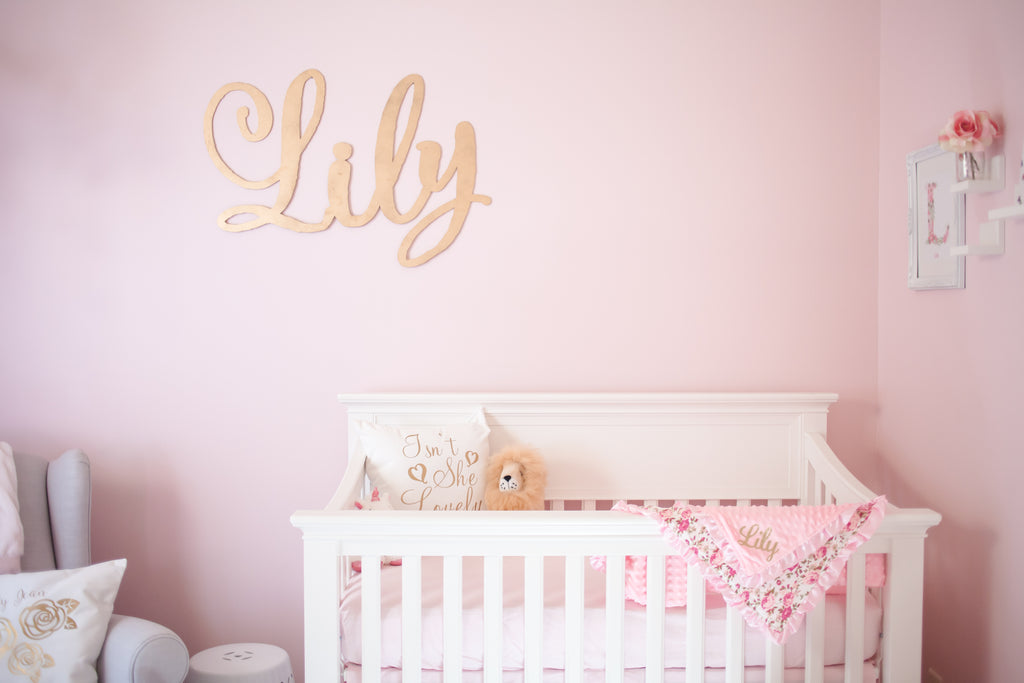
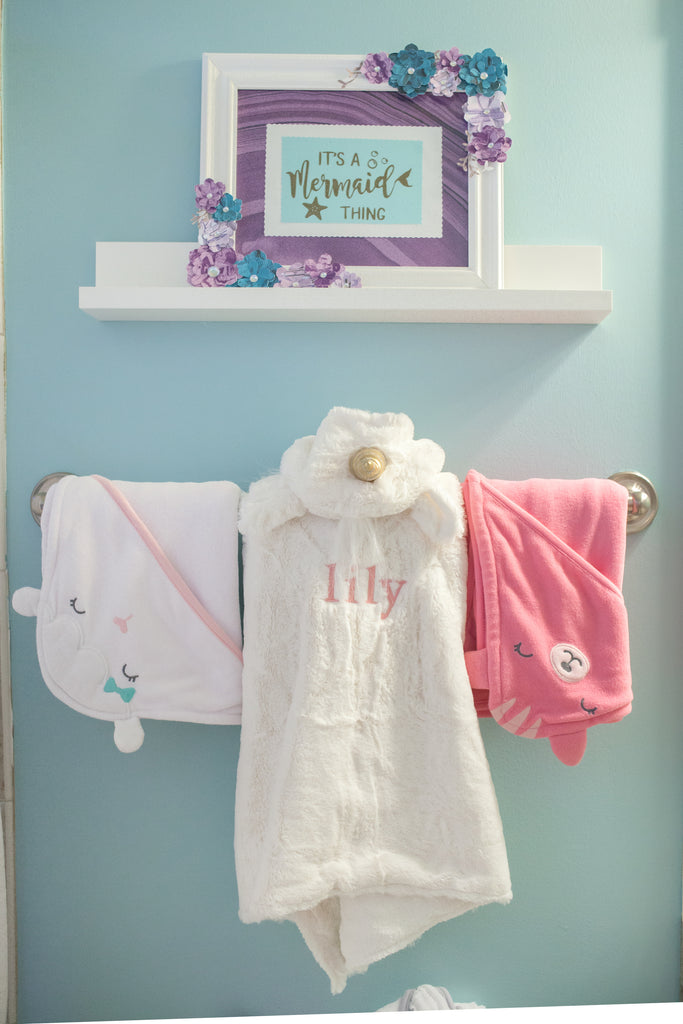
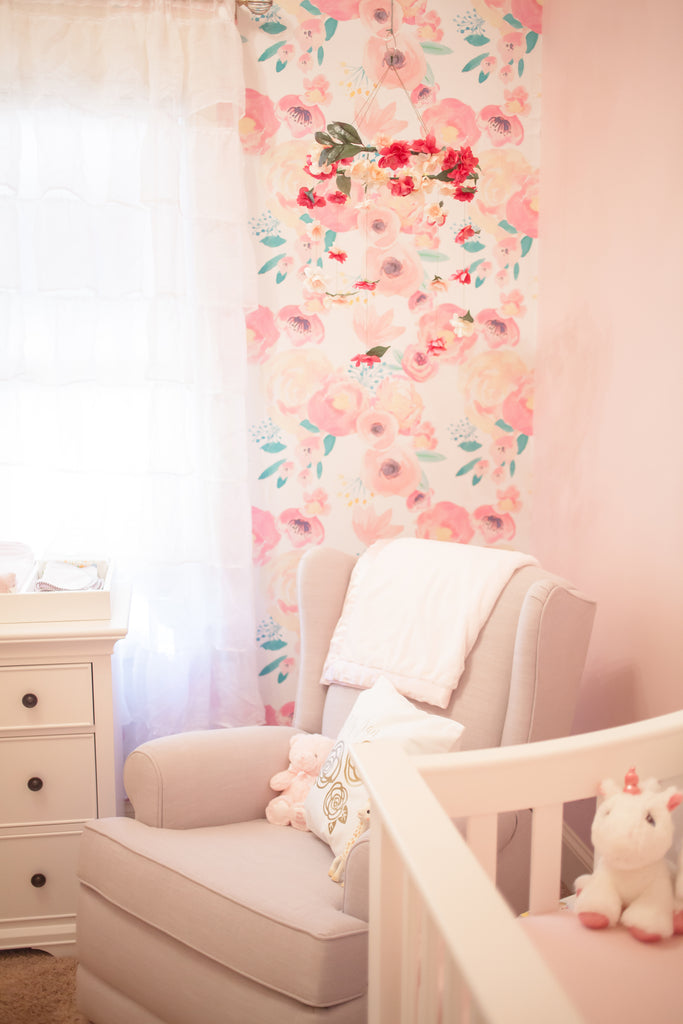
When selecting a color palette for the nursery I wanted a soft but vibrant pink to create a happy vibe and I was happy to discover Charming Pink (HGSW2047) for the bedroom from the Softer Side Color Collection of HGTV HOME™ by Sherwin-Williams. I love that the Softer Side Color Collection has so many colors that work well together, making it an easy choice to select Watery (HGSW2316) for the bathroom to create a calming magical bathroom! For the paint we chose HGTV HOME™ by Sherwin-Williams INFINITY® Interior Paint + Primer which comes in satin, semi-gloss, eggshell and flat. I selected eggshell for both and was thrilled with the sheen. I was so happy with the INFINITY Interior Paint + Primer as it went on quickly and easily with one coat providing a quick-dry, vibrant final color! HGTV HOME™ by Sherwin-Williams is available exclusively at Lowes Home Improvement.
*Please note HGTV HOME™ by Sherwin-Williams provided the paint free of charge for this project.
Walls: Pattern
I was on the hunt for a bright, floral watercolor wallpaper that didn't look too "childish" but still brought a fun playful vibe to an accent wall. I finally found this Indy Bloom Bush BabyB by Indy Bloom Design from Spoonflower and I love how it looks and works so well with my paint choices!
Walls: "Lily" Wooden Calligraphy Sign
I got this calligraphy laser cut name sign from The Gilded Line on Esty and hung it with 3m Command Brand Picture Frame Hanging Strips. I love not having to put nails in the wall, thanks to Command for providing me with all their awesome products for the nursery!

Shelves: Floating Shelves
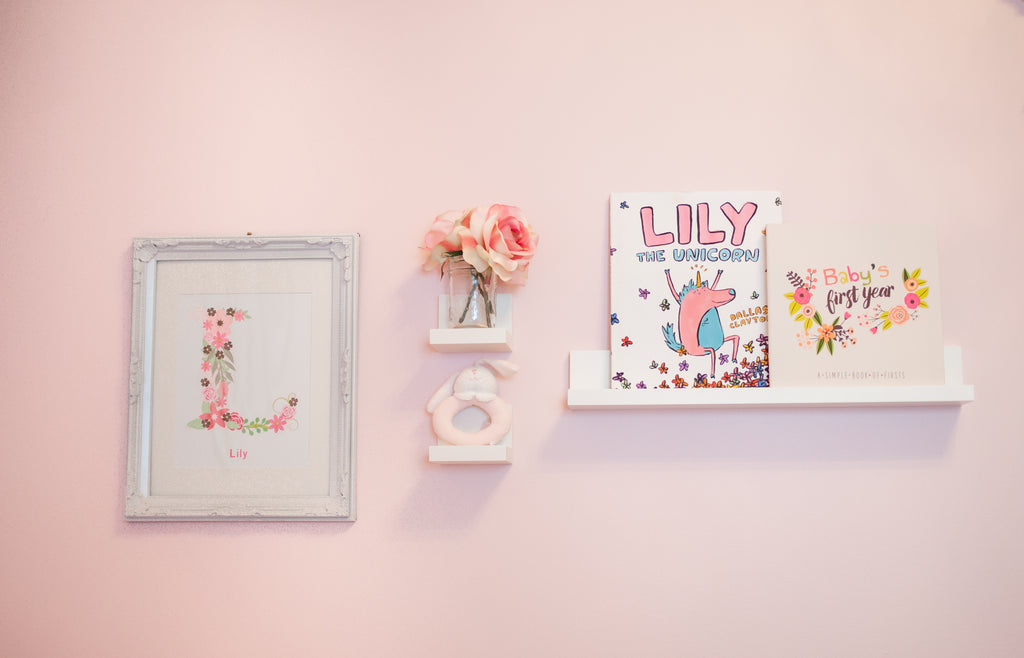
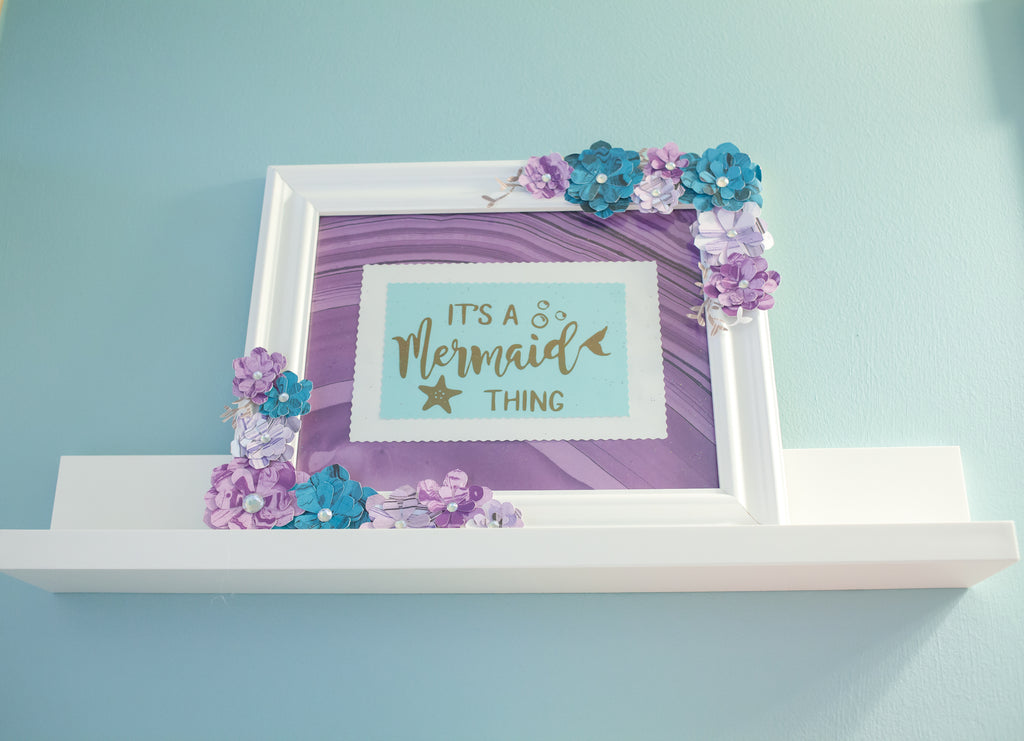
I used Command Brand Picture Ledges in the bedroom to display custom artwork and books and in the bathroom above the toilet to hold a handmade sign.
Flower Wall
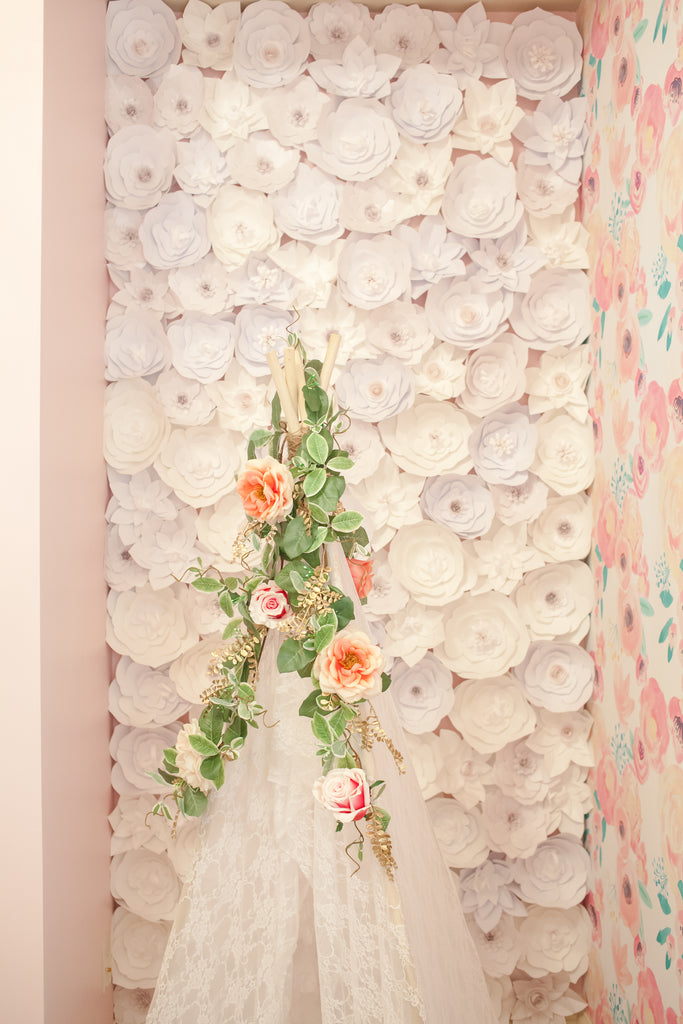
I am most proud of this wall. I had a vision from the very beginning to create this wall and even though it was hours upon hours of work for my mom and I we saw it through and were beaming after hanging the very last flower. There are approximately 115 flowers on this wall. 75% of them are hand cut and 25% were cut on my Cricut Maker. We found it faster to cut them by hand because we could stack and cut multiple sheets of papers. Here is the link to download the templates for a few of the flowers we used if you want to make them at home. Assemble them with hot glue and then use Scotch Permanent Dots to attach to the wall or preferred surface. Click here to watch a tutorial video we created a few months ago!
Furniture
Crib: Pottery Barn 4 in 1 Larkin Crib
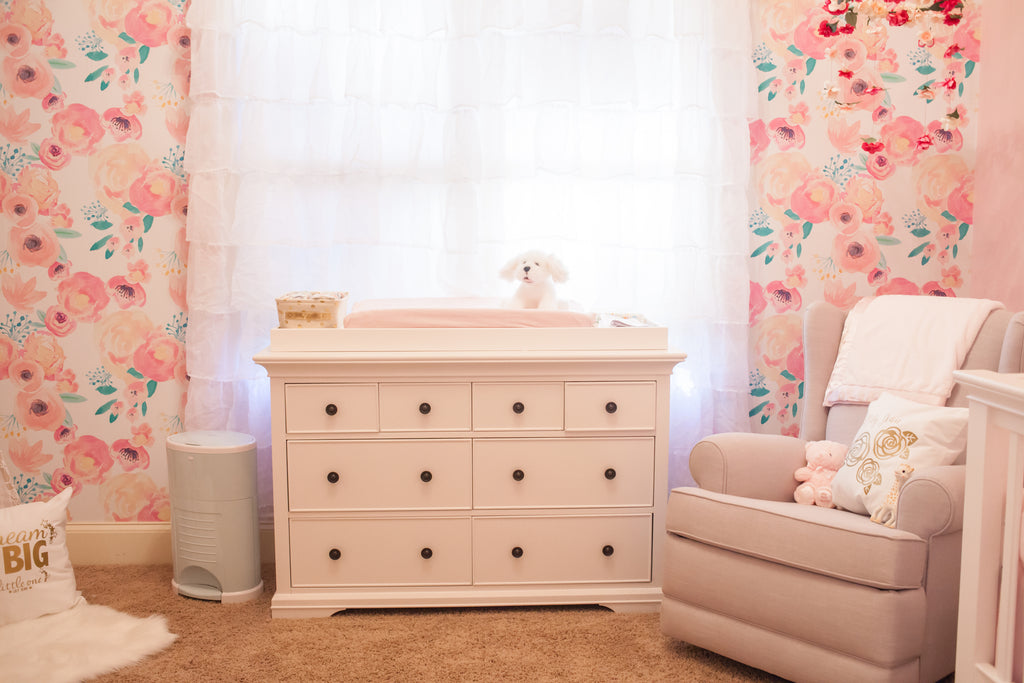
Dresser/Changing Table: Larkin Extra Wide Dresser + Topper
Chair: Pottery Barn Wingback Recliner + Glider
Side Table: Safevieh Castle Garden Collections Lattice Petals Garden Stool
Throw Carpets: 3'x5' Safevieh Faux Silky Sheepskin Area Rug
Chandelier: Pottery Barn Lydia Flush Mount Chandelier
Curtains & Rod: Shear Ruffle Curtains and Warm Gold Cage Rod

Additional Handmade Elements
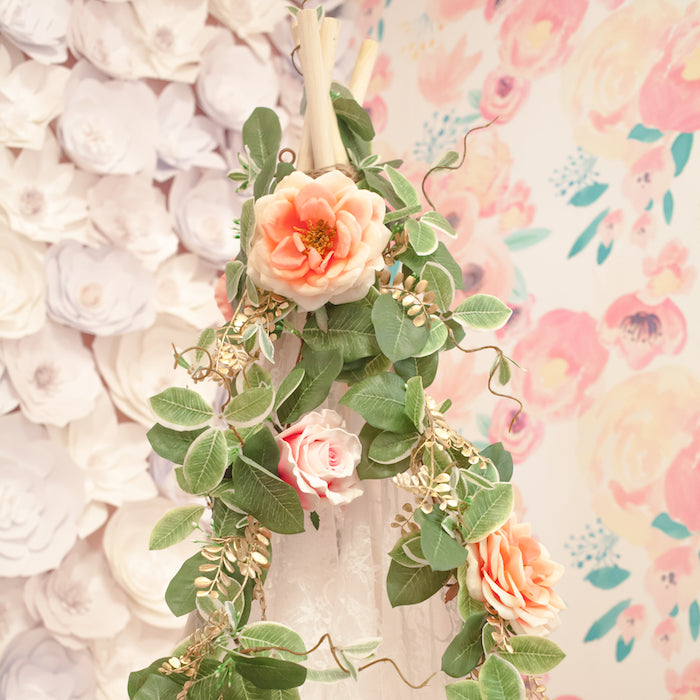
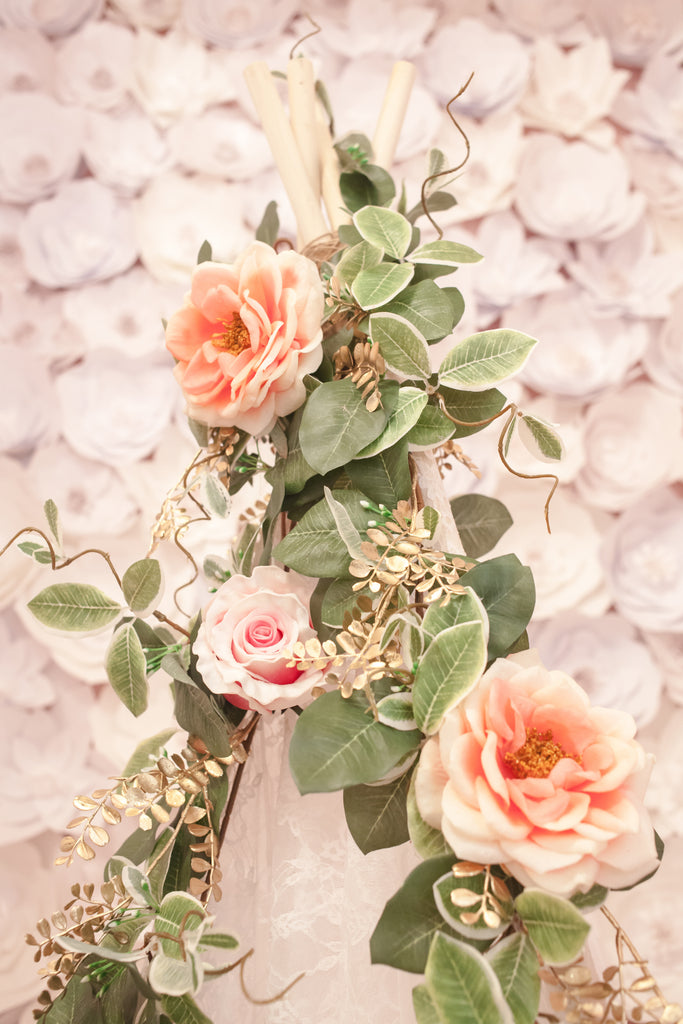
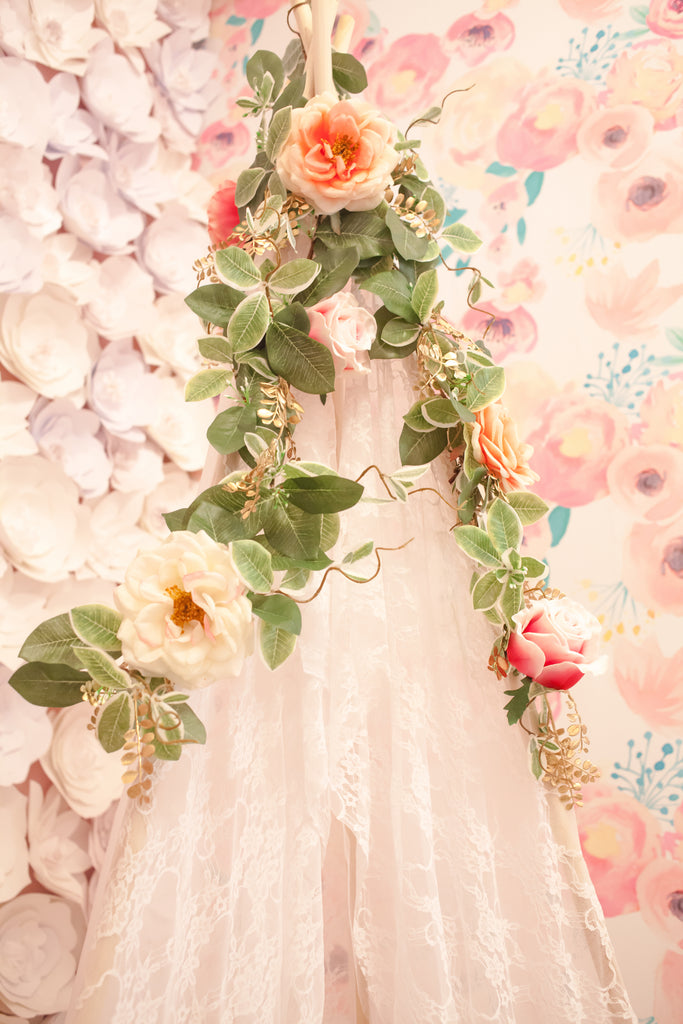
Lace Teepee: This teepee was also part of my original vision and I nailed the look I was going for. All you need for this Teepee is 1" dowels (they come in varying heights at the hardware store), Twine, lace fabric, floral garland (I build my own with ivy and faux luxe flowers from Michaels). Use the twine to tie the 4 dowels together so they form a square when spread out. Wrap as many times a necessary to create a snug fitting. Use hot glue to drape each side of the teepee with lace. Attach garland with floral wire! This truly is a 30 minute DIY that will provide hours of fun and hundreds of perfect photo moments!
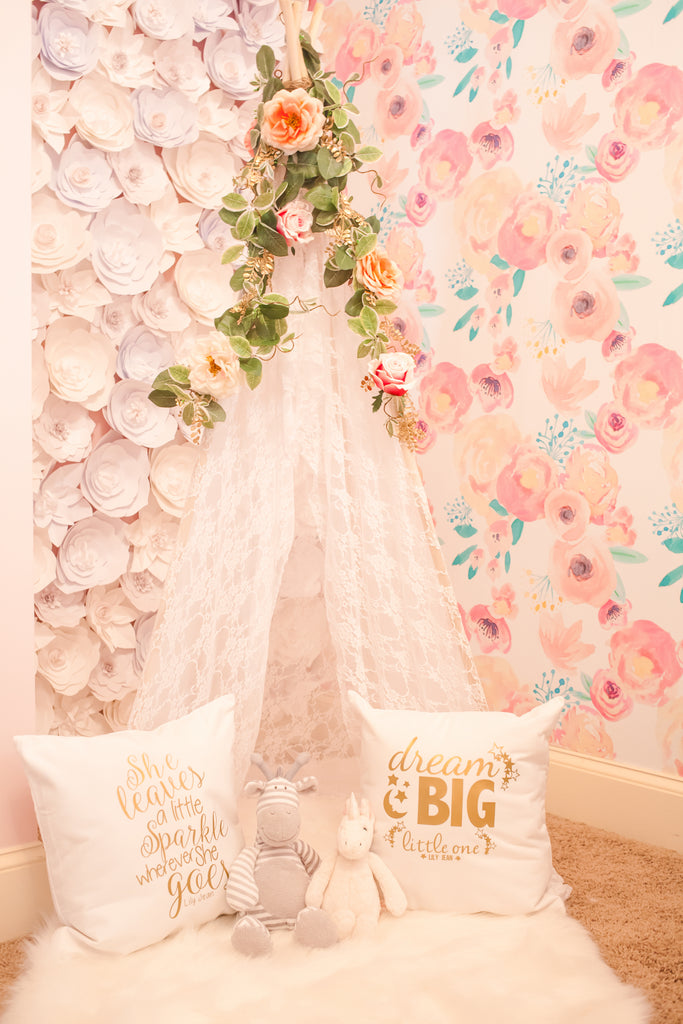
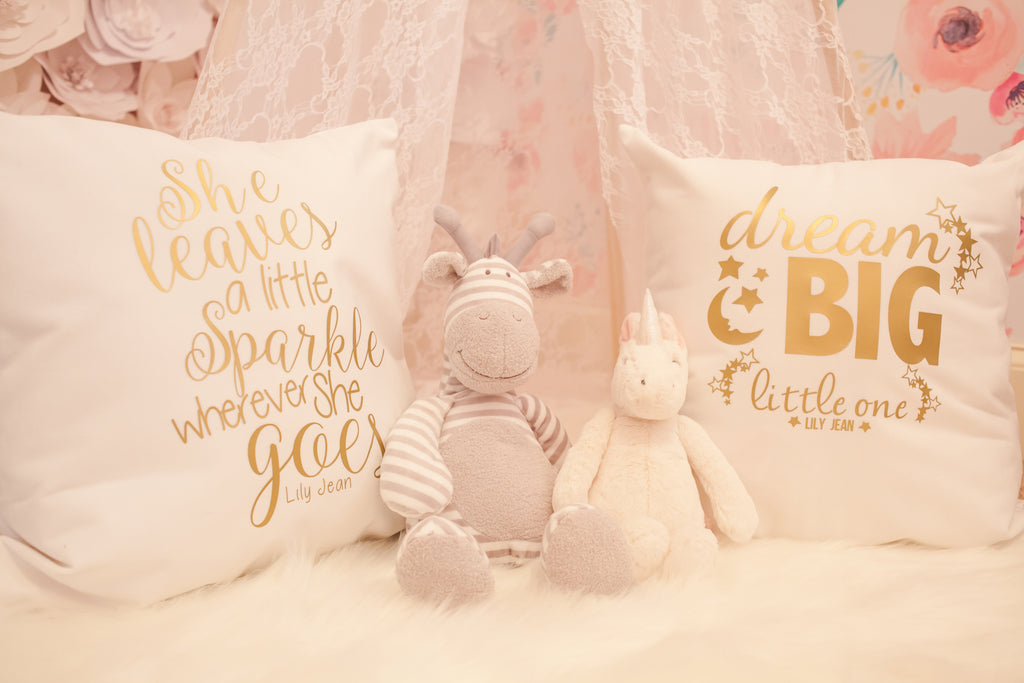
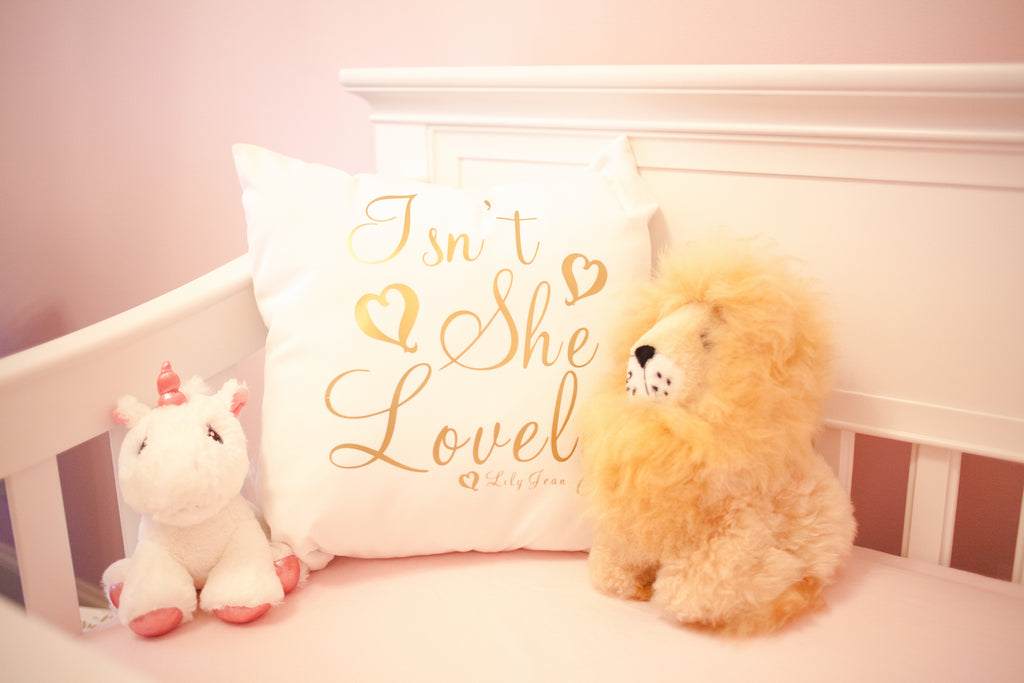
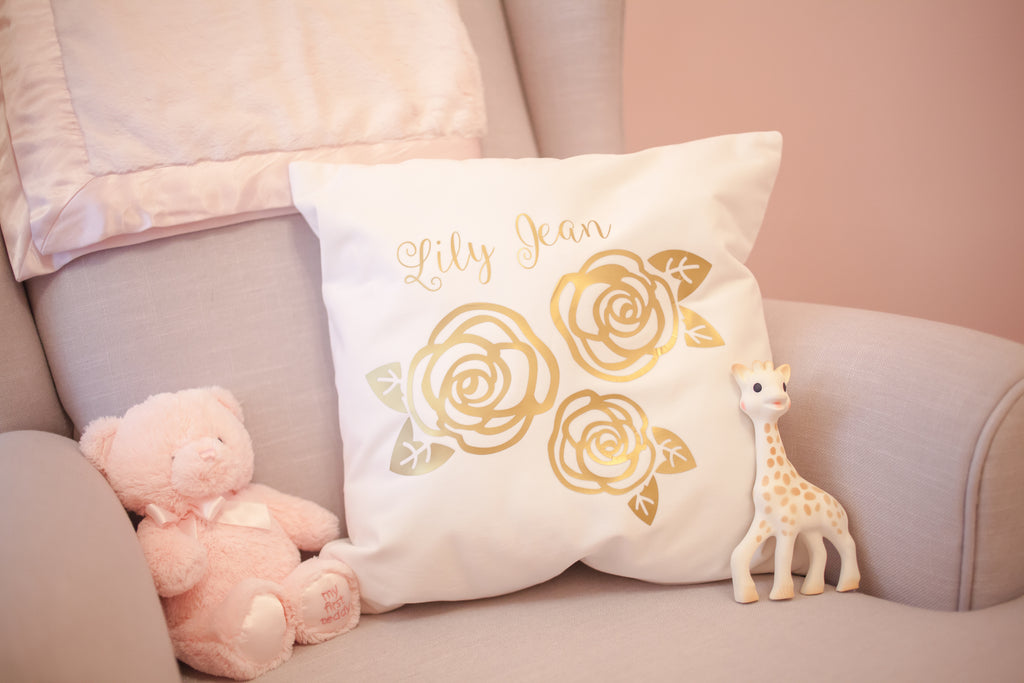
Personalized Throw Pillows: I used my Cricut Maker and EasyPress to create iron vinyl pillows. I created my own designs in Cricut Design Space. I found the softest pillows on Amazon! They feel like crushed velvet!
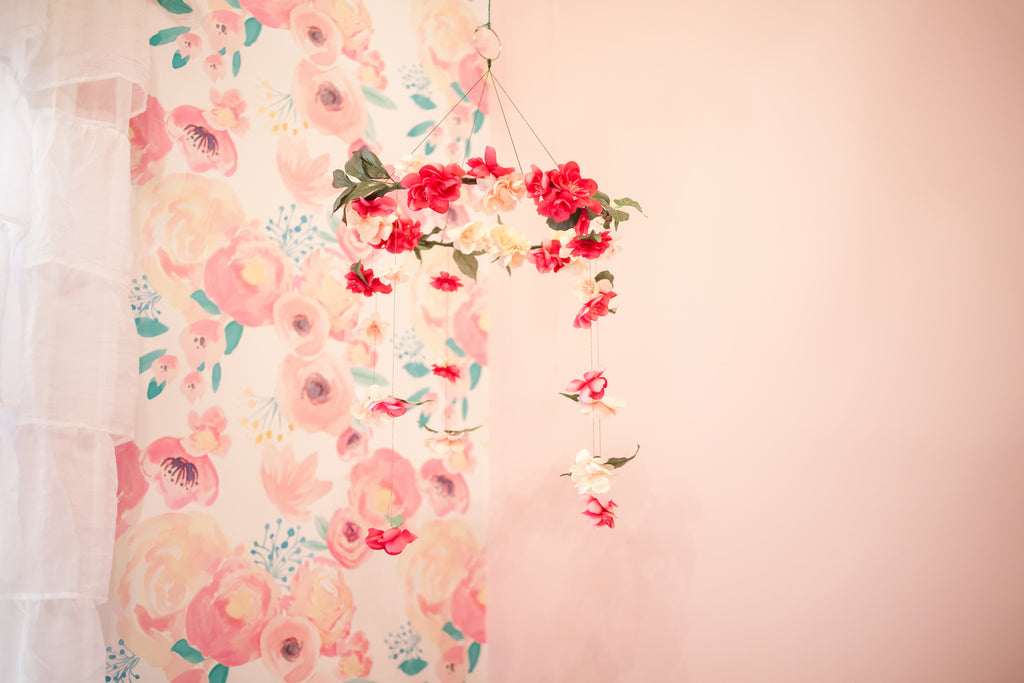
Floral Mobile: Chan, created this beautiful mobile for me using an embroidery hoop, faux flowers, and green floss!
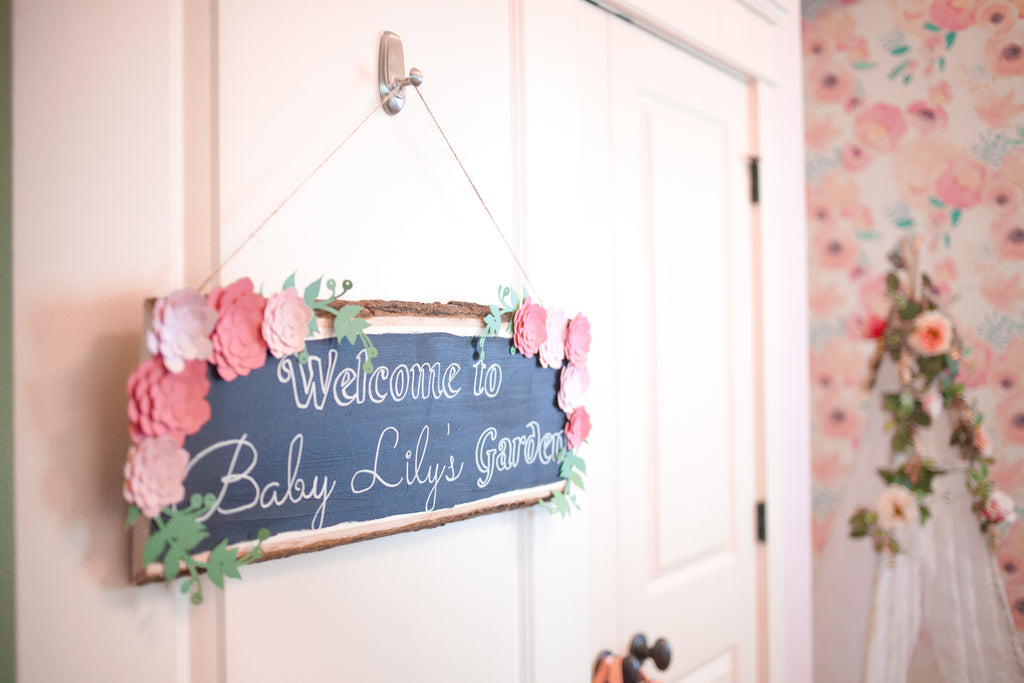
Baby Lily's Garden Door Sign: This sign was so easy and I think it makes a great statement upon entering the nursery. The basswood plank is from Walnut Hollow and you can watch the DIY video I created a few weeks ago for the step by step how-to. I hung the sign nail free with a Command Brand Hook.
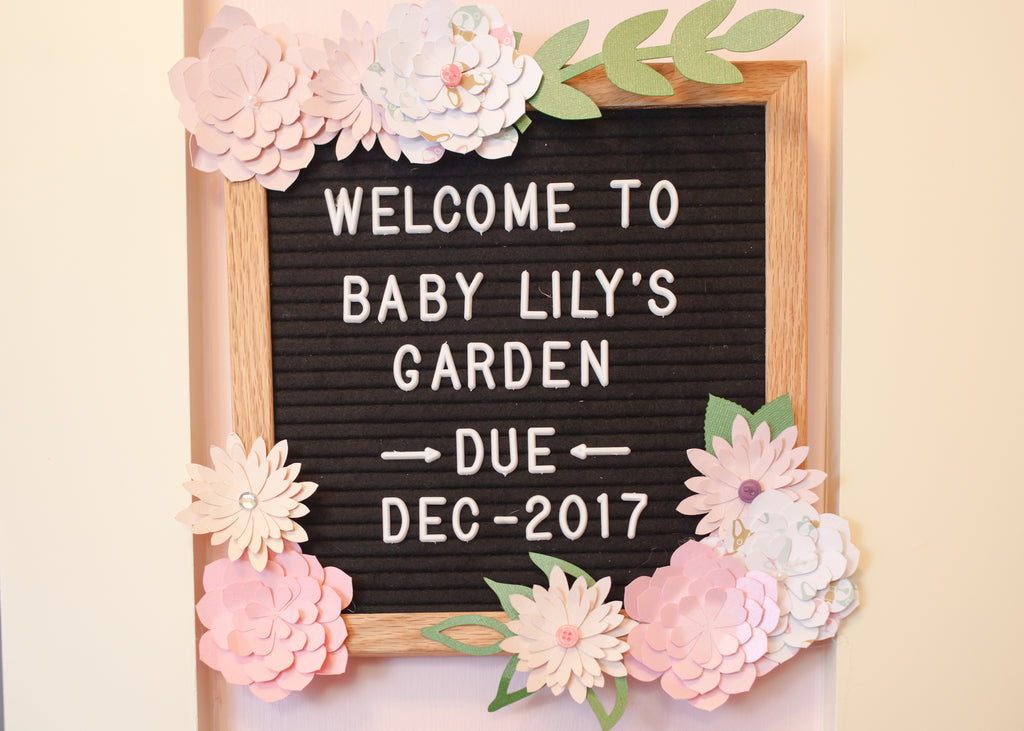
Letter Board: I bought this changeable letter board to create fun and inspiration messages each month. Right now it is awaiting her arrival! I dressed up my sign by adding paper flowers to the border.
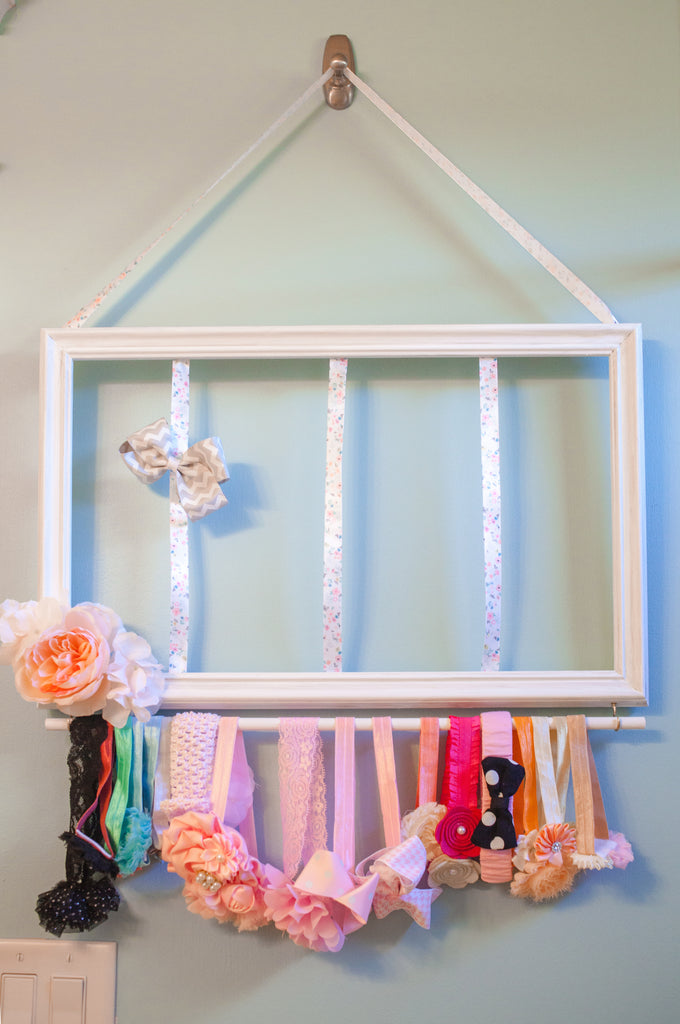
Ribbon Holder: Rosanna made this DIY ribbon and headband holder with a frame, dowel, ribbon and screw hooks! It is held up by a Command Brand Hook. I love that the nursery is nail free because of Command Brand!
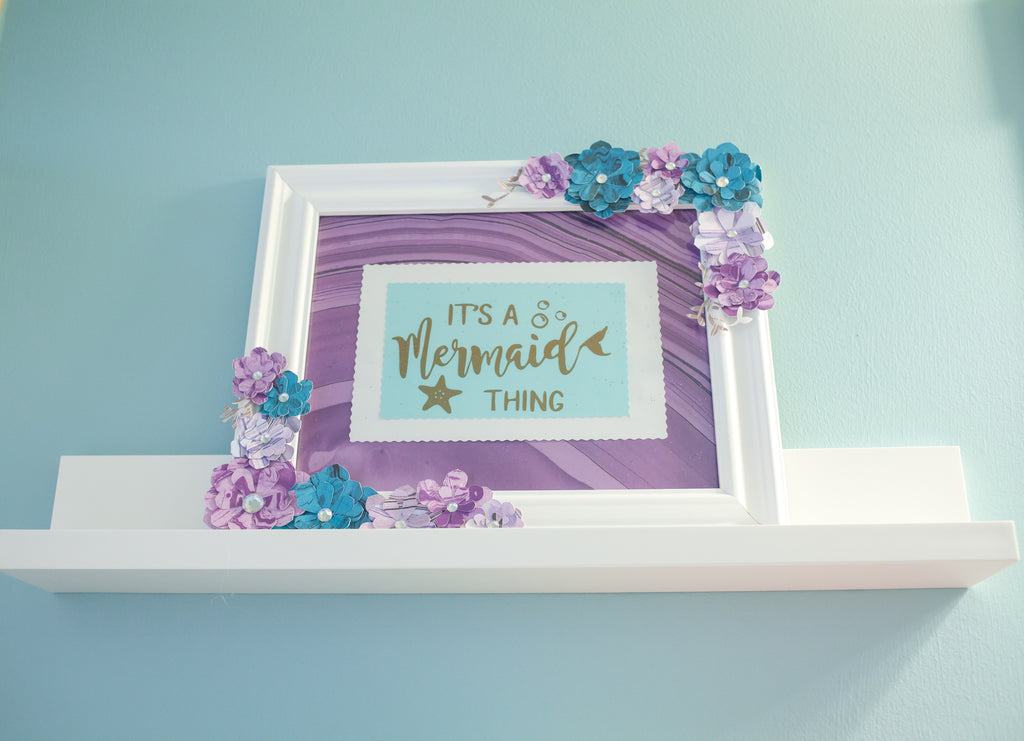
DIY Artwork: Hope created this fun "It's A Mermaid Thing" custom artwork using her Cricut! I love this fun motto for the bathroom!
DIY Letter Sign: These "Lily" letters are so easy! I used block wooden letters from Target and sparkle cardstock from Michaels. Trace the letters and the sides of each letter and attach cardstock with hot glue! And of course, I used Command Brand Picture Hanging Strips.
Additional Baby Essentials:
These are a few of my favorite essentials that making Baby Lily's nursery perfect!
Toys: Alpaca Fur Lion, Jellycat Unicorn, Cuddle Me Huggie Bear, Sofie the Girafe
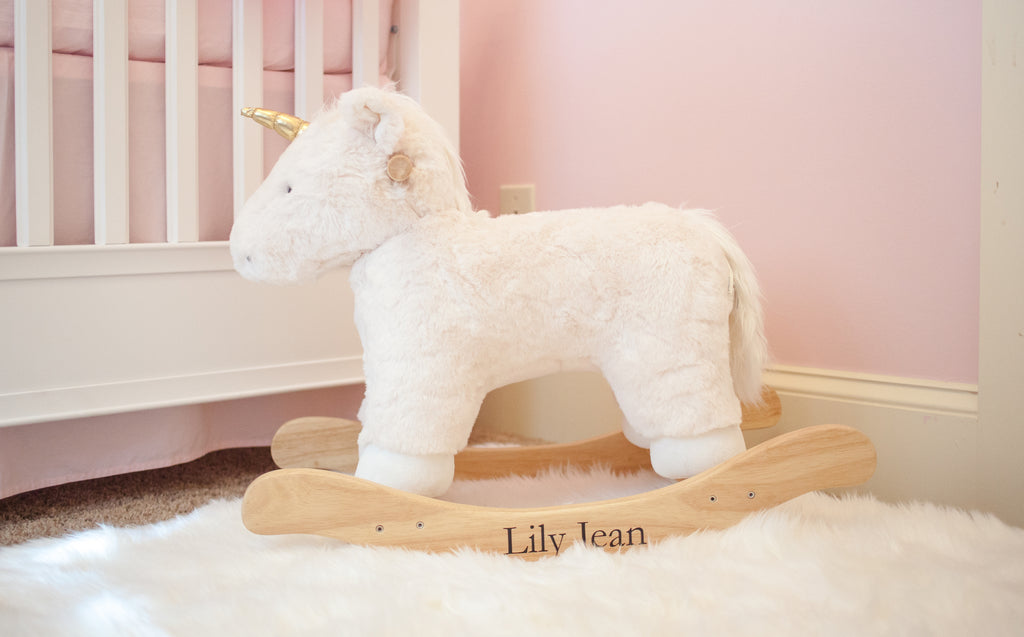
Rocking Horse: Pottery Barn Personalized Unicorn Nursery Rocker
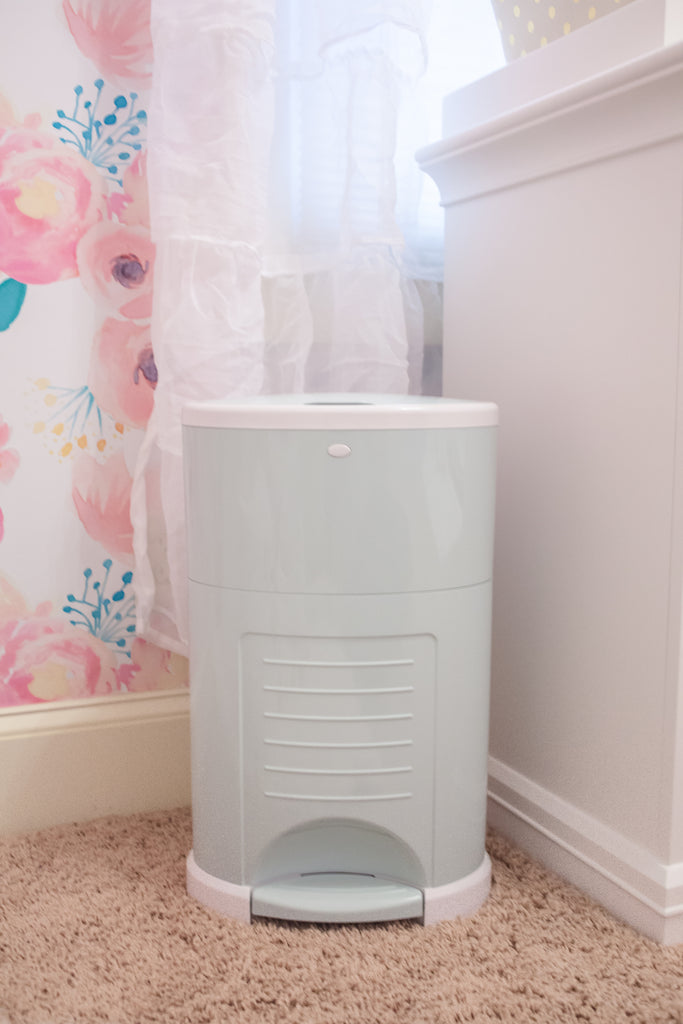
Diaper Pale: Dekor Plus Hands-Free Diaper Pail (holds up to 65 dirty diapers). I am obsessed with pretty color and it is so easy to use!! Thank you Dekor for gifting me this awesome essential!
This has been the most fun and rewarding home design project I have worked on! I hope you love it as much as I do! If you have any questions please feel free to comment or message me on our facebook page!
xoxo- LL
PS- The next time you hear from me you will be meeting Baby Lily!!!!!
