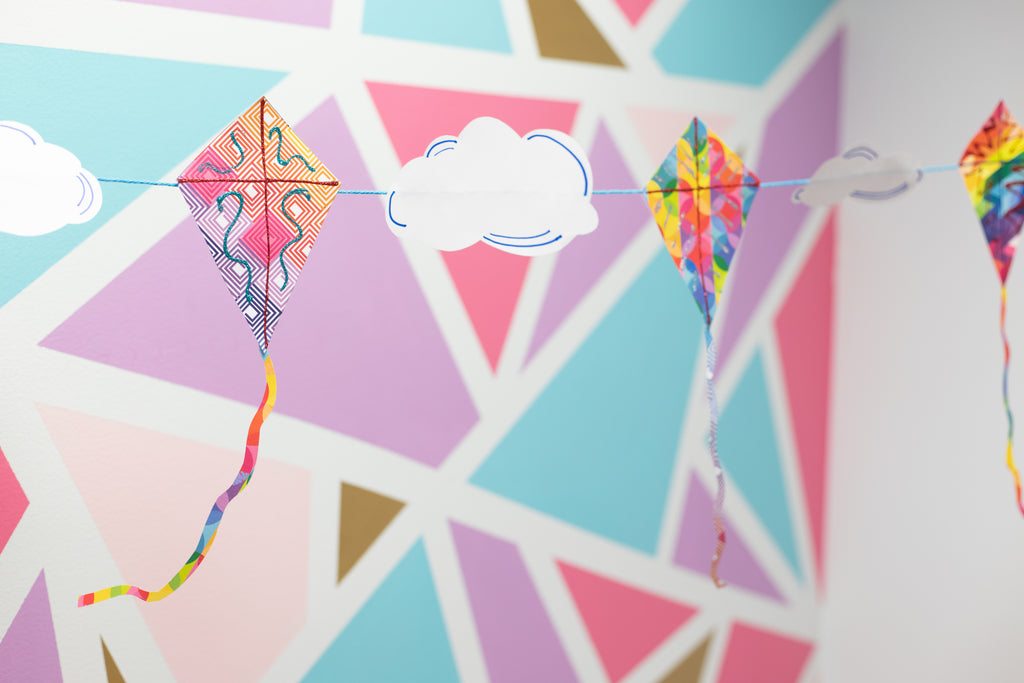
Hello, Campers! Flying a kite outside is a great activity to do. You can make a simple and easy paper kite banner to add some color to your room
Let’s get started! Here is what you need to make this craft:
Project Difficulty: Beginner
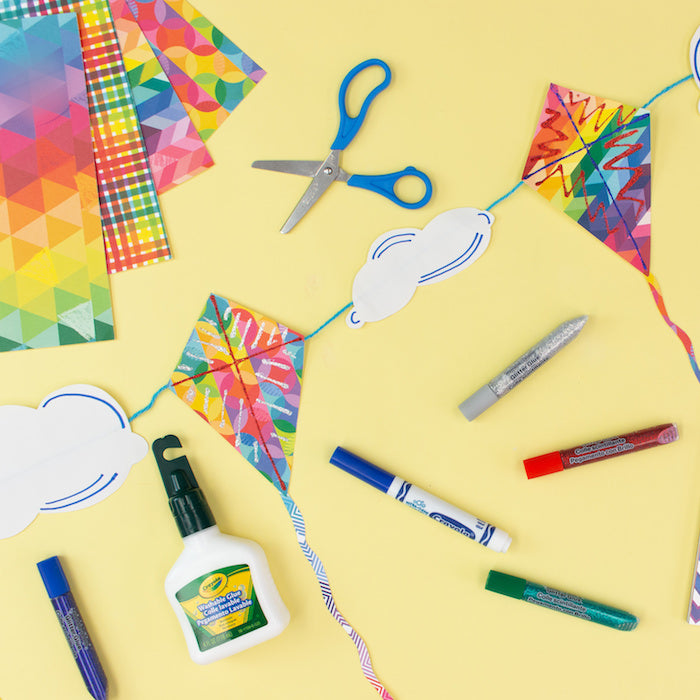
Materials:
- Washable Markers
- Washable Liquid Glue
- Kid Safe Scissors
- Bright Pop! Cardstock
- White Paper from Washable Paint Set
- Glitter Glue
- 1 Eraseable Color Pencil (or a standard pencil)
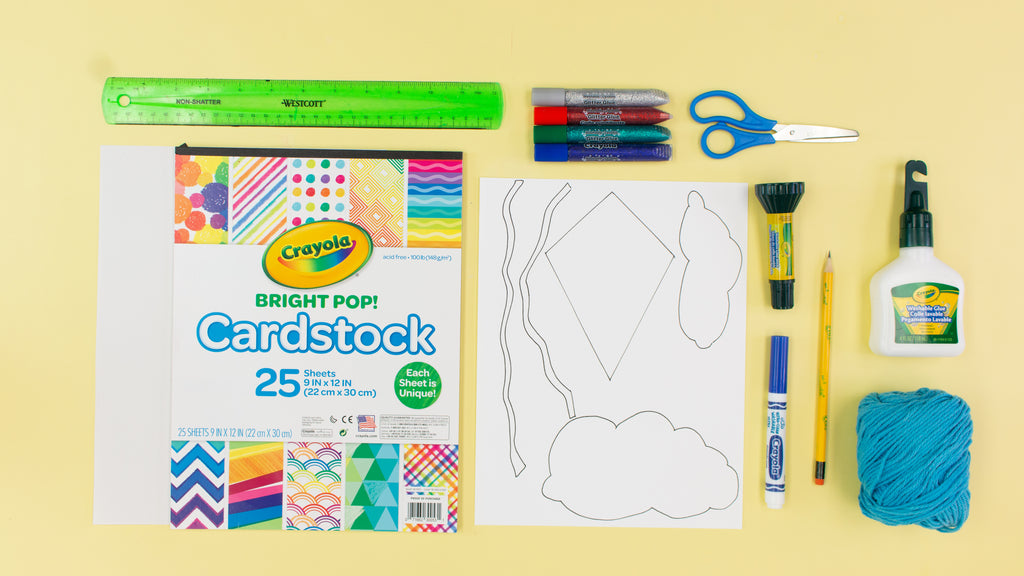
Additional Materials:
- Template (print it out or freehand draw your own shapes)
- Ruler
- Yarn or String
Directions:
- Print and cut out template.

- To make your own template, draw a diamond shape for the kite on a sheet of paper. Continue drawing squiggly lines for the tail and cloud shapes.

- Carefully cut along the lines.
- Trace your kite and tail templates on the Bright Pop cardstock paper.
- Carefully cut along the lines.


- Repeat these steps to make at least 3-5 more kites.
- Glue the tails to the bottom of your diamond shape with your glue stick and set to dry.


- Trace and cut your cloud shapes on the white paper.

- Draw curved lines to accentuate the curves in the clouds.

- Arrange your kites and clouds in a straight line.

- Measure out the yarn to the length of your arrangement. Make sure to add enough yarn on the ends in order to hang.
- Draw a line of liquid glue on the back of your clouds and kite.

- Glue the string to the back of the kites and clouds and let dry.

Once the glue has dried, you can hang this in your room!
We hope you enjoyed this Camp Craft Box project! Parents, share your child’s craft on the Camp Craft Box Facebook Group. Don’t forget to tag @crayola and @craftboxgirls and use the hashtag #CampCraftBox if you share your child's projects on social media.