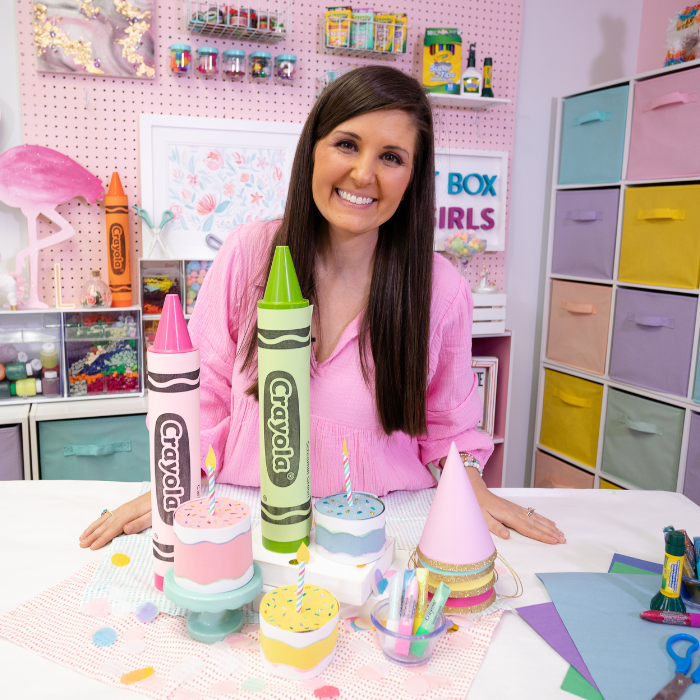
Project: Craft Roll Cake Kids Crafts
Project Video:
Project Materials:
- Craft Roll
- Construction Paper
- Scissors
- Glue Stick
- Washable Glue
- Glitter Glue
- Pencil
- Clothes Pins
- Decorative Paper Straws
- Glue Gun
Shop all the craft supplies on Crayola.com
Project Instructions:
- Start by cutting 1/4 of your craft roll off.
- Cut open the 1/4 piece of craft roll and wrap around the rest of the roll you left.
- Mark the edge with your pencil.
- Cut along the mark. You should now have 3 pieces of craft roll. Discard of 1 and then cut the other open like your first.
- You will attach these with your washable glue to create a circle.
- Use your clothes pins to pin down each side where you glued. Let dry.
- Set your craft roll creation along one side of your construction paper and mark the width with your pencil.
- Using a ruler, draw your line all the way down the construction paper. Cut, and glue this construction paper strip around your craft roll circle.
- Trace the bottom of your circle onto another sheet of construction paper and cut out. Cut several tabs to attach to your circle with your glue stick.
- Glue the circle tabs into one end of your craft roll circle. Now one end will be open and one will be closed off.
- Cut some small strips of construction paper (one side wavy) and glue around the top of your craft roll.
- Decorate with your glitter glue.
- Take your paper straw and cut 1/4 of it off. Cut 2 small slits in the bottom.
- Cut a small flame from your yellow sheet of construction paper and attach into the slits you just cut in your paper straw.
- Use your glue gun to attach your candle to the top of your craft roll cake.
- Decorate the top of your cake with your glitter glue if desired.

This post is sponsored by Crayola but all thoughts and opinions are my own!
xoxo - Lynn


