This post is sponsored by Cricut but all thoughts and opinions are my own!
I love a good thrift store find. It has been a minute since I stepped into a thrift store. I teamed up with Cricut to share how easy it is to upcycle a thrift store piece with the help of the Cricut Maker. I was looking for a specific piece that I could upcycle into trendy kitchen home decor. My goal was to spend under $50 on the thrifted piece and supplies.
I found this dirty butcher board that was sticky and gross but I saw a gem underneath the grime.

In addition to my thrift store find I used the following supplies:
- Cricut Maker
- Cricut Premium Removable Vinyl (I got this pack because I was low on a my sock and needed some for upcoming projects)
- Cricut Weeding Tool
- Cricut Standard Mat
- Cricut Standard Transfer Tape
- Cricut Scraper
- Cricut Ruler
- Kitchen Hardware Handle (I had a sample left over from my kitchen renovation)
- Industrial Glue
- Spray Paint
- Painters Tape

Not including the cost of the items I had, the Cricut Maker, Cricut tools, Cricut transfer tape, painters tape, kitchen hardware the total cost of this project was $33. If you need to buy the kitchen hardware handle it would be an additional $3-$12 depending on the style.
Directions:
- I used rubbing alcohol and Clorox wipes to clean the board. It worked really well to get the sticky grime off. After a good scrubbing I washed it with soap and water and let it dry completely.
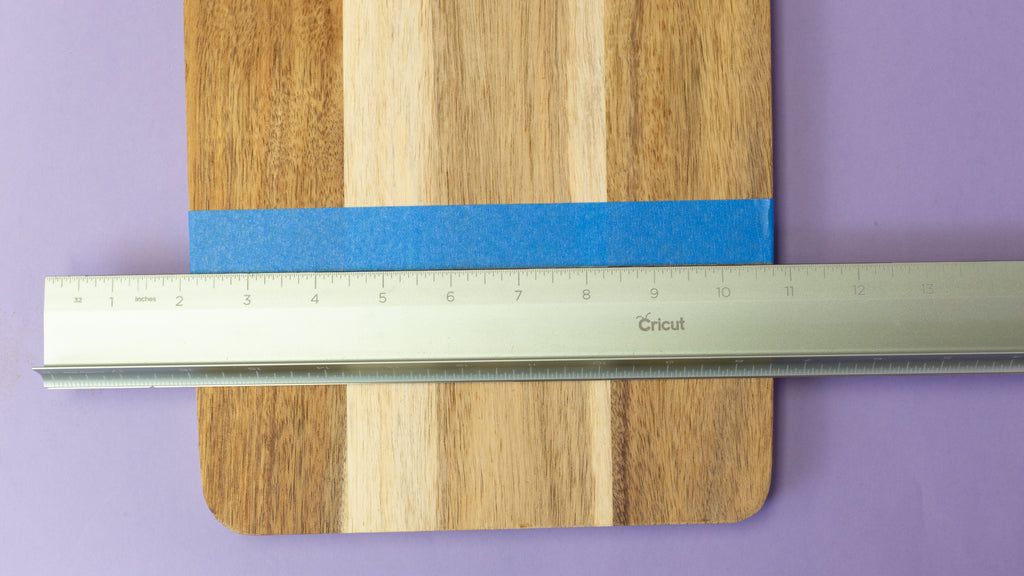
- Tape off a 4-5" section at the bottom of the board. Cover the top part of the board with paper to protect from overspray.


- In a well ventilated space or outdoors spray the bottom half of the board with spray paint.

- Let the paint dry about 3/4 of the way, remove the tape and continue to let it dry.
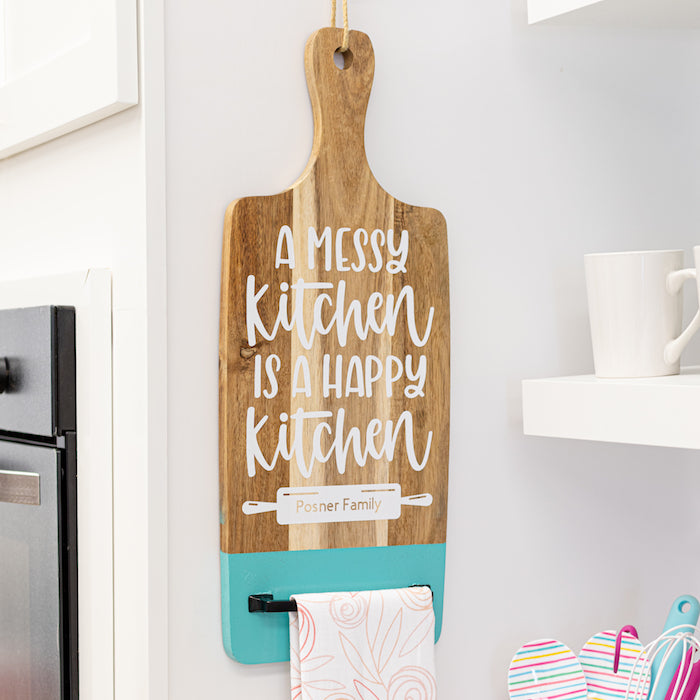
- Open Cricut Design Space and start a new canvas. I used Image #M23DF7DC6 and added our family name and a rolling pin Image #M14284E77 below it complete my design. I attached the name font and the rolling pin so the name would cut into the rolling pin. Once ready I attached the whole image.

- I cut this on a white piece of removable vinyl. The pack I got offers 20 different color options.

- Once cut I weeded the vinyl design and applied a piece of transfer tape over the design, using my scraper to pick up the design.

- Once my board was dry I centered the vinyl cutout on the board above the painted section and use my scraper to rub over the design and attach it to the board as I carefully pulled back the transfer tape.


- For the final touch I used industrial glue to attach the kitchen hardware handle in the center of the painted section.

Once the glue was dry I hung the board in our studio kitchen and add a kitchen towel!

I absolutely love how easy it was to upcycle this rough thrifted gem with my Cricut Maker!

Share you thrift store projects with my on social by tagging my instagram handle @craftboxgirls and tag #cricutcreated.
xoxo- LL


I love this idea!!! The kitchen towel addition is brilliant.
I need to take a handy girl class because my issues are the basic things like hanging stuff on drywall. I currently use tacks. Lol I also never used a drill or anything like that. 😂