I am sprucing and sparkling spaces one room at a time! I took over one of our friend's new apartment bedrooms to add a little color and a lot of creativity with the help of Unicorn SPiT a dynamic glaze and stain!
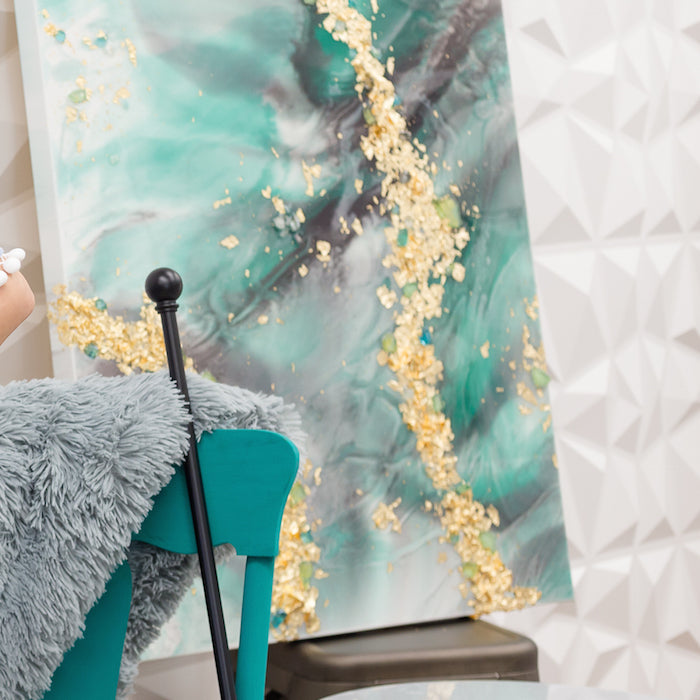
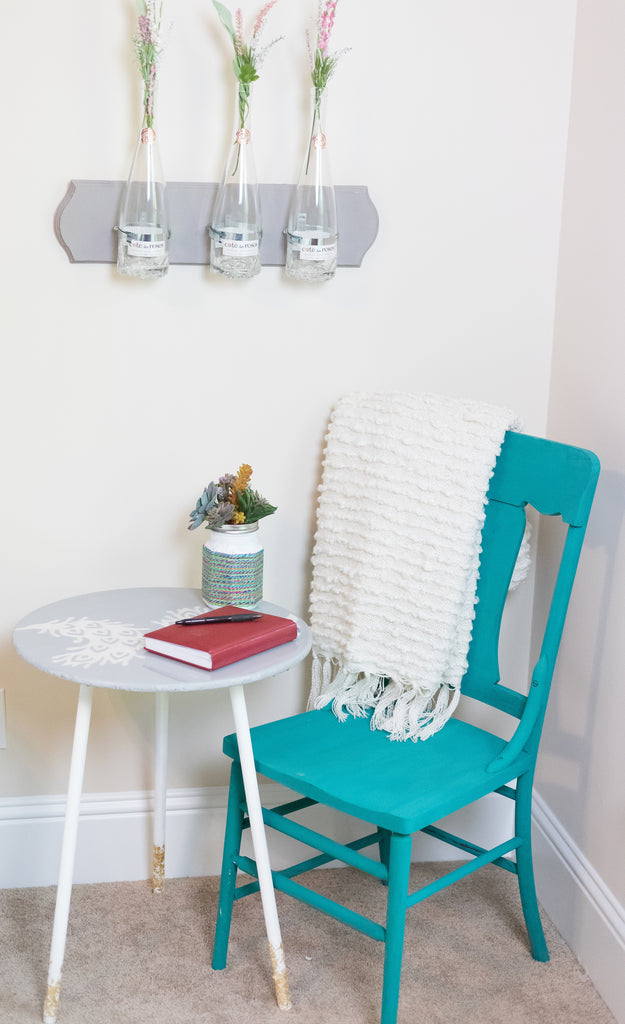
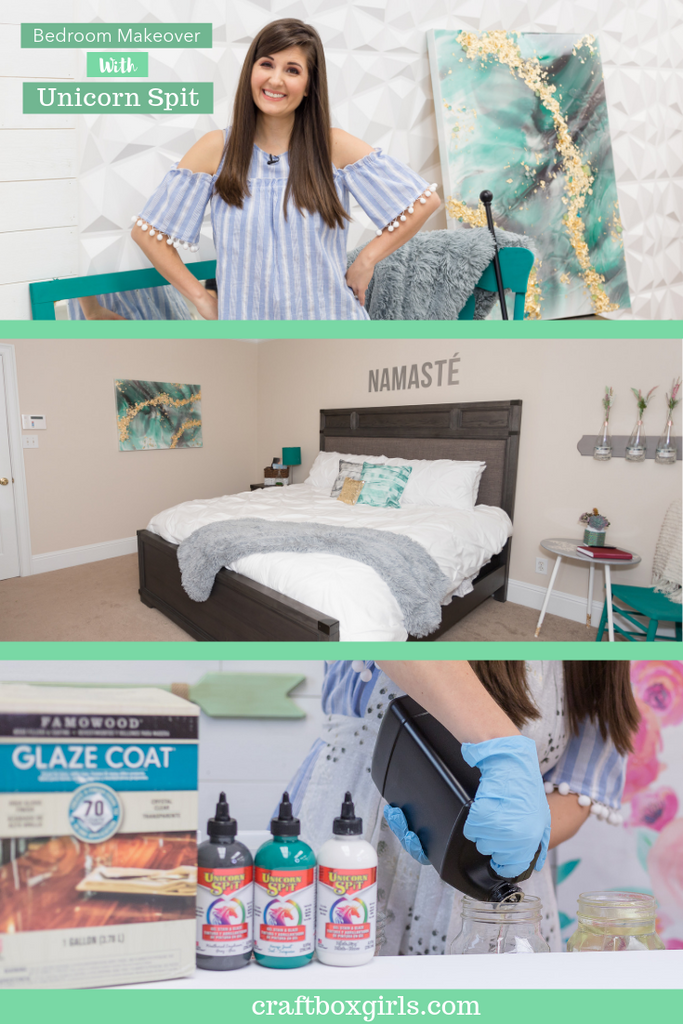
Lisa just moved into her apartment and was struggling to decorate her room. We asked a few questions and found out that she liked a peacock green, wanted to keep the room simple and clean, but wanted to envoke creativity! With the help of Unicorn SPiT we were able to create a beautiful piece of artwork, re-do an old table, created pillows, painted a lampshade, added a new bread spread, drapes and few pieces of decor!
Before: 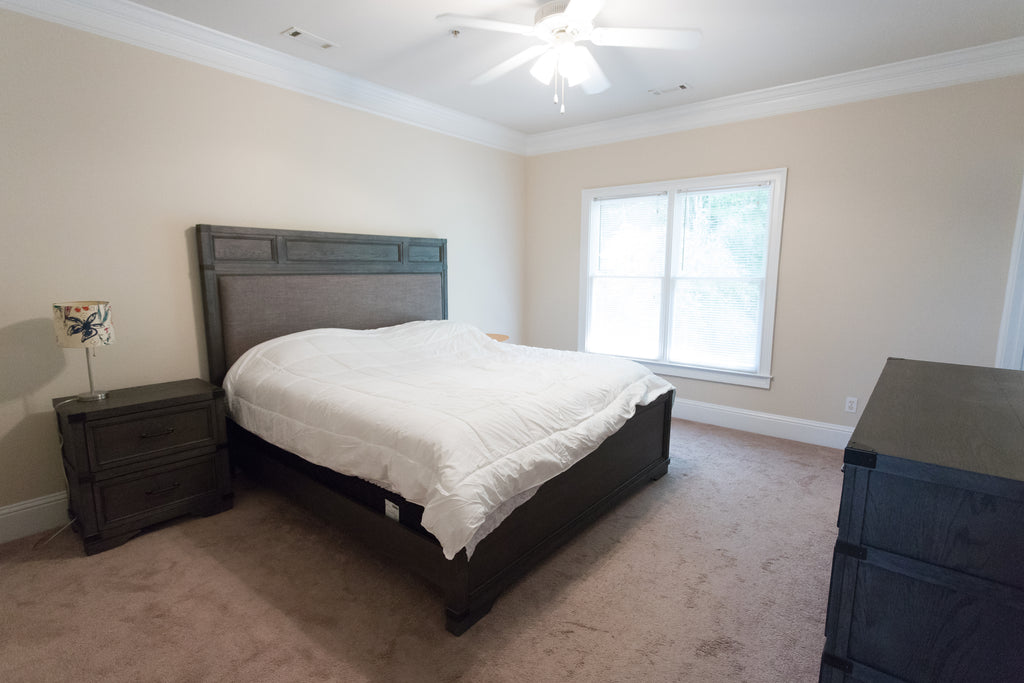
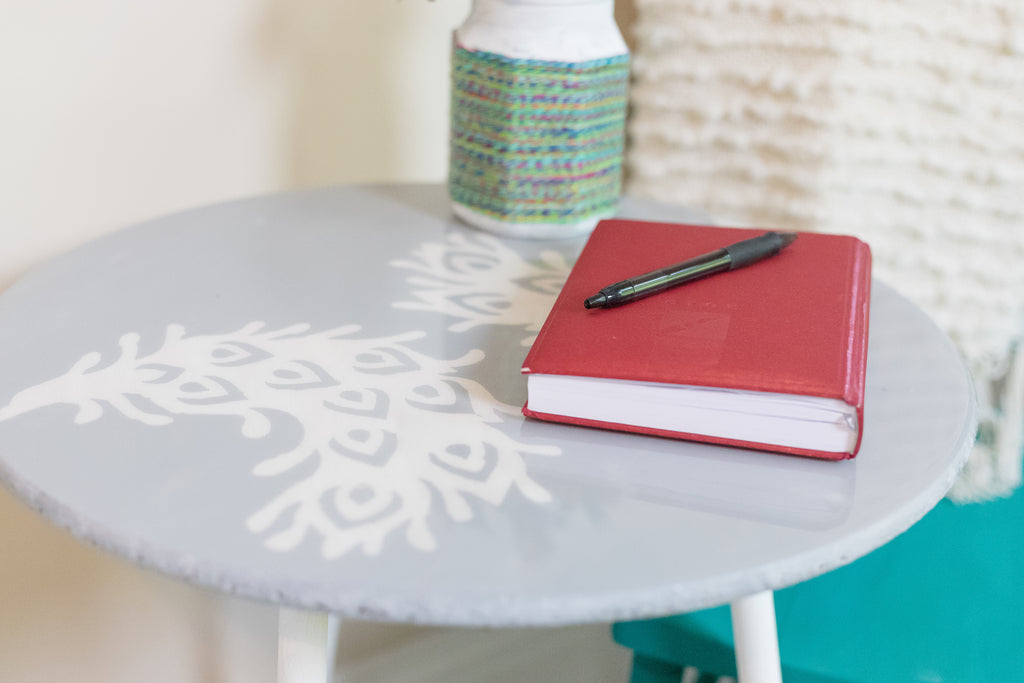
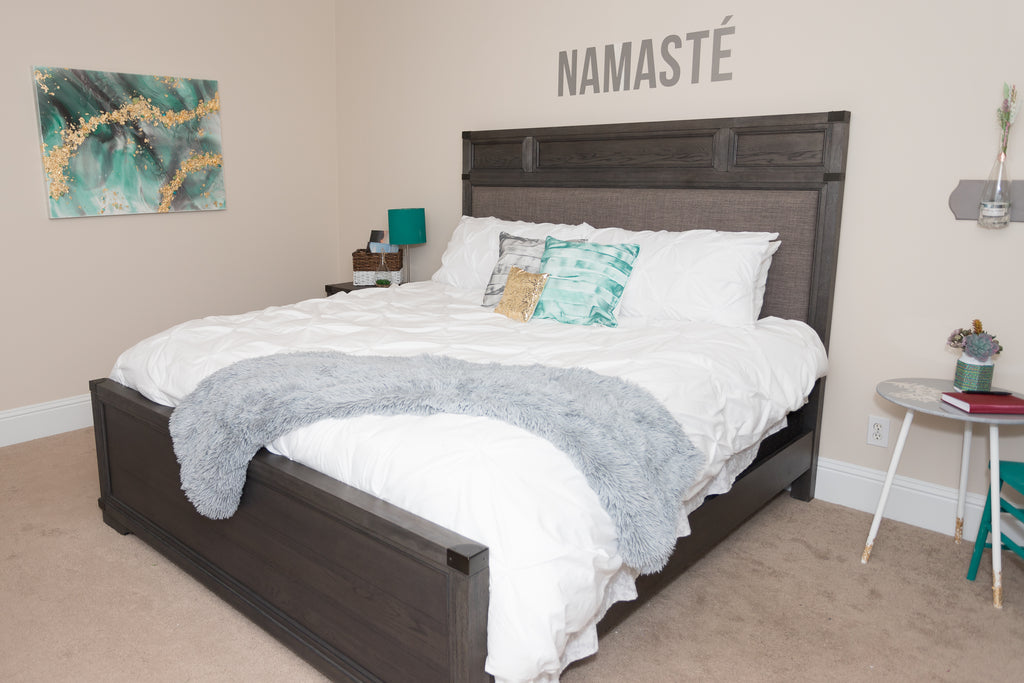
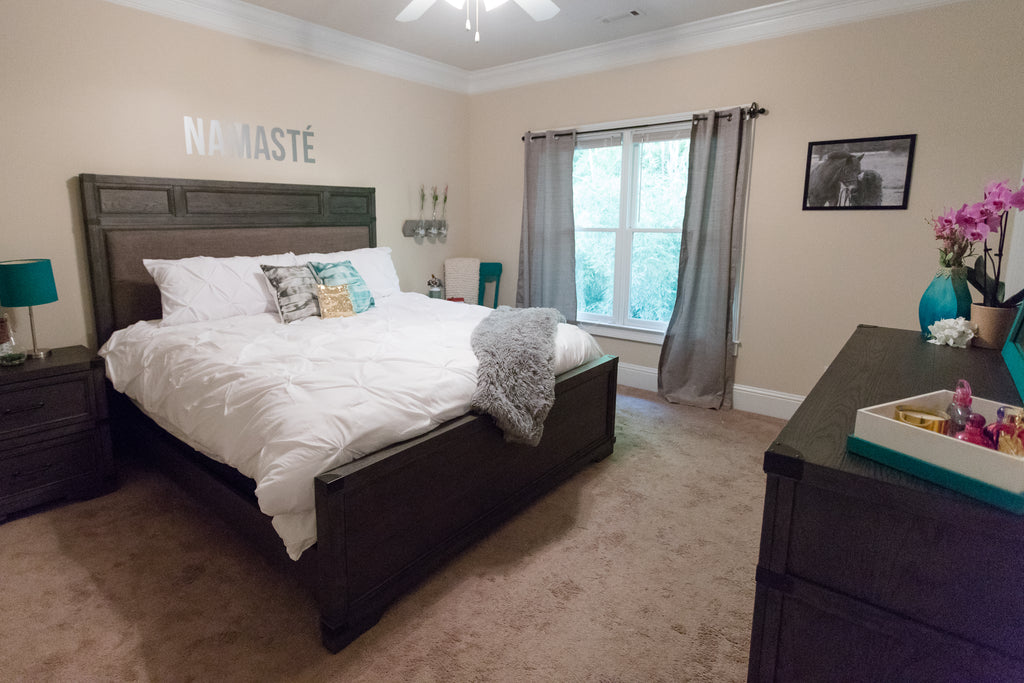
More Final Photos!


Enjoy our first episode and stay tuned for more makeovers coming soon!
Get more Unicorn SPiT Inspiration: website | facebook | instagram | twitter | pinterest | youtube
xoxo- LL
This video was a sponsored collaboration with Unicorn SPit but all opinions, ideas and projects are my own!
Hi Bonnie!
I used the clear to pour along with the epoxy that has the paint mixed in. It helps break up the color. You don’t have to use the clear. You could also add glitter to the clear. I hope that helps!
Lynn ;)