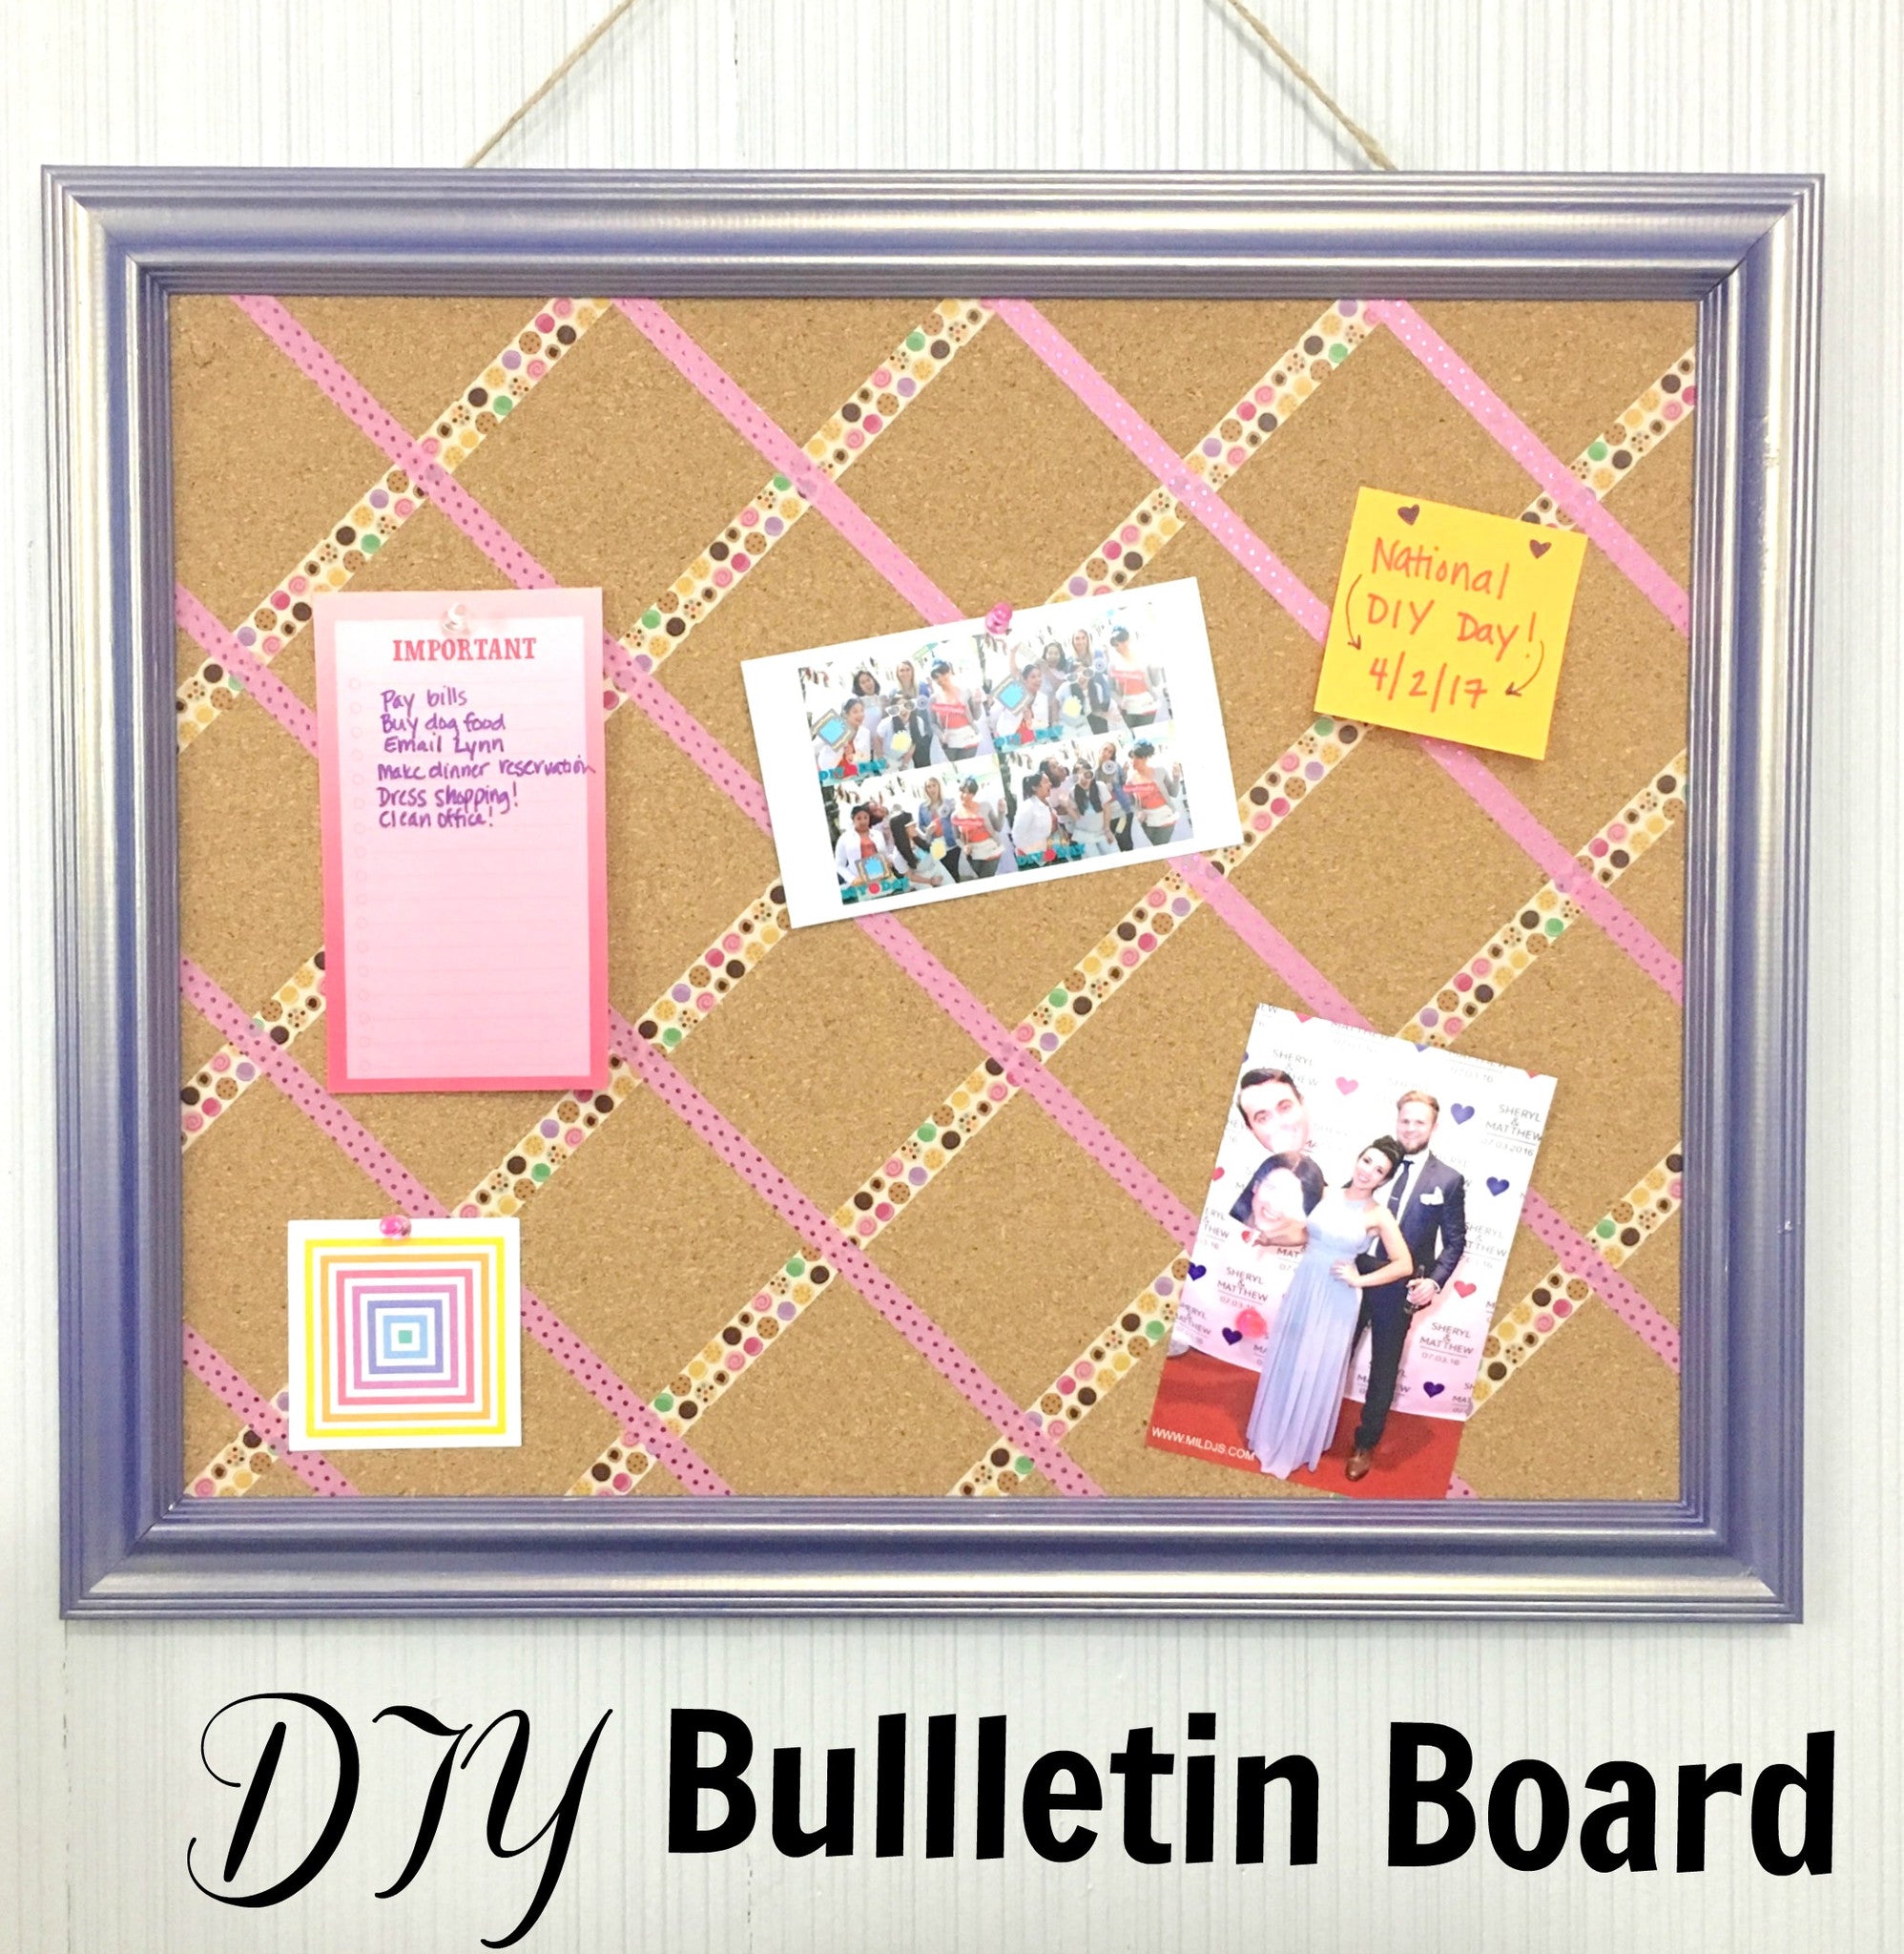
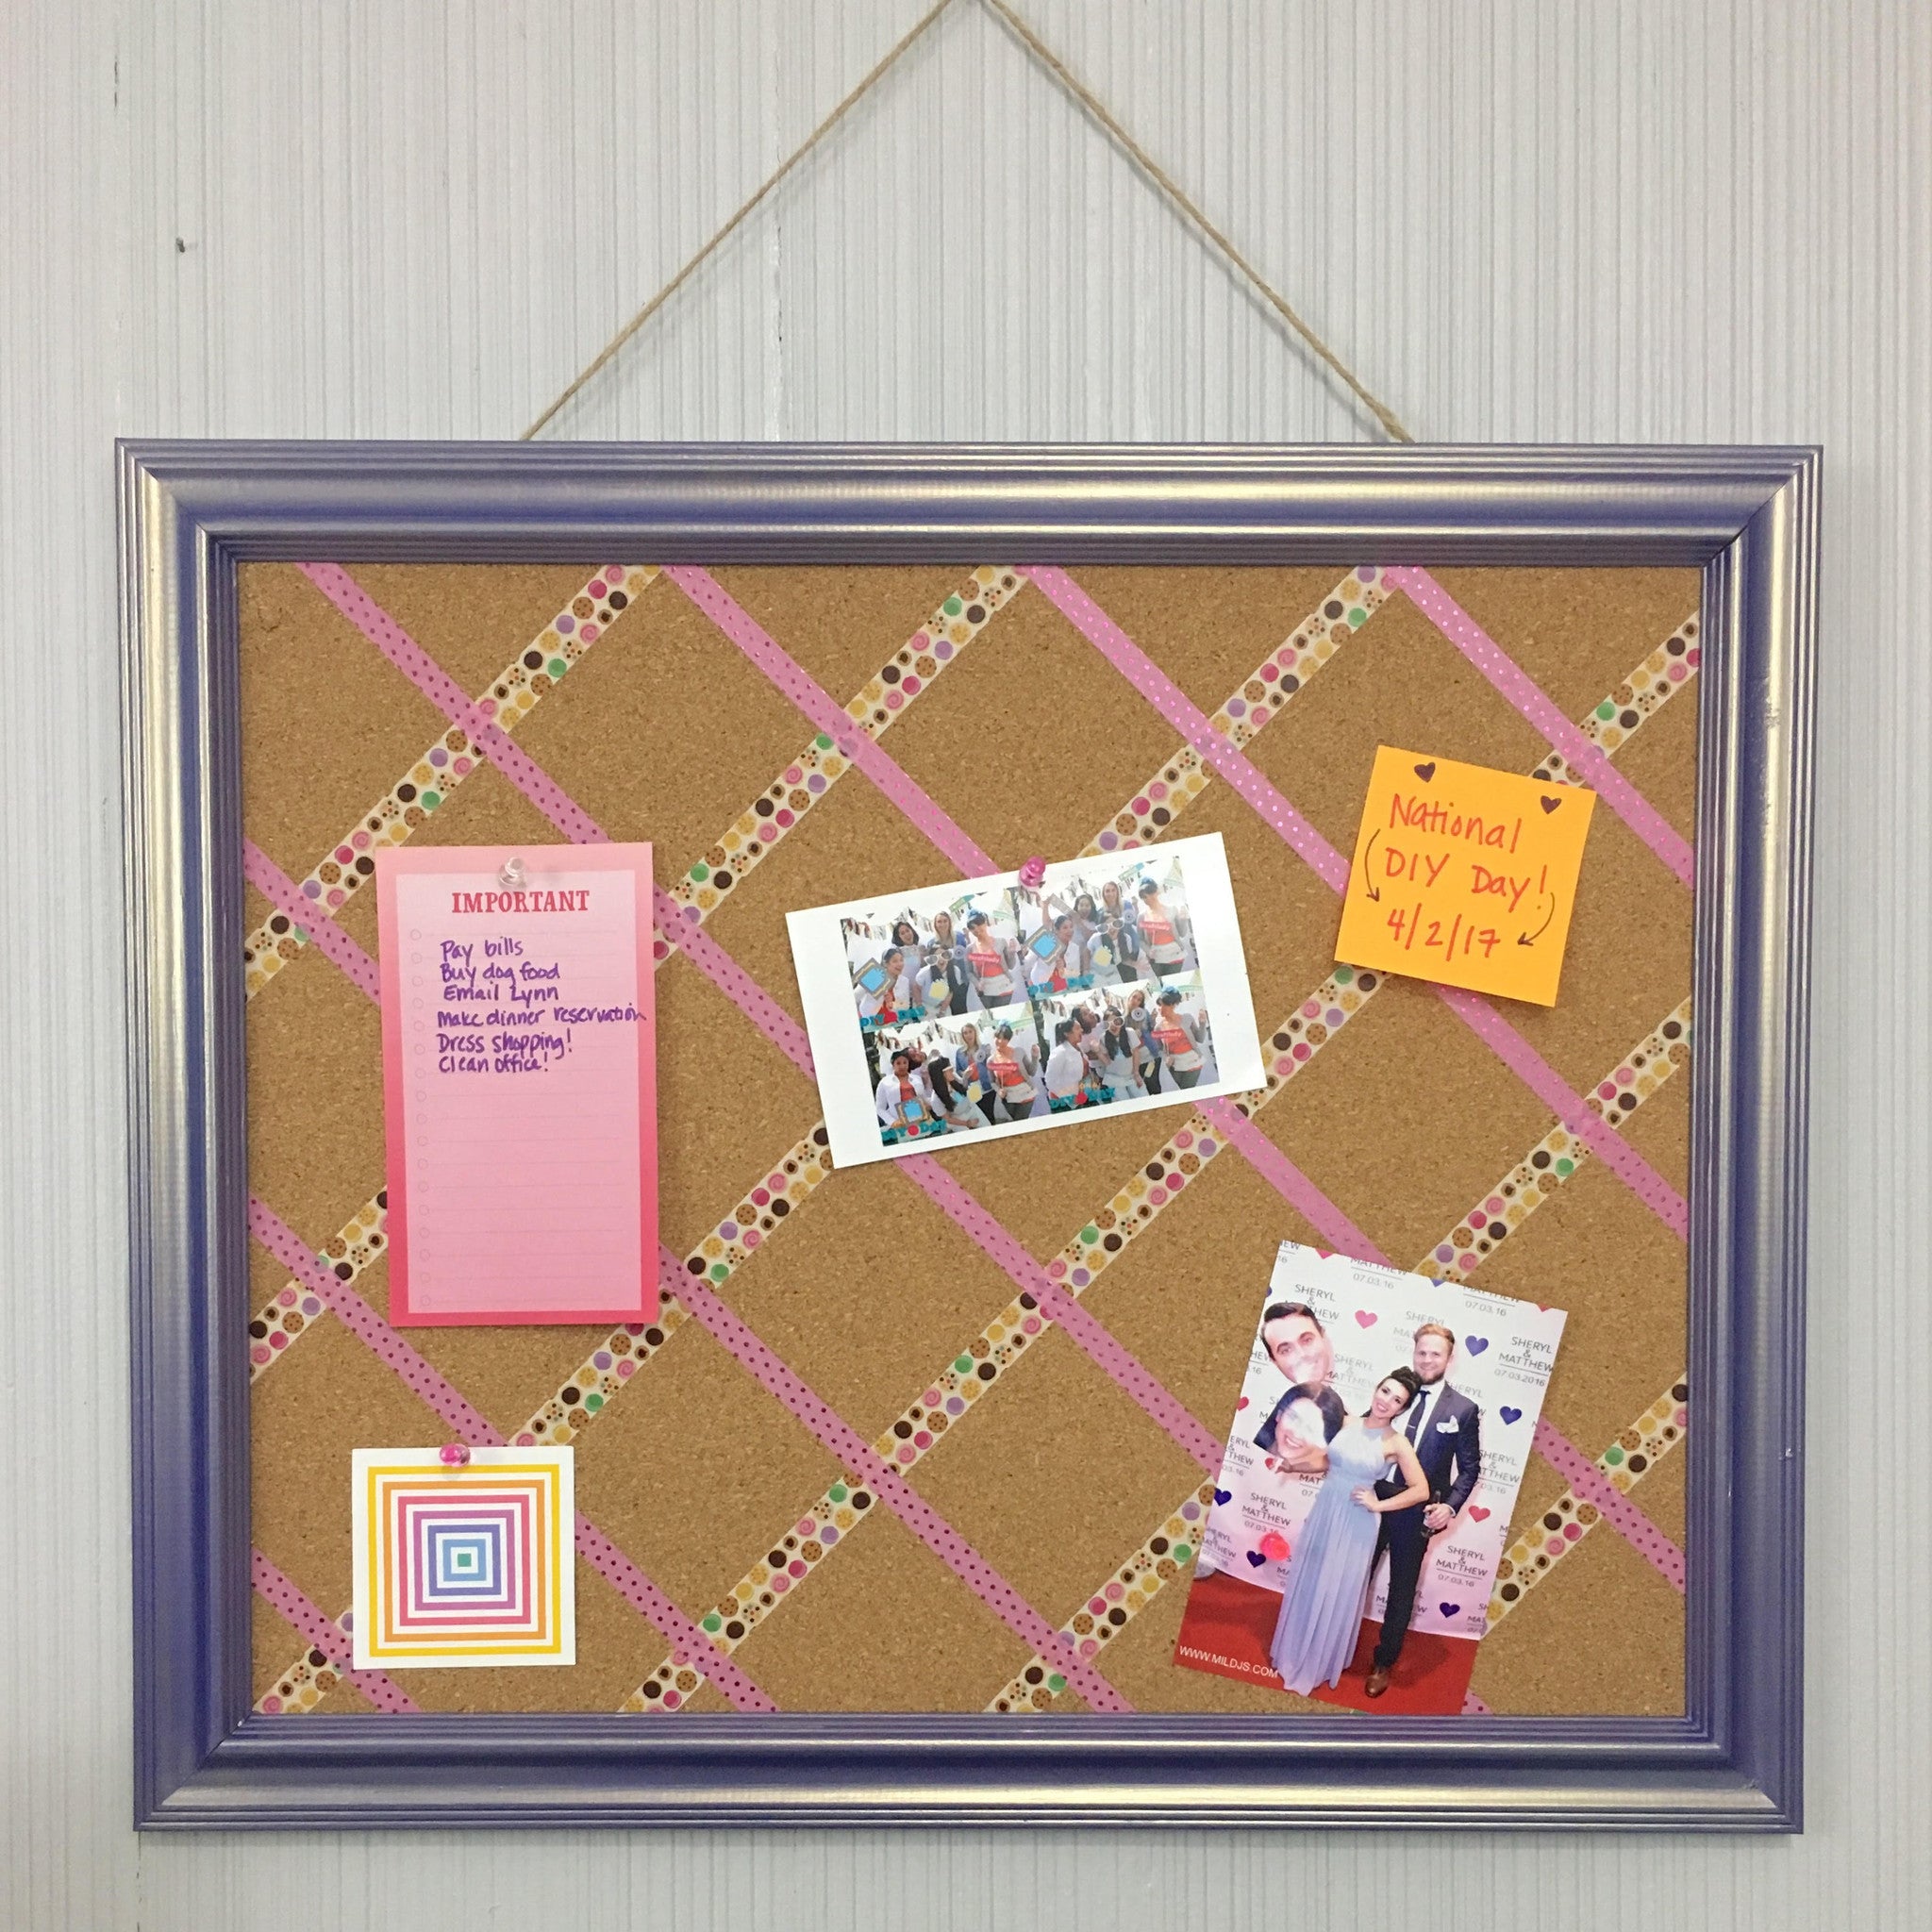
Whether you're doing some spring cleaning or getting your office organized, we all like to make the organizing seem less dreadful and more aesthetically pleasing, at least, that's how I feel. Cleaning is the worst, but when I can make it a fun project, I go all in! So when deciding to organize my office, I realized I needed a new bulletin board. And in my normal fashion, I thought it would be fun to make one. Little did I know it actually turned out to be MUCH more cost effective to make this rather than buy one! Crazy, right?! So I wanted to share how I created this little beauty with you so you can jazz up your office, craft room or child's bedroom!
This is what you'll need:
- Picture frame
- Corkboard
- Folk Art Color Shift in Blue Violet Flash
- Washi tape
- Twine
- Hot glue gun
Step One:
Begin by painting your frame. I used Folk Art Color Shift in Blue Violet Flash. It took about 3 coats to really cover the entire frame. Color Shift looks really cool on pieces and other decor that has some round shape to it and since the frame I used has some dimension to it, I decided it would be fun to use this paint.
Step Two:
While the frame is drying, decorate your cork board with washi tape. I used a three inch ruler to space out each piece of washi tape. If you want to go a step further, you can use ribbon instead of washi tape.

Step Three:
After you've finished decorating the cork board and once the frame as finished drying, pop the cork board into the back of the frame. I had to use a soft mallet to pop the cork board into the back of the frame. Secure by using a nail gun, if you have one. It may not be necessary, as I didn't need to use one.
Step Four:
Cut some twine and secure the ends of the twine to the end of the frame to hang. I measure in 5 inches on each side from the edge of the frame and glued the twine at those points. Allow about 24 hours for the glue to cure before hanging.


I hope you have fun with your new bulletin board! Happy DIY-ing!
Follow me on Instagram for more fun crafts and ideas. Visit my blog at Jersey Peach Designs.
Laura


