We are so excited to have Meghan Quinones from Happiness is Creating back as a contributor of another super cute projects!
***
If you’re in need of some fresh artwork, this DIY cascading gold flower artwork is the perfect piece for a room refresh!
I was recently inspired by a piece of artwork I saw from Anthropologie that had dimensional gold flowers cascading down in a white shadowbox frame. I was instantly in love with the look of the artwork, but nearly fell over when I saw the price tag–it was just shy of $1000! Even though my inspiration piece is much larger than my DIY version, I was still able to whip up mine for less than $20. Not bad, huh?

Supplies:
- 12x12 Matte Gold Metallic Cardstock (3 Sheets)
- White Shadowbox Frame (11”x14”)
- Lynn Lilly for Surebonder Glue Gun
- Jolee's Boutique - Gold Circle Wedding Bling Gems
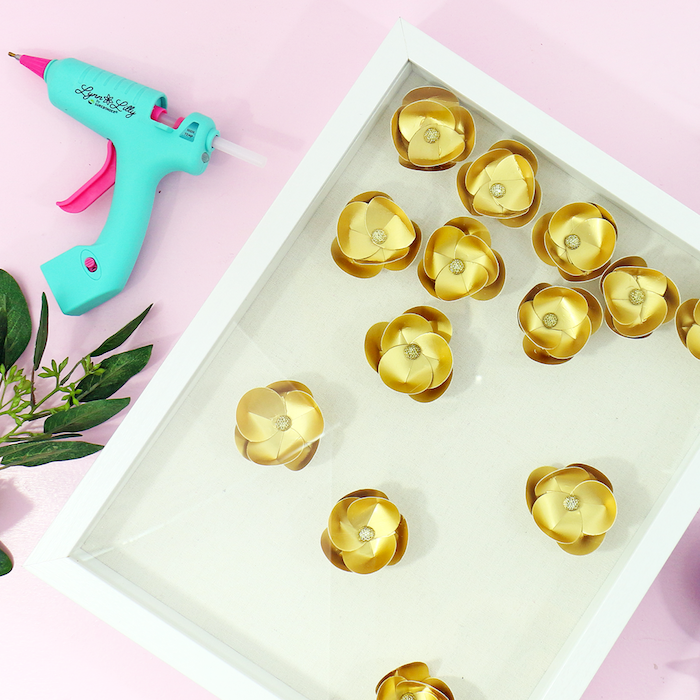
- Fiskars 1” Round Paper Punch
- Scissors

Step 1: Cut out 7 circles with the circle punch.

Step 2: Make a cut just to the center of 6 circles.

Step 3: Add hot glue about 1/8” away from the slit.

Step 4: Overlap the ends and press down to form a petal.

Step 5: Repeat Step 4 to create 6 petals total.

Step 6: Add glue to the back of one petal and place it on the circle. Add glue to the other 2 petals and glue them below the first petal.

Step 7: Add glue to the back of the 3 remaining petals and overlap them to create the center of the flower.

Step 8: Add glue to the back of one large sticker gem (this will ensure it stays put) and place it in the center of the flower.

Step 9: After you’ve made about 13 flowers, arrange them on the inside of your shadowbox frame, and then add glue them down.

It’s hard to believe this sophisticated piece of artwork is made using just paper, stickers, and a hot glue gun! Now, the only problem is deciding where to put my DIY cascading gold flower artwork since it would look amazing on a wall, shelf, or mantle!

Meghan


