
I have seen beautiful paper flowers all over Instagram that are used as wedding and party decorations. These flowers are extravagant, intricate, and can cost a lot of money to have them made for you. So, I made it my mission to figure out how to make these myself and share them with you!
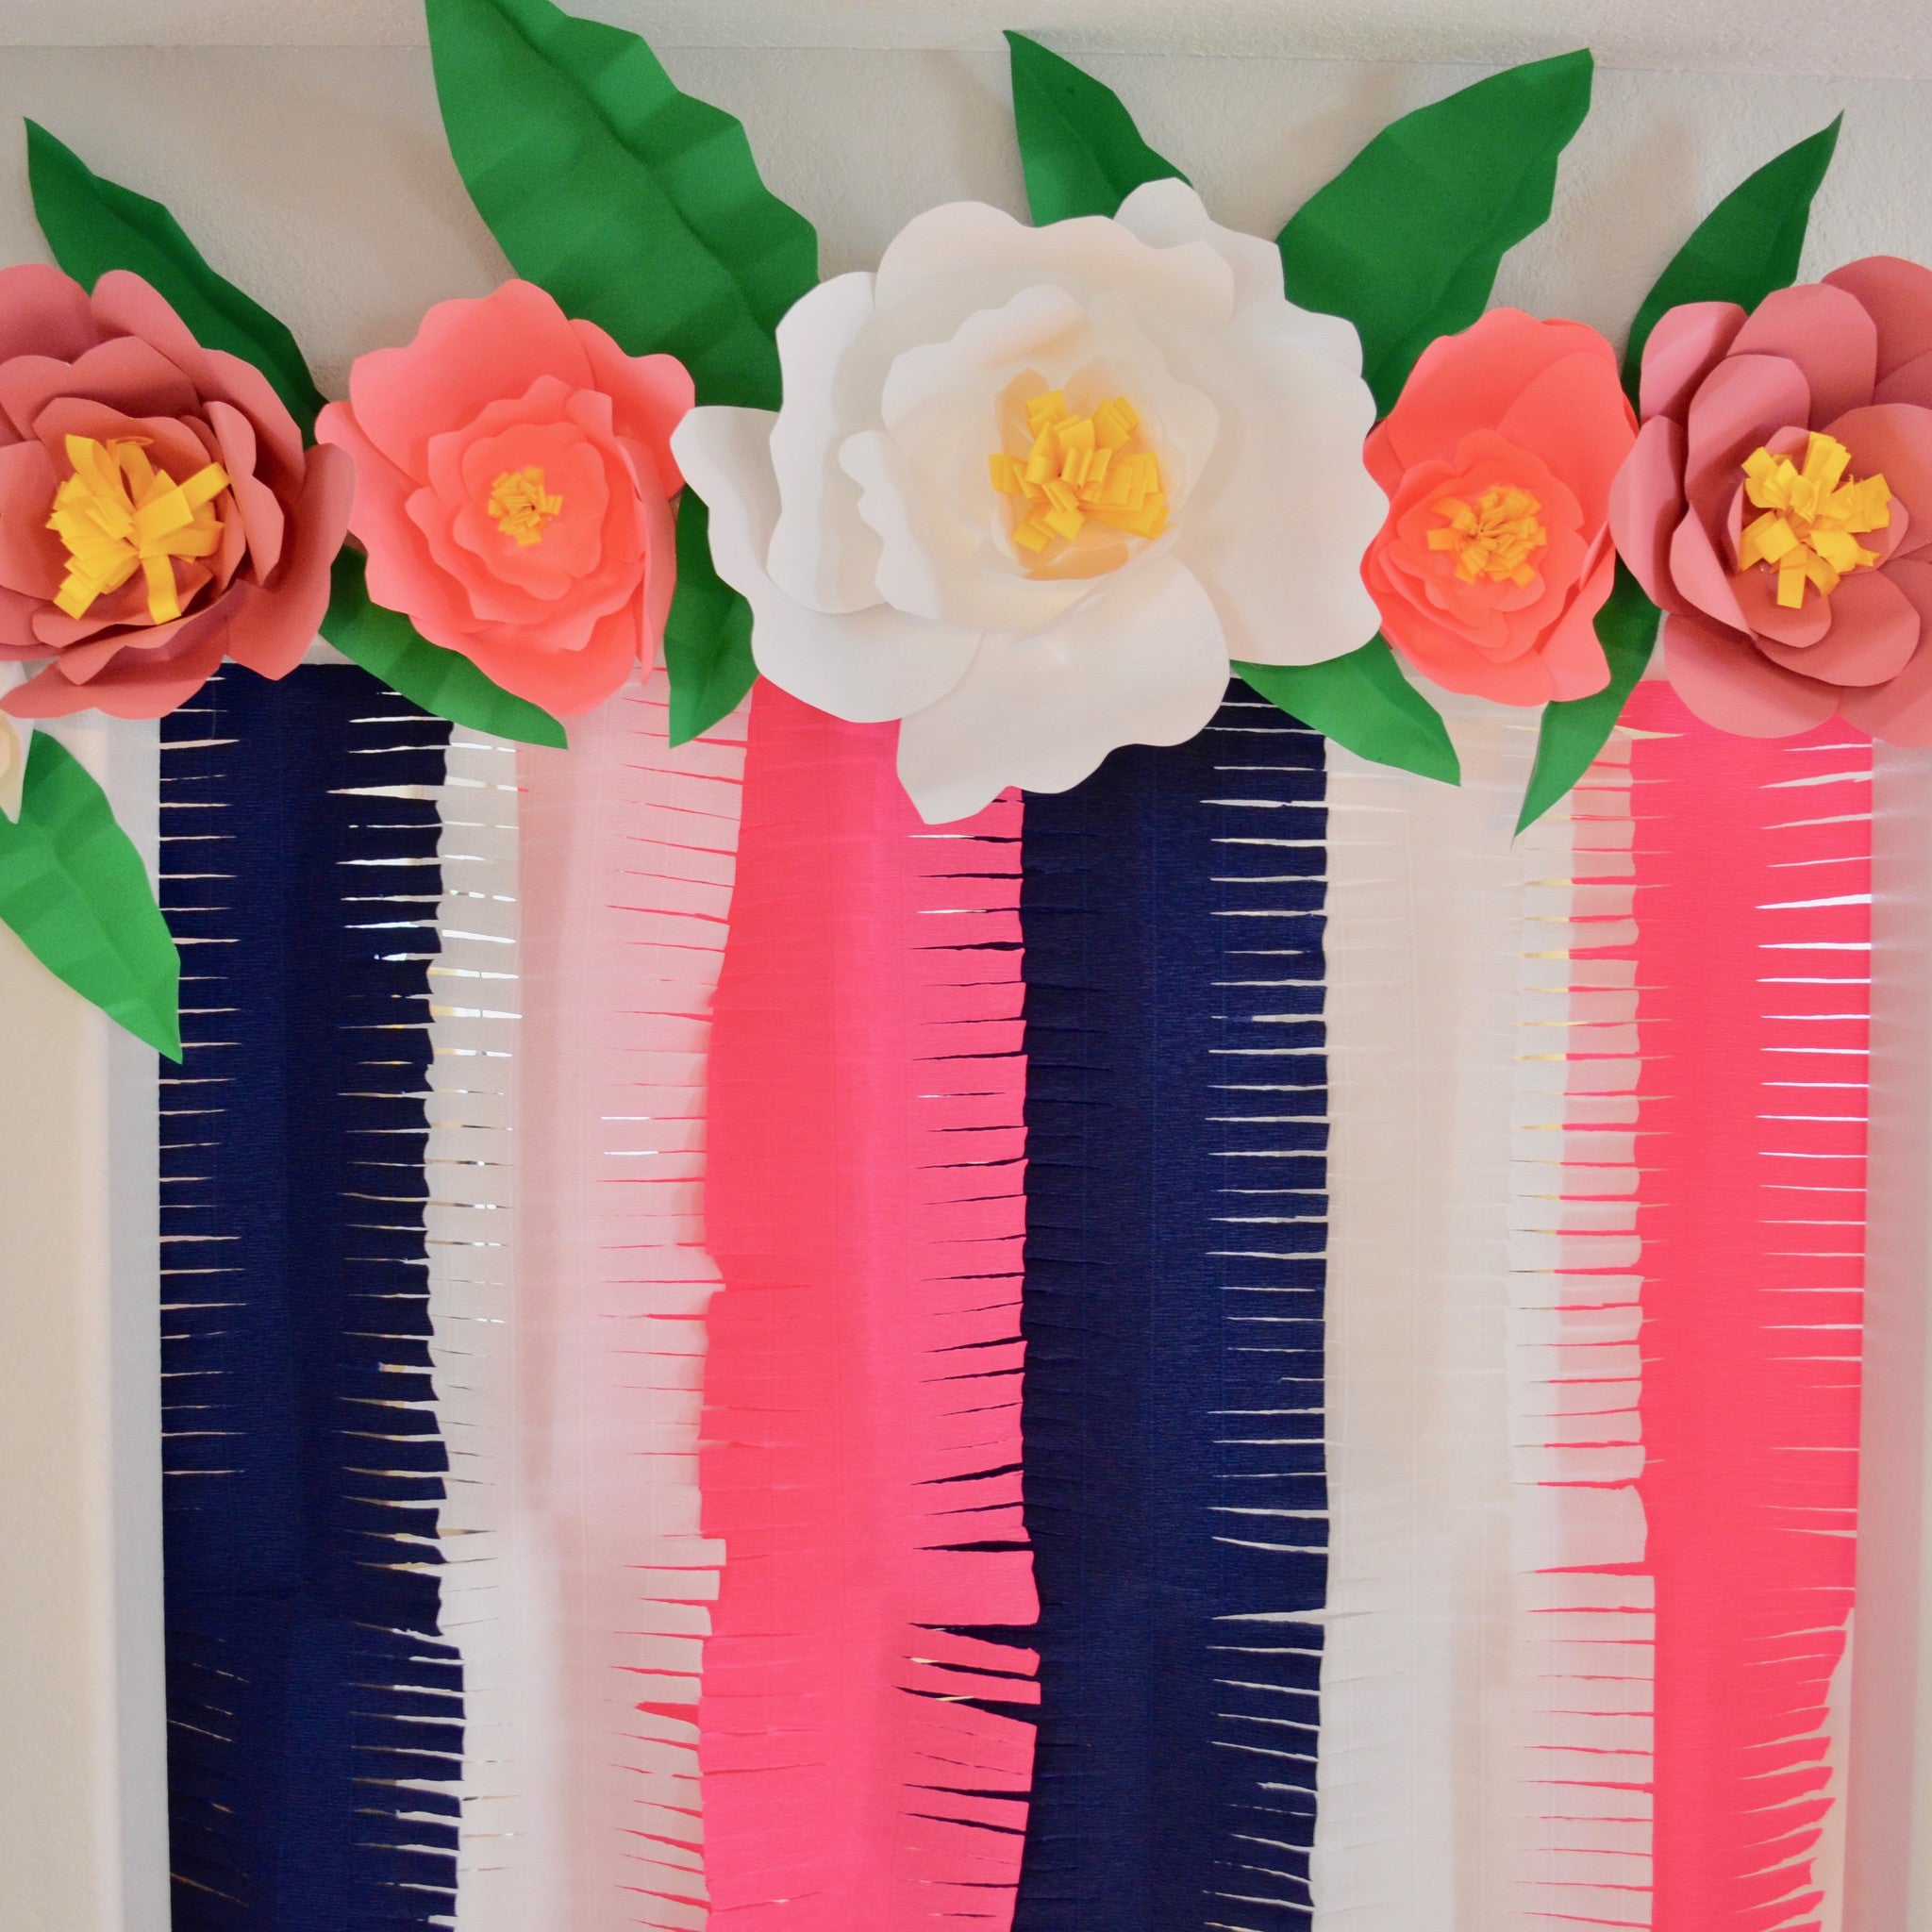
I had this idea when I was planning my sister-in-law’s bridal shower, because we wanted to stick with her color scheme, but I wanted to do something extra special, bridal, and fun. In an effort to make an area where people could take pictures with a backdrop, I thought that I would create a background with fringed crepe paper, and then top it with the paper flowers. It is simple, elegant, and impressive.
The paper flowers are easy to do, once you get the hang of it. The whole idea is to create layers of the petals, and that is what gives the flowers depth. I have done this with thicker paper and regular paper, and it seemed to work fine either way!
DIY Paper Flower Supplies
Pencil
Paper of desired flower color; if you want to make big flowers, you will need to get the big sheets of paper from the craft supply store
Yellow paper; about 8x11, or regular printer size paper; for the center of the flower
Glue gun
Scissors
Directions:
*Cut the biggest size of the petals first, choose the shape by looking at whatever flowers you are trying to replicate; you can do a rounded top, or a frilled top
*Draw your petals on a piece of paper starting at the bottom of the paper so that the bottom of the petal is the straight edge of the piece of paper (see pictures)
*Make about 5 large petals, 4-5 medium petals, and 4 small petals
*Cut a slit in the bottom of each petal (see pictures)
*Carefully apply some hot glue to one side of the cut and place the other side over it (see pictures) to create a base for the petal; this also makes it three-dimensional
*Repeat with all of the petals
*Attach the 5 large petals together with the glue gun by carefully applying the hot glue to one side of the bottom of the petals, and placing another petal on top; repeat until you have created a full circle of petals
*Repeat with the medium and small petals
*Glue the medium circle of petals into the large circle of petals, and then glue the small circle of petals into the medium circle; then you will have created three layers of petals
*Take of piece of the yellow paper, fold it in half lengthwise; use the scissors to cut the folded side about ¾ of the way through to create a fringed look
*Carefully apply the hot glue to the bottom of the uncut side, and roll up (see pictures) until the entire piece is rolled; to create a bigger center, repeat the cutting with another piece of paper, and roll it around the first piece of yellow rolled paper
*Carefully use the hot glue to attach the yellow paper to the center of the flowers.
*For the leaves, cut out the shape and size you like, then fold in half, and then fold back and forth like an accordion (see pictures) to create the “stems” in the leaf, while also making it more three-dimensional
*These can be attached to the wall using tape or tacks; I used packing tape, and it held up nicely, but that will depend on the wall you are attaching them to


Share with us your creation by tagging @craftboxgirls on social media.
For more great crafts and recipes, visit From Scratch with Maria. Follow me on Facebook, Instagram, Twitter and YouTube.
-Maria