Add sparkle and glitz to any room in your home with these DIY tinsel snowflakes!
If you’re looking for a super affordable way to add a huge impact to your home this holiday season, these DIY tinsel snowflakes are just for you! I used Popsicle sticks to create the base of my snowflakes. I love using Popsicle sticks for crafts since they are so affordable. For my snowflakes, I created the same shape, but you could get creative and play around with different styles–just think of the possibilities!
Check out the full tutorial below to see how you can make your own DIY tinsel snowflakes!
Supplies:
- Thin Popsicle Sticks
- Tinsel (I used gold)
- Lynn Lilly by Surebonder Hot Glue Gun and Glue (PRODUCT LINK)
- Grab 8 Popsicle sticks and glue 4 sticks together to create an X. You’ll make 2 X’s.

- Glue the 2 X’s together at the center.

- Begin gluing Popsicle sticks to the base you just made to create a triangle shape.

- Continue gluing sticks until you’ve created a snowflake.

- Step 5: Start in the center of the Popsicle sticks and add glue.

- Place tinsel on top.

- Move up, around, and down gluing the garland to the Popsicle sticks. When you get back where you started, trim the garland.

- Add glue to the remaining uncovered Popsicle sticks.

- Step 9: Then, add garland, and trim the excess. You’ll repeat these two steps until all of the Popsicle sticks are covered in tinsel garland.


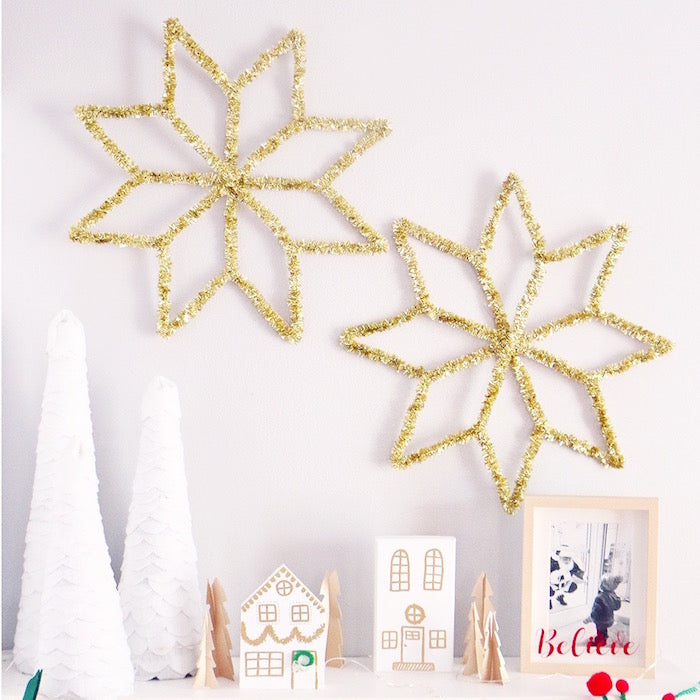
These DIY tinsel snowflakes look great up on a wall for an extra bit of pizazz! Just add a mini 3M hook and you’re good to go. You could also hang them from a doorway, ceiling, or scatter them down the side of your stairs!


Happy Holidays!
- Meghan Quinones
Meghan Quinones is a Craft Box Girls contributor as well as a blogger, content creator and author of her blog Happiness is Creating!