This post is sponsored by Brother Crafts but all opinions and thoughts are my own!
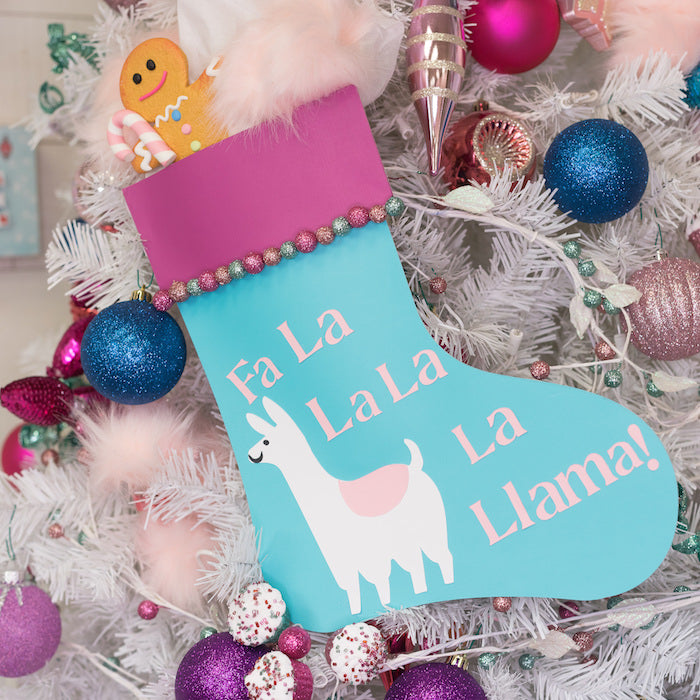
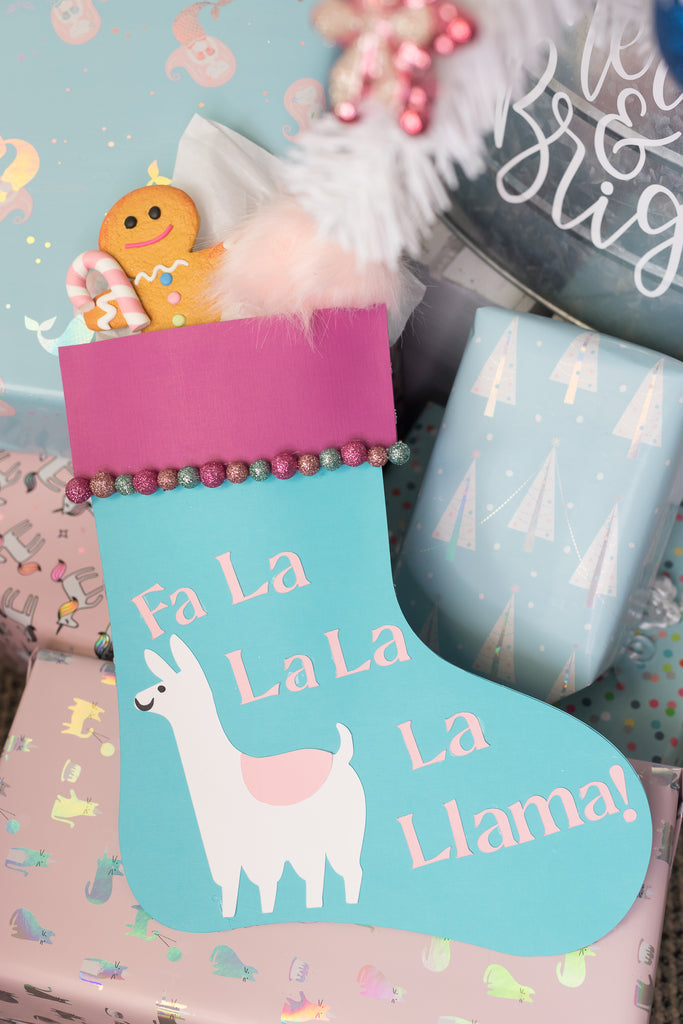
It is no secret that I love llamas! I just threw a llama themed 1st birthday party for my daughter and I am continuing my llama love through the holidays! Projects have gotten so much easier using my new Brother ScanNCut DX! For my first ScanNCut DX project, I made Snowman Favor Boxes and this week I am excited to share the feature that allows you to draw your own images, scan and cut them! Check out the step by step process of creating this magical Fa La La La La Llama Stocking!
I selected non-traditional colors of cardstock but you can select your favorite color combination.
Directions:
- For the shape of the stocking, I used a free pre-designed project template that was already in CanvasWorkspace. I made the stocking design a tad bit smaller and welded the two pieces together.


- Once I was happy with the size I downloaded the file and transferred data to the ScanNCut DX.

- Next, select cut and cut the main shape of the stocking. Set the cut pressure to 4-6. You can do a test to make sure it is cutting through your paper properly. Do this a second time so there are a front and back to the stocking.

- Next, I went back to CanvasWorkspace and adjusted the size of my stocking rim and sent the file to the ScanNCut DX.

- Make sure to cut two of these as well.
- Next I went back to CanvasWorkshop and started a new design. I added the text "Fa La La La La Llama!"
- I imported the stocking design I did to make sure my letters were sized properly. Make sure to remove this before you send the file to the ScanNCut DX.

- Next, I drew an outline of a llama on a piece of cardstock. I placed this in the scanning mat and fed it into my machine.

- I selected Scan and then Scan to Cut.


- The design will populate on the screen once it is scanned.

- Remove the drawing paper form the scanning mat right after you are done.
- Add cardstock to a standard cutting mat. Cut sections of colored cardstock based on the assets. For example, I wanted my llama to be white, his eyes/mouth to be black and the sash to be pink.
- Scan the mat with the paper into the ScanNCut DX. The mat layout with the colored cardstock will show up on the screen and you can move and adjust the assets to cut over the proper colors. You can also adjust the size of the designs.

- When you are ready, set the cut pressure to between 4-6 and select cut.
- Layout all the pieces to the design before assembling.

- Use a paper safe glue to attach the pieces. Make sure to attach the front and back of the stocking but leave the top open to fill with goodies!

- Last but not least I added glitter balls for the final touch!


Happy Llamadays! Stay tuned for more creative projects using Brother ScanNCut DX!
xoxo- Lynn