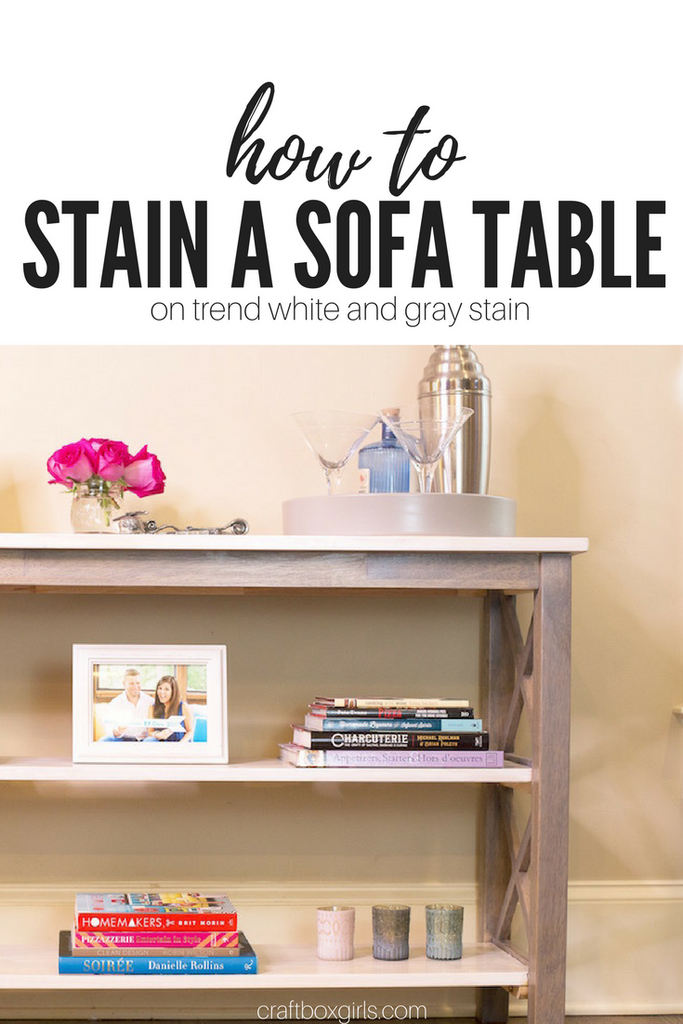
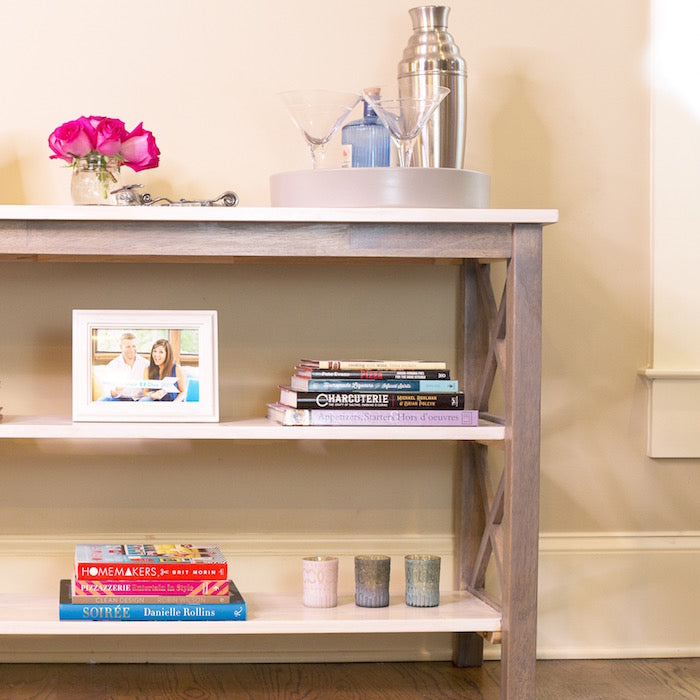
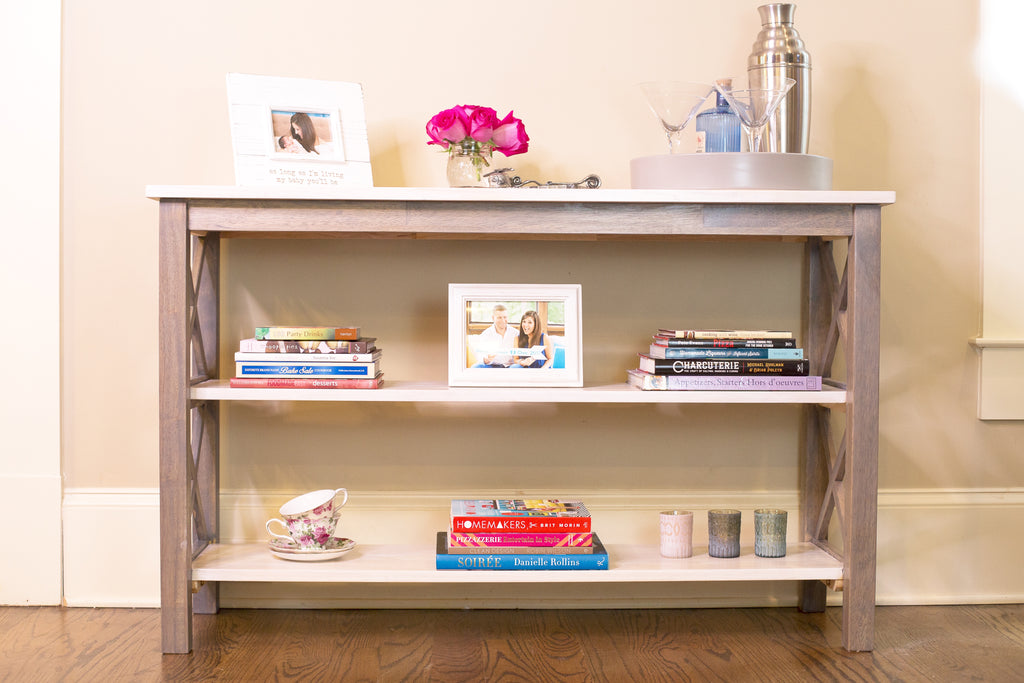
Ever since I was pregnant and Baby Lily arrived I have been going through a nesting phase and wanting to upcycle and re-invent certain areas of our home. I was thrilled to team up with Minwax® and get to tackle another area of our home! I have a dead space in between my living room and kitchen that needed some love. After looking around for the perfect sofa table I couldn't find anything that matched so it made sense to purchase a raw wood piece and finish myself. I love that Minwax Wood Finish comes in a variety of colors making it easy to create a custom piece that matches the look and feel of any room! Staining has always been one of my favorite techniques for finishing furniture and home decor pieces because it is so easy and literally fail proof. Once you read through my step by step guide you will be staining like a pro!
Quick Tips for Staining:
- Raw untreated wood works best
- Use a pre-stain wood conditioner to prepare wood and prevent blotchiness
- Stain in a well-ventilated room or outdoors
- Don't let excess stain dry on the wood surface
- Allow stain adequate time to dry
- Stir never shake stain
- The longer you allow stain to soak into the wood surface the darker the color will appear
Materials:
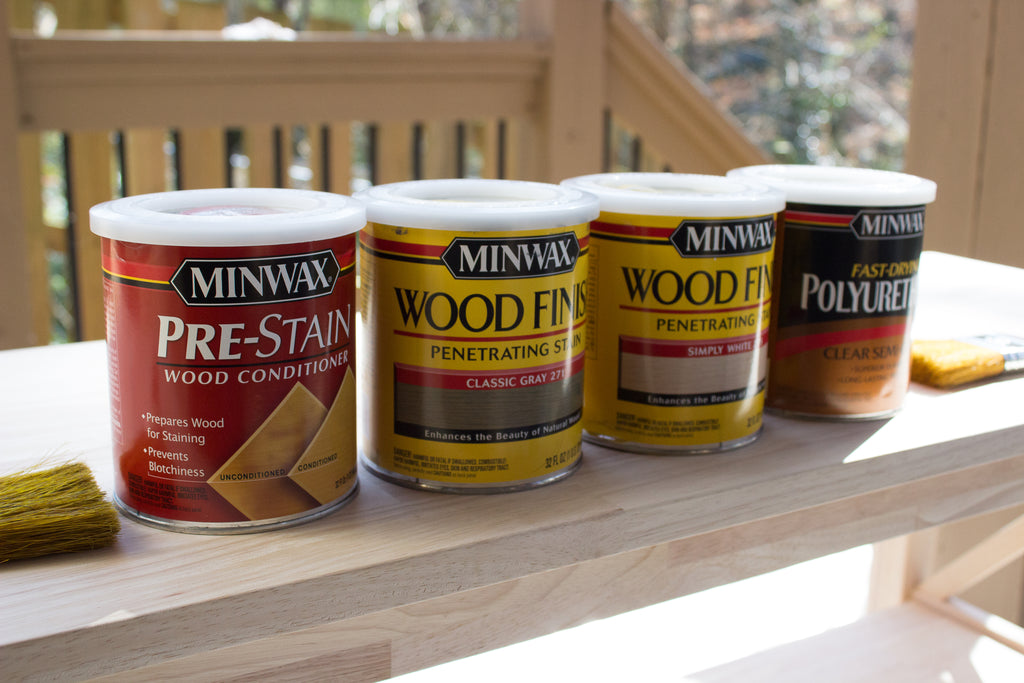
- Minwax® Pre-Stain Wood Conditioner
- Minwax® Wood Finish Penetrating Stain in Classic Gray
- Minwax® Wood Finish Penetrating Stain in Simply White
- Minwax® Fast-Drying PolyurethaneMinwax® Brushes
- Tarp
- Gloves and Protective Eyewear
- Stir Sticks
- Flathead Screwdriver
- Untreated Raw Wood Sofa Table
- Lint-free Rag or Paper Towels

Directions:
- Read and follow all safety instructions on the Minwax® cans.
- Outside or in a well-ventilated room cover an area with a tarp. Place the piece of furniture on the tarp.
- Make sure the furniture is free of debris and dust.
- Use a flathead screwdriver to pry open the Pre-Stain Wood Conditioner. Use a stir stick to thoroughly stir.
- Using a brush apply the wood conditioner evenly on the entire project. Let the conditioner soak into the wood and wipe the excess.
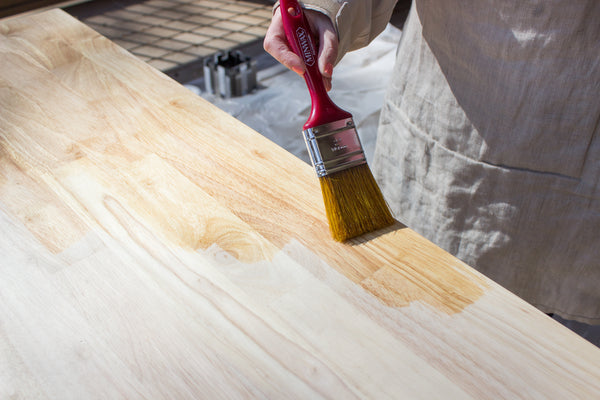
- Allow the pre-stain to dry but make sure that you apply the first coat of stain within 2 hours.
- If you decide to use two colors of stain like I did in this project, I suggest staining the lightest color first.
- Pry open the can of stain, stir and apply with a brush. I applied the simply white stain to the shelves of my sofa table. Allow the stain to penetrate the wood for 5 minutes before using a clean lint free rag or paper towels to wipe excess stain. Make sure to wipe in the direction of the wood grain. Do not let the excess stain sit on the surface and dry.


- Next, I applied the classic gray stain to the side panels of the sofa table. I used a smaller brush to get in the small areas and corners. If you happen to get a spot of the darker color on the lighter surface wipe quickly.
- The longer you leave the stain to penetrate the surface the darker it will be.
- I suggest letting the stain dry for 3-4 hours between quotes. For this piece only applied a second coat of the simply white stain.
- I allowed my table to dry overnight before applying the Polyurethane. To apply the polyurethane, I first stirred it in the can and then I brushed a light coat over the entire piece. If you wish to apply multiple coats allow at least 5 hours of dry time. I only applied one coat and felt it was adequate to protect the surface. If your piece will have a lot of wear and tear I suggest multiple coats.

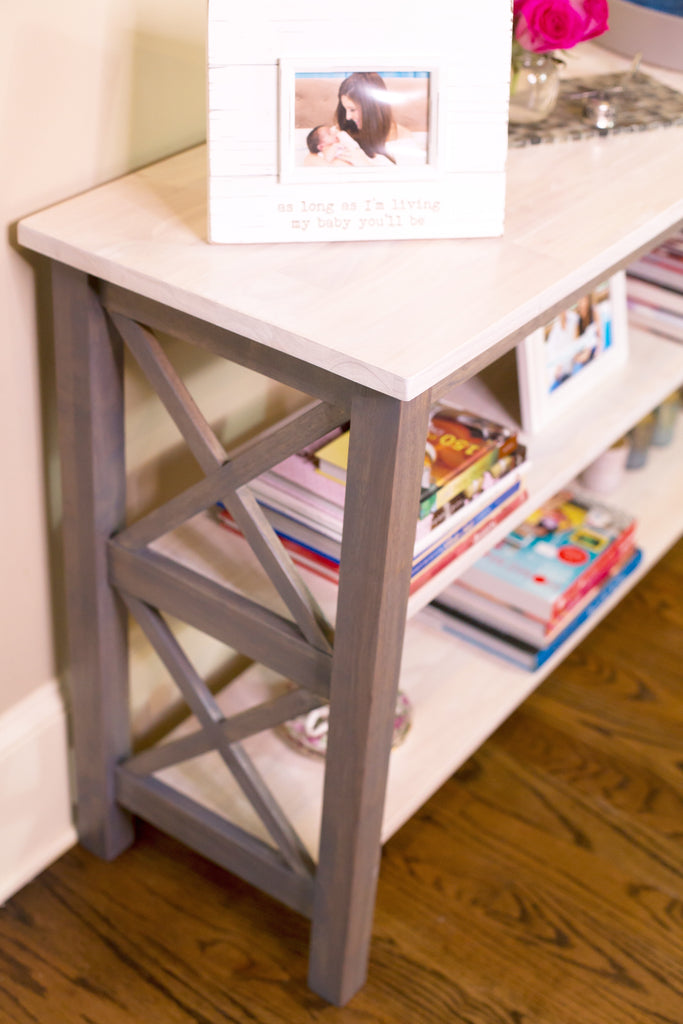
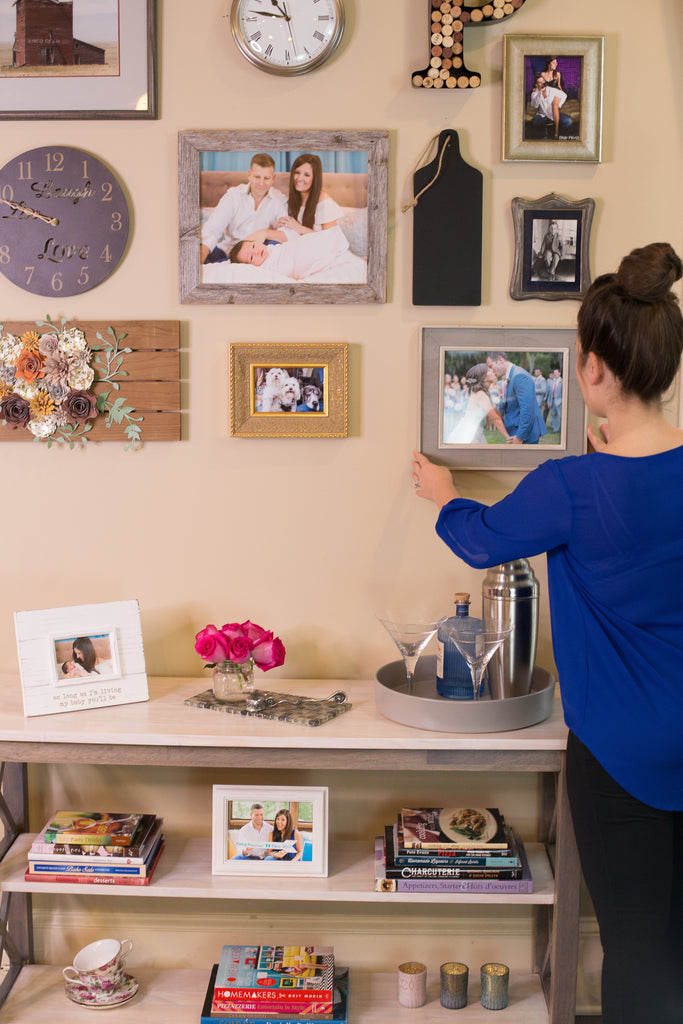
I hope this inspires you to try staining a piece of furniture or home decor!
Connect with Minwax®: Website | Facebook | Twitter | Instagram | Pinterest
xoxo- LL
This post is part of a paid campaign with Minwax®. All opinions, photos and project ideas are my own!
