Celebrate #NationalWalkonTheWildSideDay (April 12) with me! I am sharing 2 wild animal crafts on the Crayola Facebook Page. We are flying high with a colorful paper plate parrot craft and chomping alligator toy!
All the Crayola supplies I am using in today's crafts can be found on Crayola.com

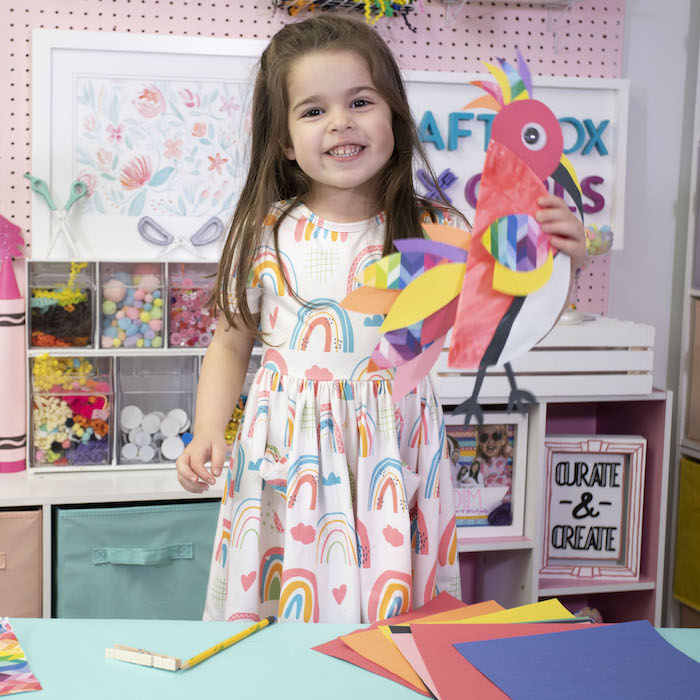
Project 1: Paper Plate Parrot
Materials:
- Paper Plate
- Crayola Red Spill Proof Washable Paint & Brush
- Crayola Bright Pop Cardstock Pad
- Crayola Construction Paper
- Crayola Washable Liquid Glue
- Googley Eye
- Scissors
- Pencil

Directions:
- Flip the paper plate bottom side up. Use the paint brush to wet the spill proof washable paint pot. Paint the entire bottom of the plate and let it dry.
- While the plate is dry, cut out beak and claws out of black construction paper.
- Cut out an assortment of tail feathers from different colors of construction paper and Bright Pop Cardstock.
- Cut out tear drop shaped feathers for the wing.
- Cut out a circle for the parrot's head.
- Cut smaller feathers for the head feathers
- Glue the feathers to the top of the head.
- Glue the beak to the head.
- Glue a googley eye on the head.
- Once the plate is dry fold it in half.
- Glue the head to the inside top.
- Glue the claws to the inside of the plate at the bottom.
- Use the liquid glue to glue the plate shut.
- Glue tail feather on the back.
- Glue the wing feathers on the center of the body.
- Add belly fur by cutting out white and black construction paper and glue to the plate.
This colorful parrot is a fun for all ages. Your kiddos can get creative with the colors and patterns of paper.

Project 2: Chomping Alligator
Materials:
- Clothes Pin
- Crayola Washable Brush Markers
- Crayola Washable Glue Stick
- 2 Googley Eyes
- Green Construction Paper
- Red Construction Paper
- Pencil
- Scissor

Directions:
- Use a green brush maker to paint the entire clothes pin green.
- Cut out 4 alligator legs and a tail.
- Glue the legs and the tail to the bottom.
- Glue 2 googley eyes to the top.
- Cut out a red tongue and glue that into the opening of the clothes pin.
- Cut a piece of green construction paper the length and width of the clothes pin.
- Accordion fold the strip of paper and unfold. Glue the beginning and the end to the top of the clothespin to make a bumpy gator back.
Have some fun and play pick up with the chomping gator. My daughter Lily loved this craft!

Have fun walking on the wild side little animals!
Lynn :)