
Today we are going to be making a really cool card! But not just any card, this one will pop up!
Project Name: 3D Pop Up Card
Project Difficulty: Intermediate
Project Materials:
- Blue and Yellow Card Stock or Construction Paper
- Scissors
- Glue stick
- Pencil
- Silly Scents Markers
- Glitter Glue
Project Directions:
- Take the blue paper and fold it in half vertically. Cut in half.

- Take one of the blue pieces and fold it in half.

- Take your other blue piece of paper and do the same thing. Except this time the blue side will be on the outside and the white will be on the inside.
- Take your piece with the white facing the outside and you're going to cut 2 small slits on the creased side. You don't want to cut all the way through the card, just a little bit.


- Put the two pieces together with the white sides facing each other. You should now have blue on both sides. Use your glue stick to glue the 2 pieces together. The piece with the slits should be in the middle and the other piece on the outside.


- Take the yellow paper and draw a circle.
- Draw 4 triangles around circle shape and then go in between those and add a few more triangles to create the sun rays.
- Take a black marker and trace around your pencil marks. Add the smiley face in the center.

- Take the peach marker and draw around the black to add some color.

- Cut out the sun around the marker marks.
- Draw and cut out clouds.
- Apply glue to the pop out tab on the card and attach the sun.
- Glue the clouds above and below the sun.

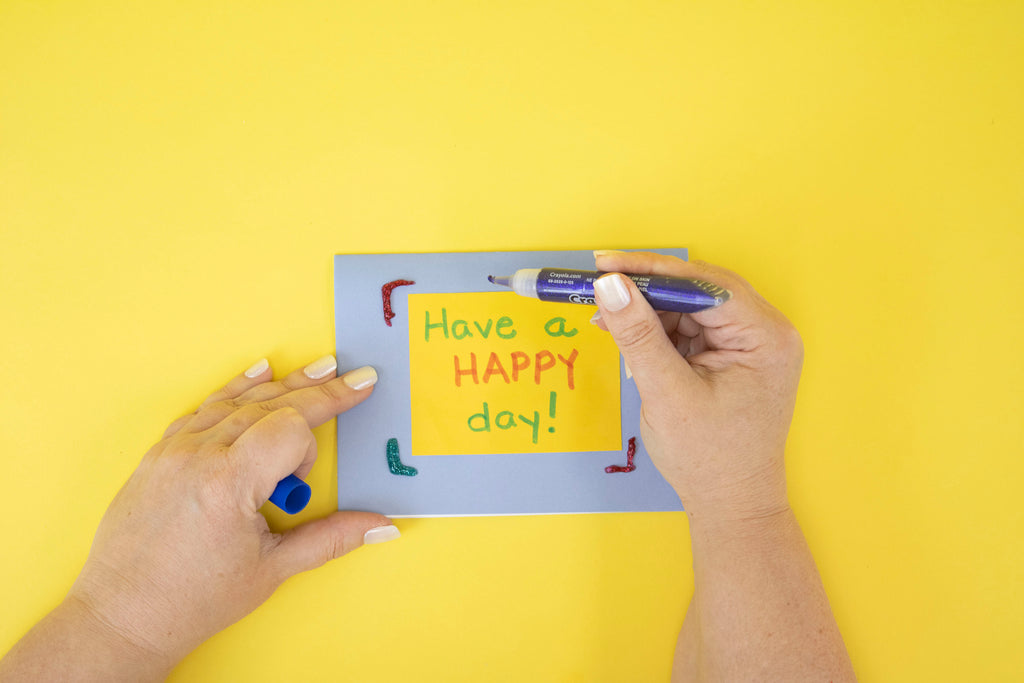
- Flip the card over and create a decoration for the front side.
Give your card to someone special! You are going to make their day! See you for the next camp craft!