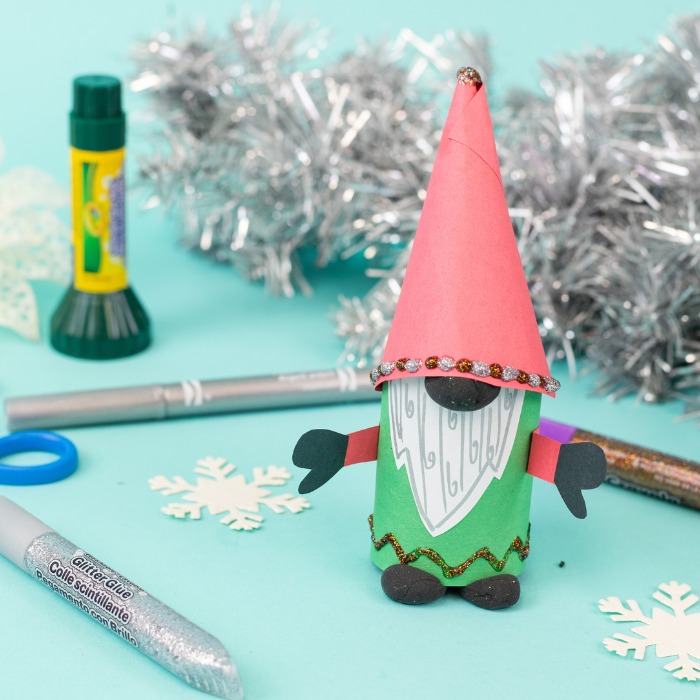
Project Name: Craft Roll Gnome
Project Difficulty: Intermediate
Project Video:
Project Materials:
- Ruler
- Glue stick
- Washable glue
- Black Model Magic
- Scissors
- Red, green and black construction paper
- Pencil
- Metallic Markers
- Cardboard Craft roll
- Glitter Glue

Project Instructions:
- Decide how big you want your gnome to be by cutting the craft roll down or leave it as long as it is.
- Draw a mark onto your green paper at the end of the craft roll.
- Using your ruler, draw a straight line all the way up the sheet of paper and cut out.


- Wrap this strip of green construction paper around your craft roll and glue with your glue stick. Hold the ends together for a minute so that they stay put.

- Next we will create a square shape on our red construction paper using our ruler and pencil.
- Measure out to 5 inches on the bottom of your paper and mark with your pencil. Now measure up your paper and mark at the same 5 inches.
- Using your ruler draw your lines between the marks to create your square. Now cut out.


- Now taking one side of your square we will roll until we have a cone shape. Glue with your washable glue and hold together for a minute so they stay put.


- Cut the bottom off with your scissors until you have an even straight line.

- Draw small arms and mittens. Cut each out and glue together.
- Using your white construction paper, draw a triangle shape with some jagged edges and cut out. Decorate with your silver metallic markers. This is the gnomes beard.


- Glue the beard to one side of your green craft roll with the point facing down.

- Next, fold down a small part of each arm to glue onto each side of your green craft roll.

- Take a small amount of your black model magic and roll into a ball and shape into an oval. Glue to the top of your white sheet you already glued on (this is the beard and nose).


- Place a small amount of washable glue to the back of your green craft roll. Attach your red cone shape (this is the gnomes hat).


- Create two more small balls with your black model magic. Place at the bottom of your green craft roll and push down a little bit so they are indented with the craft roll in the middle.


- Decorate your gnome with your glitter glue pens.


You now have your very own magic gnome!