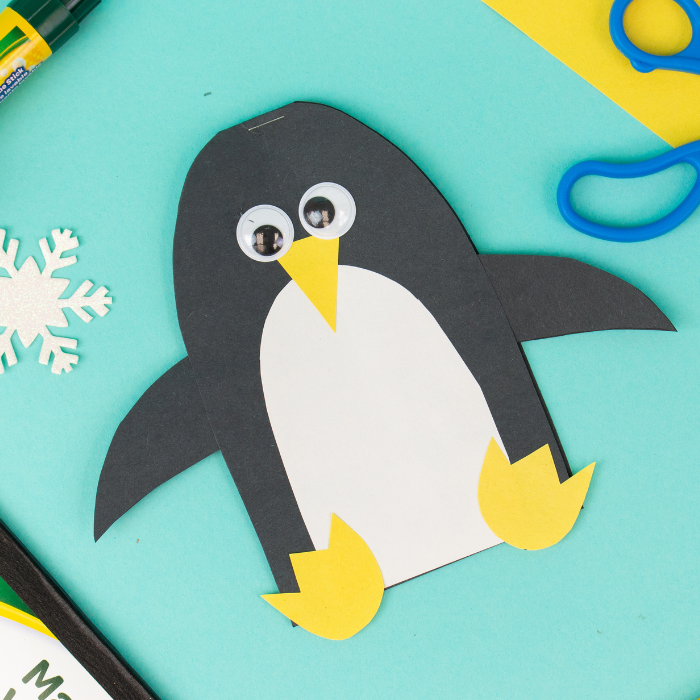
Project Name: Penguin Notebook
Project Difficulty: Easy
Project Materials:
- white Paper from Marker & Watercolor Pad
- Glue Stick
- Black construction paper
- Stapler
- Pencil
- Googley eyes

Project Instructions:
- Fold your black sheet of construction paper in half, hamburger style (horizontally).

- Using your pencil, trace a half oval on one side of your sheet of paper. Make sure the top part of your oval is on the folded side of your paper not the open side.

- Cut out out making sure to not cute the folded part.

- Cut out two penguin wings from the left over black construction paper.

- Open up your book and glue a wing on each side of the TOP of your notebook for the penguin arms. Make sure the wings are glued upside down so when you close your notebook they appear right side up.


- Cut a small half oval with your white sheet of paper.

- Close your notebook and glue your white half oval to the front using your glue stick. This will be the penguins belly.

- Using the yellow sheet of paper, trace your two penguin feet and penguin nose. Cut out.

- Glue your penguin feet and nose to the front of your notebook using your glue stick.

- Glue your googley eyes to the top of your notebook with your glue stick. The same side where you placed the penguin belly, feet and nose.


- Open up your notebook and trace one side onto a white sheet of paper.

- Cut out and glue into the middle of your notebook using your glue stick.

- Close your notebook and staple the top together.

Can you use this same technique to create another animal shaped notebook!


