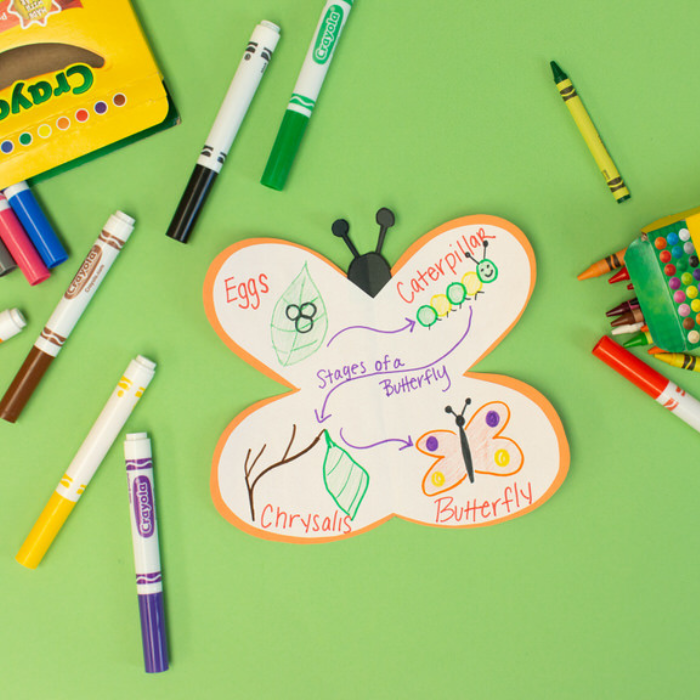
Project Name: Science Week - Stages of Butterfly Craft
Project Difficulty: Easy
Project Video:
Supplies from Kit:
- Crayola Black, Orange,Purple, Yellow Construction Paper
- Crayola White Paper From the Paint Kit
- Crayola Scissors
- Crayola Markers
- Crayola Bright Pop Cardstock
- Crayola Glue Stick
Directions:
- Fold your orange construction paper in half and draw your Butterfly wings outline. Cut out and unfold.


- Draw your butterfly head and antennas on black construction paper. Once done cut out.


- Glue the butterfly head/antennas to the top (back) of your butterfly using your glue stick.


- Fold your butterfly back in half and draw your butterfly body down the crease of your butterfly. Color in with the black marker.


- Using the end cap of your glue stick, trace out circles on your yellow and purple construction paper as well as your bright pop cardstock. Cut out the circles.


- Glue the circles to the 4 corners of your butterfly.


- Trace your butterfly onto white paper and cut out. This should be a tad bit smaller than your original orange construction paper butterfly.


- Glue the white cutout to the other side (blank side) of your orange butterfly.

- Draw/Write the stages of a butterfly on each wing (for a total of 4 stages).


- Your butterfly will be double sided. One side with the wings decorated with the small circle cutouts and the other side with the 4 stages of a butterfly.
I hope you enjoyed today's craft! Parent's don't forget if you share your child's projects on social media tag @craftboxkids @crayola and use #campcraftbox
Happy Crafting!


