
Save your cardboard craft rolls from the paper towels or a roll of wrapping paper and get ready to make the ultimate pencil holder. Here is what you will need for this project:
Project Difficulty: Beginner
Materials:
- Washable Markers
- Washable Glue Stick
- Washable Liquid Glue
- 1 Erasable Colored Pencil
- Glitter Glue
- Construction Paper
Additional Materials:
- Cardboard Rolls (3 paper towel ones)
- Paper Plate

Directions:
- Fold one of the craft rolls in half and cut on the fold to create two pieces.


- Cut each piece down the side.

- Glue these two pieces together on one side.

- Lay this roll on a piece of construction and trace.

- Cut out the outline you just traced.
- Use the glue stick to glue the construction paper to the craft roll.

- Glue the craft roll ends together to form one wide roll.

- Lay this roll next to the a full size craft roll. Line up the bottom and place two fingers at the top of the construction paper covered craft roll and make a mark.

- Cut along this mark.

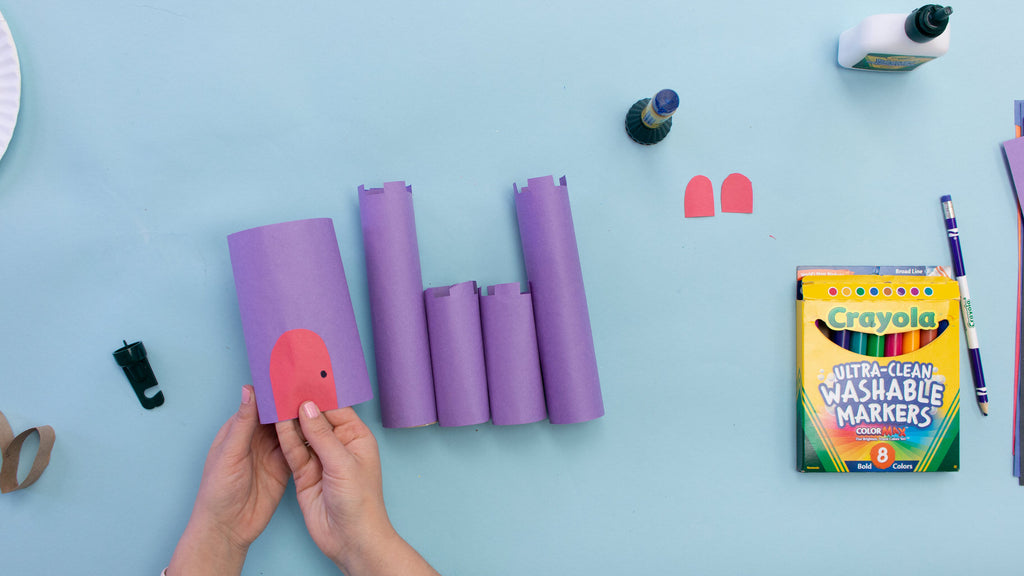
- Set the shorter piece aside. Cut the 3rd craft roll to the same size as the second. These pieces are going to be the towers of the castle. Cut the two shorter pieces slightly shorter.

- Cover the 4 towers with the same color of construction paper as the main tower you created in step 1-7. When you are measuring the construction paper, make it longer so you can draw and cut a pattern at the top of each tower. Once you cut the paper, use the glue stick to glue around each tower.


- Cut a round door and two round windows. Glue the door to the main tower and the windows to the two taller towers.
- It's time assemble the towers. Glue the tall towers on either side of the main tower using the liquid glue. Glue the short towers at the end on each side.


- Use the glitter glue to write your name on the castle.

- Take the paper plate and flip face down. Color in the center with a glue marker and draw grass around the edges.

- Glue the castle to the plate.

- Let it completely dry and then fill it with your favorite school and craft supplies! If you have some extra model magic you could even model a dragon, knight or princess.

We hope you enjoyed this Camp Craft Box project! Parents, share your child’s craft on the Camp Craft Box Facebook Group. Don’t forget to tag @crayola and @craftboxgirls and use the hashtag #CampCraftBox if you share your child's projects on social media.