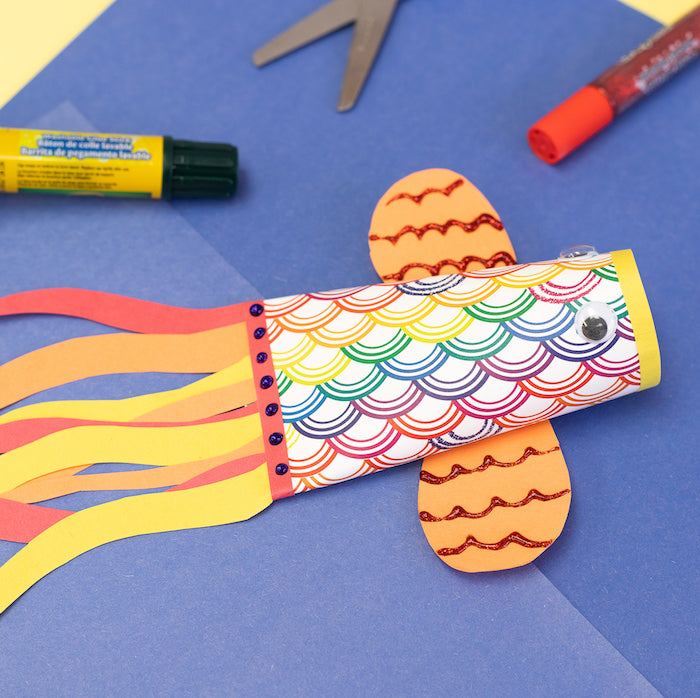
Any “fin” is possible with this colorfully cool 3D fish project! This is what you’ll need to make this craft:
Project Difficulty: Beginner
Materials:
- (1) Bright Pop Cardstock Paper
- (3) Colors of Construction Paper
- Glitter Glue
- Erasable Colored Pencil
- Washable Glue Stick
Additional Materials:
- Cardboard Craft Roll
- (2) Googly Eyes
- Scissors
- Stapler

Directions:
-
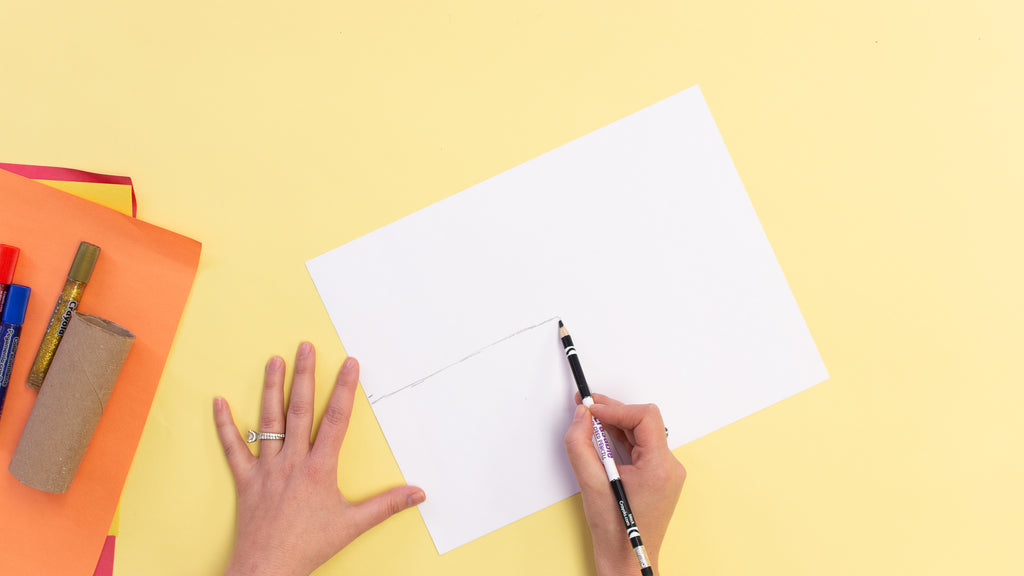
Flip the Bright Pop sheet of paper upside down so that the white side is facing up. Lay your craft roll on top of the paper and line it up with the bottom left corner of your page. Use an erasable coloring pencil to draw a mark on the paper, right where the top of the craft roll begins. Slowly roll your craft roll in the cardstock paper until it is completely covered. Use an erasable coloring pencil to draw a line on the paper where the paper covered craft roll ends. Make sure the line is the same height as the craft roll.


- Unroll your craft roll from the paper then use an erasable coloring pencil to connect the first marked line and the second marked line together.
- Use scissors to cut along the drawn lines.

- Add glue to the back of the paper and glue around the craft roll.


- Hold the paper and craft roll together until the glue is dry and the paper is stuck to the craft roll.
- Pinch together one end of your craft roll, then staple it together.

- Draw two upside down “U”’s at the edge of a piece of construction paper, then cut them out.

-
Use a washable glue stick to add glue to the ends of each fin and glue them to each side of the craft roll. Add both fins on each side of your cardboard craft roll. Make sure the sides of the fins with the pencil markings are facing down. You also want to make sure that the staples on the craft roll are facing down as well.

- Draw squiggly lines on all three different color pieces of construction paper and cut them out. These will be the tails of your fish so make as many as you’d like!

- Use a washable glue stick to glue each squiggly tale onto the pinched end of your craft roll.

- Cut a thin strip of construction paper that will fit all the way around your fish. Do this a second time on differnet color of paper.

-
When you’re done, use a washable glue stick to apply glue to the entire strip of paper, then wrap it around the stapled end of your fish. Hold it in place until the glue is dry and the strip is securely attached. Glue the second strip to the opening of the fish mouth.

-
Apply glue to the back of two googly eyes, then place the eyes directly over top of the fished open mouth.

- Use the glitter glue to decorate the fish!


We hope you enjoyed this Camp Craft Box project! Parents, share your child’s craft on the Camp Craft Box Facebook Group. Don’t forget to tag @crayola and @craftboxgirls and use the hashtag #CampCraftBox if you share your child's projects on social media.