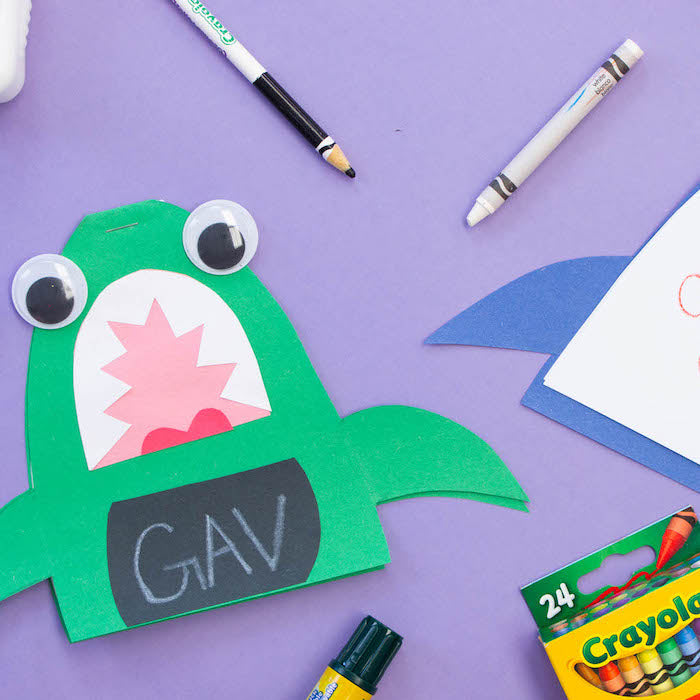
Take a bite out of this craft - A shark bite! We are going to have fun making a shark shaped notebook! Here is what you need:
Project Difficulty: Beginner
Materials:
- Crayons
- Washable Liquid Glue
- Kid-Safe Scissors
- 1 Erasable Colored Pencil
- White Paper from Paint Kit or Notebook Paper for Inside of the Notebook
- Construction Paper (Black, Pink, Red, Green (or a color ou want to make your shark)
Additional Materials:
- Shark Template (you can also follow along and free hand with me)
- Googley Eyes
- Stapler

Directions:
- I created a shark template that you can use or you can freehand draw the shark pieces along with me. If you are going to use the template, download, print and cut out the pieces.
- Take the piece of construction paper that you want to use for the body of your shark and fold it in half hamburger style.

- Draw the shape of the shark body with the tip of the shark nose on the fold.

- Draw two fins from each side of the shark body.

- Cut out the shark making sure the fold stays connected at the tip of the nose.

- When you are done you will be able to open it up like a card.

- Take a stack of 3 pieces of white paper or lined paper and fold in half. This can also be construction paper. Use whatever you want to be the notebook filler. Place the folded paper stack inside the shark fold with the folded side against the folded side of the shark.

- Use the pencil to trace the outline of the shark on the paper. Only trace the body.

- Cut out.
- Open the shark up and place the stack of paper inside and close.

- Staple once at the tip of the shark. You might need a parent to help you with the staple.

- Next, take the pink paper and draw and cut out an upside down "u" that will fit on the shark body as the mouth. You can also use the template.

- Trace the mouth on the white paper. Remove and draw teeth. Cut out.


- Use the glue stick and glue the teeth to the mouth.
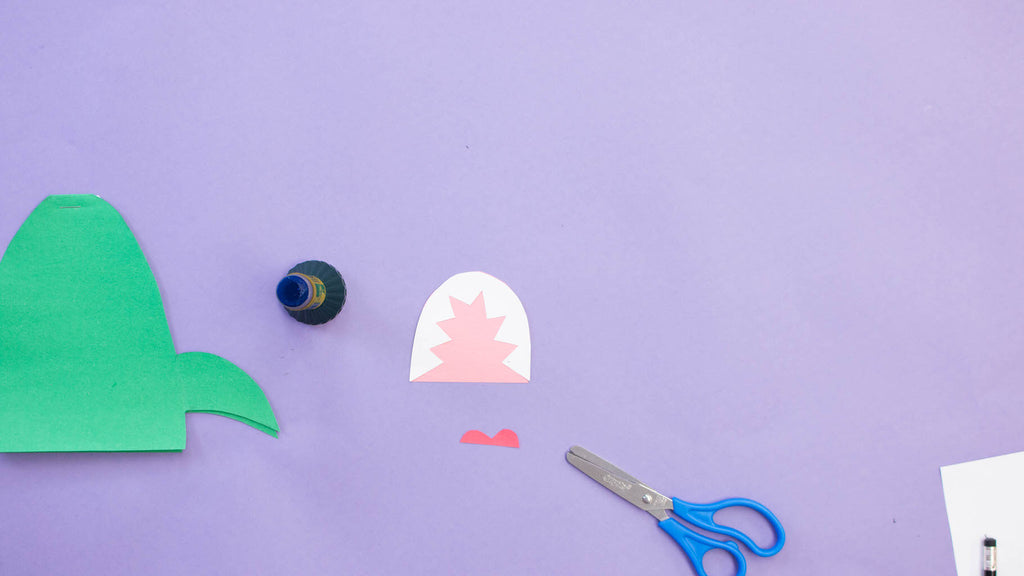
- Cut a tongue out of red paper and glue to the mouth.

- Glue the mouth to the shark body.

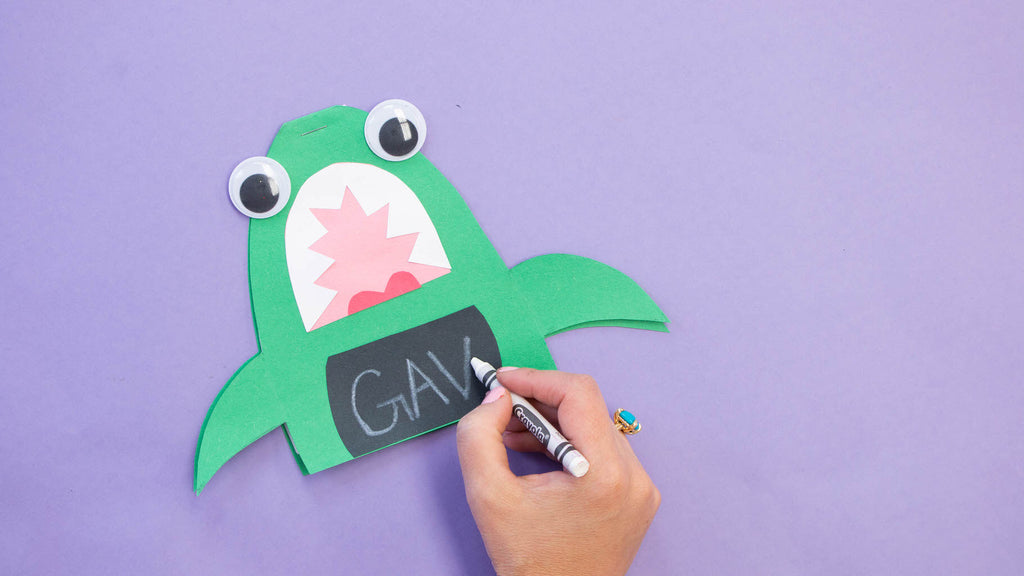
- Cut a belly out of black paper and glue to the body.


- Use the liquid glue to glue the googley eyes to the top of the shark or use the glue stick bottom to draw and trace your own.

- Use the white crayon to write your name on the black construction paper belly of the shark.
Get ready to record all your summer adventures in this friendly, shark notebook!

We hope you enjoyed this Camp Craft Box project! Parents, share your child’s craft on the Camp Craft Box Facebook Group. Don’t forget to tag @crayola and @craftboxgirls and use the hashtag #CampCraftBox if you share your child's projects on social media.