This post is sponsored by Brother Crafts but all opinions and thoughts are my own!
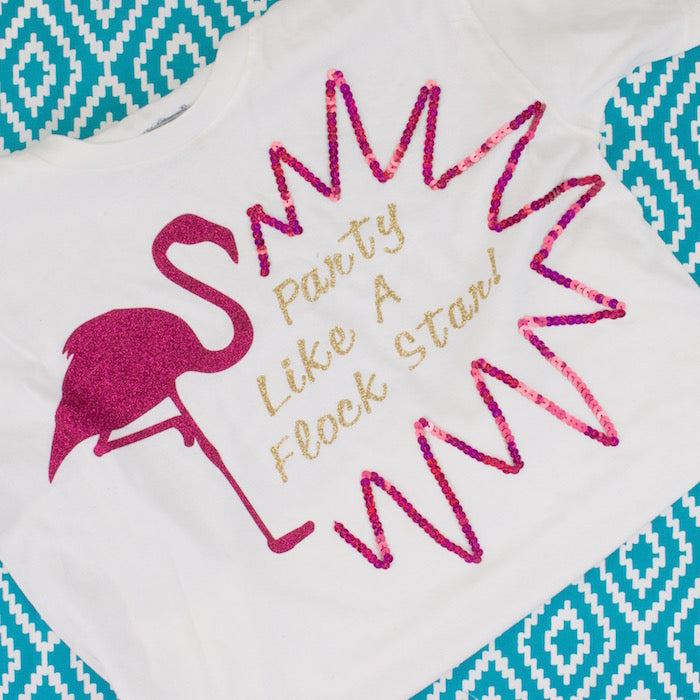
I am hot off one of the biggest craft trade shows of the year where I was immersed in the trends for 2019. One trend that I am sure excited about is that flamingos are a hot animal this year. If you follow me on social media, I announced that the flamingo was my creative spirit for 2019 early January so I am excited to craft all year long with my pink feathered spirit animal! I connect with the flamingo because like the flamingo I am always doing a balancing act and it is my goal to stand out above the crowd like the flamingo. For my first flamingo project of the year, I created a festive fun t-shirt using my Brother ScanNCut DX. Get ready to party like a flock star with this t-shirt! The Brother ScanNCut DX is one of my favorite new tools to make awesome paper, vinyl, HTV crafts!
For this project, you will need a Heat Transfer Vinyl (HTV), a t-shirt, iron, and a standard grip mat.
Directions:
- Open a new project in CanvasWorkspace.
- Upload an svg file of a flamingo. There are multiple sites where you can buy svg files or download complimentary ones for personal use.
- Type out the message. For a fun twist, I went with Party Like a Flock Star.
- Make sure to mirror the text in CanvasWorkspace. If you forget to do it before sending the design to the ScanNCut DX you can always do it on the monitor.

- Once the design is ready, transfer the design to the ScanNCut DX.
- Retrieve the design on the ScanNCut DX.

- Next place the heat transfer vinyl pieces on the standard mat. Place face down on the mat.

- Scan the mat into the ScanNCut DX. The color vinyl sheets will show up on the screen and you can move the design pieces over the vinyl sections to ensure they cut in the proper place.
- Before cutting make sure to set half cut since you are using vinyl. You don't want it to cut all the way through the top protective sheet.
- After the design is cut, use the tools (they came with the ScanNCut DX) to weed the extra vinyl away from the design.

- Place the design face up on the t-shirt. Read the label on the heat transfer vinyl packaging to determine the proper iron settings and time.

- Iron over the design until it adheres to the t-shirt.

- To add a little extra pizazz to the shirt I added sequins using fabric glue.


TADA!! You will definitely party like a flock star with this shirt!
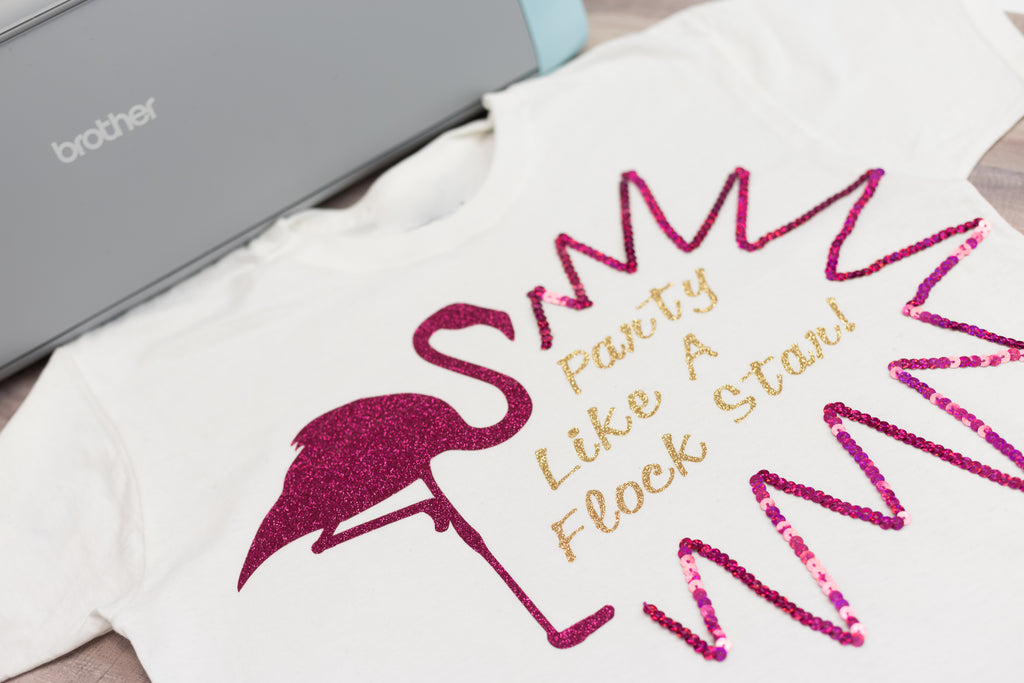
This was such a fun project and it only took about 30 minutes! Stay tuned for more easy projects as I explore all the capabilities of the Brother ScanNCut DX!
xoxo- LL