Halloween is one of our favorite holidays here at Craft Box Girls. This Halloween we teamed up with Krylon Spray Paint to turn my backyard into a spooky graveyard. Chan and I had a blast creating do it yourself grave markers and graveyard gates. We can't wait to share this simple project with you! You will definitely be getting the best Halloween decorations award in the neighborhood with this set up! We used Krylon Rust Protector™Multicolor Textured Finish on the grave markers and the Krylon Rust Preventative Enamels for a smooth finish on the graveyard gates.

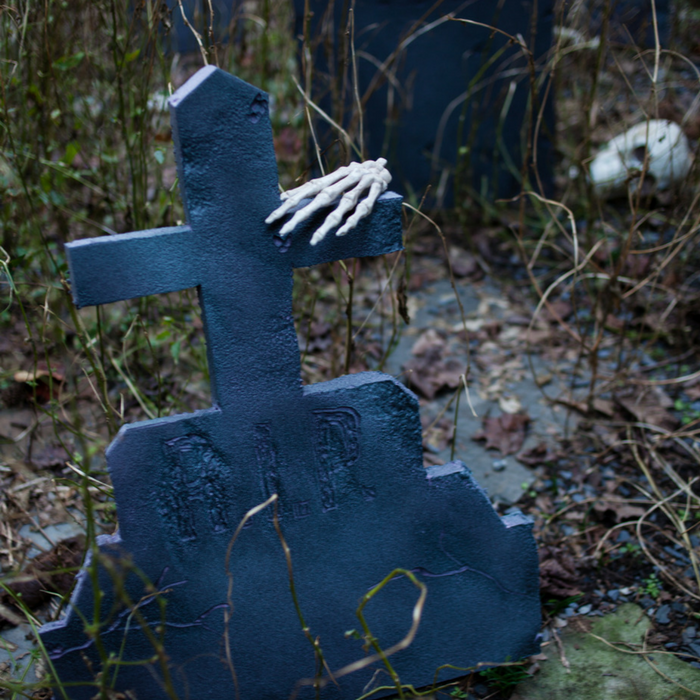
DIY Grave Markers
Materials:
- Krylon Rush Protector Rust Preventative Enamel in Flat Black
- Krylon Rust Protect Multicolor Textured Finish in Granite & Charcoal
- Styrofoam or Foamular Insulation Sheets
- Tarp
- Wood Burning Heat Tool
- Designs for Marker Messaging (on Standard Printer Paper)
- Dull Point Pencil
- Xacto Knife
- Hot Glue or Super Glue

Directions:
- Using the pencil, draw the outline of your grave marker on the foam.

- Cut out the grave marker using an xacto knife. Save the extra pieces.

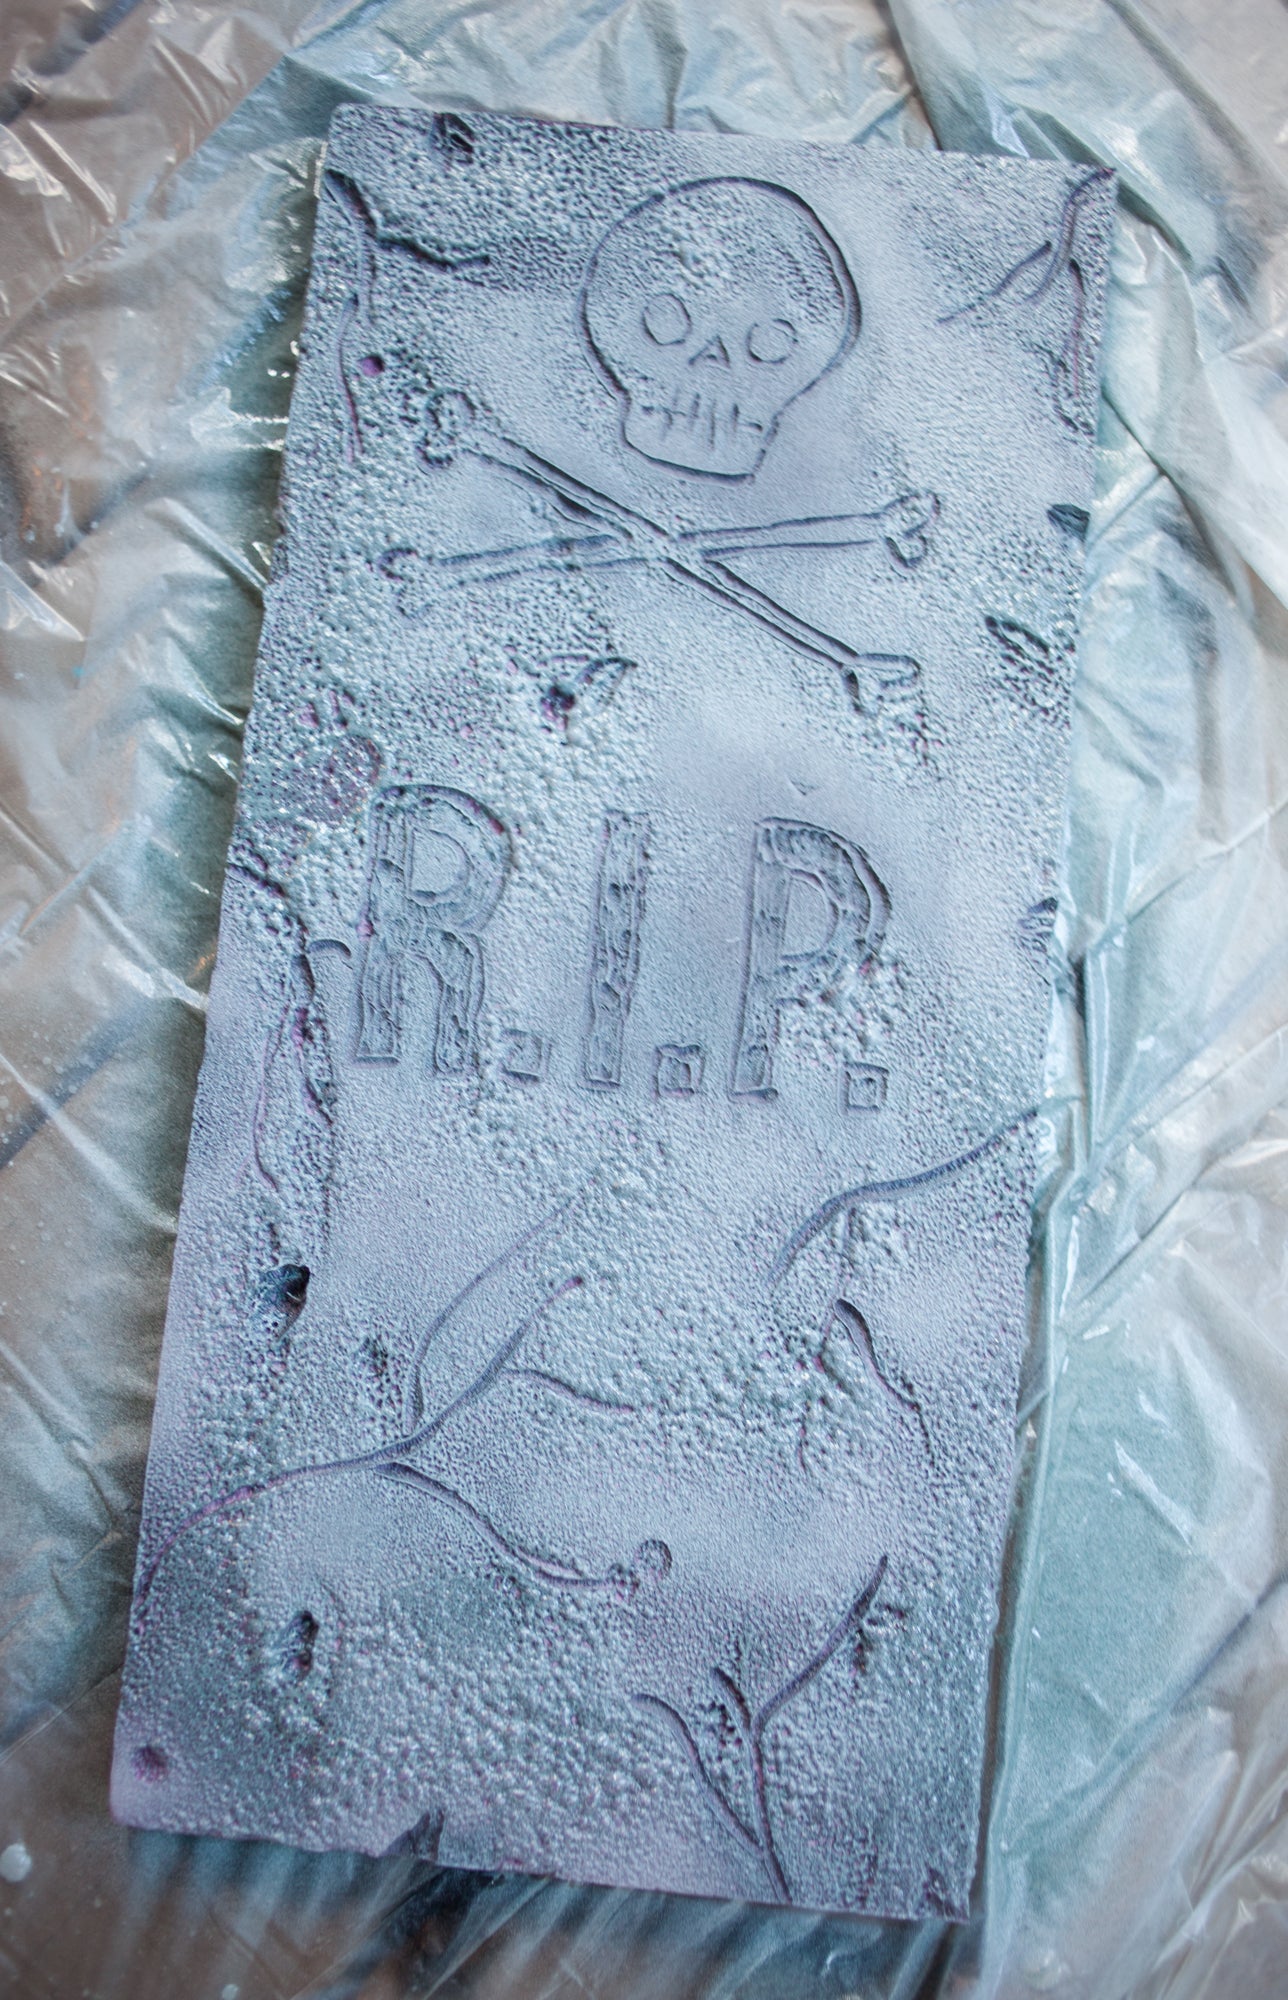
- If you don't already have a design you can easily create one on you computer draw one. Take the design and position it on the foam where you would like it to appear. Use the dull pencil to trace the design on the paper, which will leave indentations on the foam.


- Discard the design and plug in the wood burning heat tool with a fine tip point already inserted. It takes about 30 seconds to heat up. Once the tool is hot us it to carve into the foam. Press very gently to gage how quickly the foam melts away. We found that using light short strokes worked the best.

- Once the design is complete, it is now time to spray paint! In a well ventilated room or outdoors place the grave markers on tarp. Make sure to read the product label for proper application and safety instructions.

- Start by spraying the Krylon Rust Preventative Enamel in Flat Black over the carved designs to highlight them.

- Next use Krylon Rust Protector Multicolored Textured Finish in Granite and Charcoal. Spray light coats until you get your desired look. We used foamulator which was purple so we had a to do a few more coats than if you were using white styrofoam.
- I love this line from Krylon because it dries in 8 minutes!
- Next take the extra pieces of foam and cut into a stand for grave marker. Attach the stand with hot glue or super glue.

- If you want extra support, you can insert thin stakes into the bottom of the grave markers and stick those in the ground.


Next Up..... Graveyard Gates!
Materials:
- Krylon Rust Protector Enamel in Flat Black
- 24-36 Inch PVC Pipes (2 per gate)
- 24-36 Inch Dowels (7 per gate)
- Twine
- Scissors
- Stakes (or metal chopsticks)
- Hammer
Directions:
- Lay out the gate structure, putting a PVC pipe at each end, 5 dowels in between the PVC pipes and 2 dowels perpendicular.

- Using the twine secure each section where the pipes and dowels cross. Secure by tying a knot across the connection, then wrap in an X pattern and secure by tying a knot.

- Once the gate is secured as one piece, move to a well ventilated room or outdoor area that is covered with a tarp.
- Spray the front and back of the gate, allowing each side to dry about 8 minutes.

- To display your gate, hammer two stakes or metal chopsticks half way in the ground at the exact same measurement of the PVC pipe openings. Once secure in the ground set your on the stakes inserting them into the PVC pipes.


We hope you enjoy this fun and creative spooktacular Halloween graveyard! Keep scrolling down for more images!
You can find this product at your local craft store or you can check out Krylon's website to find a retailer near you.
Connect with Krylon: Website | Facebook | YouTube | Pinterest | Twitter
xoxo- LL & Chan
This post was a sponsored collaboration with Krylon but all project ideas and opinions are my own!


