This post is in collaboration with the DIYZ® app. All opinions of apps and companies that help me complete DIY Projects are my own.
Over the last few weeks, our team at Craft Box Girls has been using the DIYZ app for project inspiration and to help with home improvement projects. We love the DIYZ app because if you have any questions or need advice when you are building a project, you can chat with a licensed contractor without leaving the app. With the tap of a finger, you can get answers via phone or video-chat. We are excited to collaborate with them to create new and simple projects that inspire our audience.
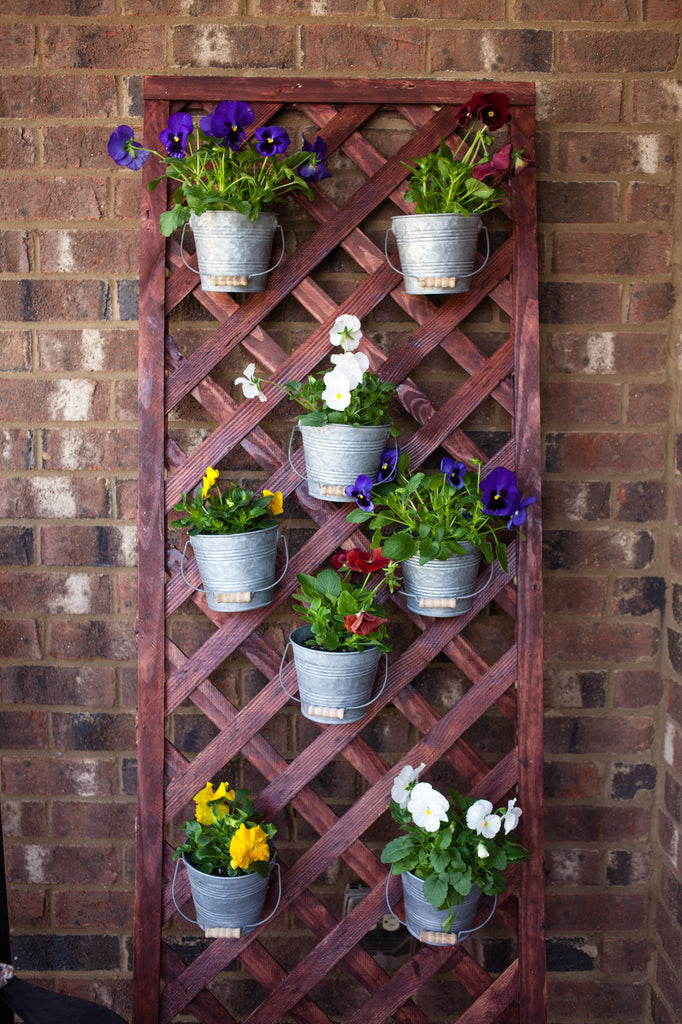
Spring is in full bloom and I am on a mission to fill my outdoor spaces with bright, beautiful flowers and creative décor! I am thrilled to share this simple DIY lattice flower wall project! It is so easy and looks amazing on my porch. Laura, Chan and I put together the easy step-by-step guide so you can build your own custom flower wall!
Time to start making your own flower wall:
Project Time: 2 hours
Difficulty Level: Beginner
Materials:
- ½ in. x 2 ft. x 8 ft. Wooden Lattice (you can find this in the decking section of your hardware store)
- (6) 1 ½ in. x ¼ in. x 6 ft. Pressure Treated Pine Lath
- Staple Gun
- 1 in. Staples
- Stain
- 8 Tin Cans
- Drill
- 1 in. Screws
- Jig Saw
- Miter Saw
- Eye Protection
- Clamps
Directions:
- Create a cut list. As the old saying goes measure twice and cut once.
- Lattice: 2 ft. x 58 in.
- Top and bottom panels: (4) 1 ½ in. x 2 ft. sections
- Measure and cut lattice using the jig saw. Remember these safety tips: do not wear loose clothing or gloves when using any type of saw, but always wear eye protection.

- Measure and cut the top and bottom panels using the miter saw to get your exact cuts.

- Lay the lattice on a flat surface. Take the full-length pieces of lath and lay one under the edge lattice and one on the top edge. Line both lattice up with the lattice to create a frame. Use a clamp to hold the pieces in place.
- Using the staple gun, staple straight through the top frame to connect all three pieces.

- Repeat Step 5 for the other side.
- Take the 2-foot pieces of lattice and frame the top and bottom of the lattice. Attach using the same method in Step 5.

- Stain or paint the lattice.

- While the stain is drying, use the drill to create holes in the top center of each tin can.

- Drill three holes in the bottom of each tin can, to allow for proper water drainage.

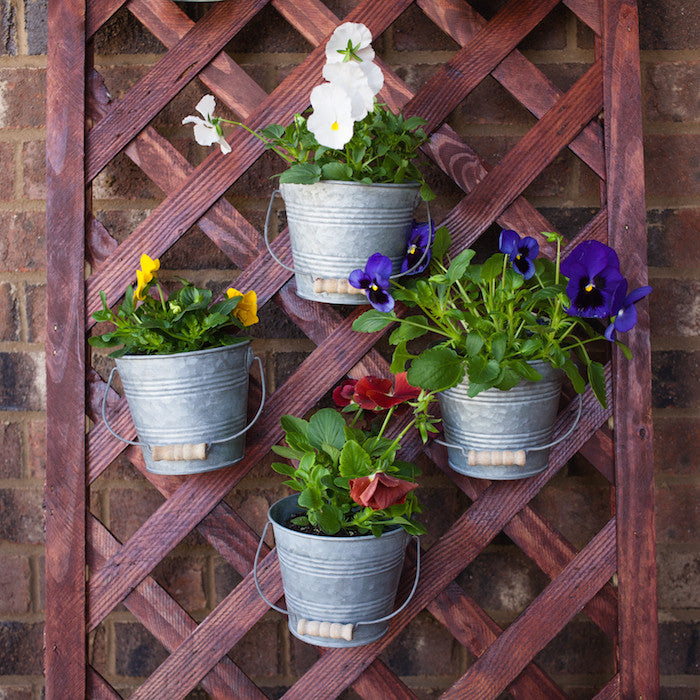
- After the lattice is dry, use the drill to screw each tin can to the lattice.

- Add your favorite flowers to complete your custom flower wall!

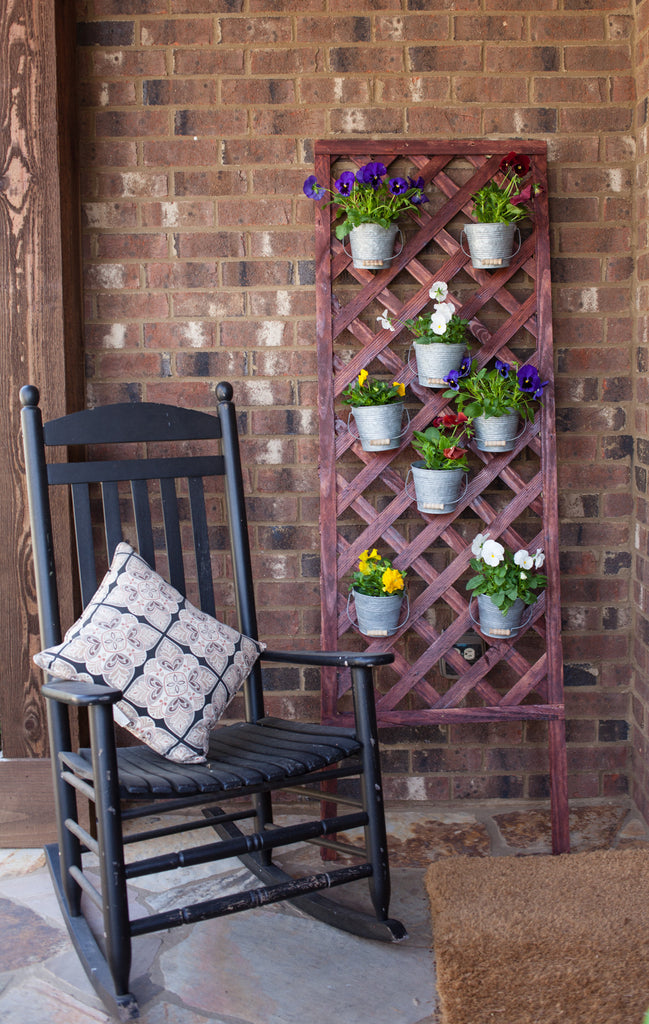
To add a cheerful welcome to my home, I displayed my flower wall on my porch! However, they also can look great on decks, up against siding or on a fence.


Enjoy your custom DIY lattice flower wall and remember to check out the DIYZ app for more project inspiration and step-by-step home improvement tutorials. The app is available from the Apple App Store for iPhone or Google Play for Android and includes lots more project ideas!
Connect with DIYZ: Facebook | Instagram | Twitter | Pinterest | Blog | #DIYZ #GetWise


