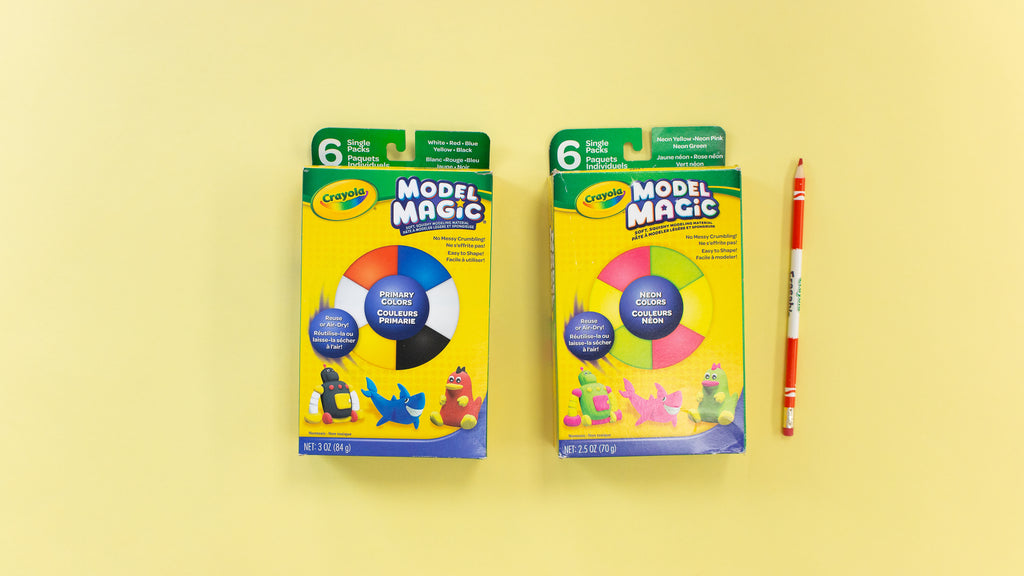
Add some fun to the end of your pencil with these silly and not-so-scary Model Magic monster pencil toppers! Here’s what you’ll need to make this craft
Materials:
- Model Magic Primary Colors
- Model Magic Neon Colors
- Erasable Colored Pencils

Directions:
The Yellow-Green Monster:
- Roll the neon yellow-green model magic into a ball.
- Mold the ball onto the eraser end of the pencil.

- Roll a dime-sized piece of white model magic into a ball.
- Place the white ball onto the yellow-green model magic.

- Roll a smaller piece of black model magic into a ball.

- Place the black model magic ball onto the white model magic ball.

- Roll a snake of the yellow-green model magic.
- Break into two separate pieces.

- Place each snake on top of the monster head and roll them into a spiral to make the monster antennas.

- Let your monster air dry before you play with it.

The Red Monster:
- Roll the red model magic into a ball.

- Mold the ball onto the eraser end of the pencil.

- Break off three separate pieces of red model magic.

- Mold the three pieces into rectangles.
- Place the three rectangles on top of the red model magic ball.

- Break off three separate pieces of white model magic.
- Roll each piece into a ball.
- Place the white model magic balls onto the red rectangles.

- Break off three separate pieces of black model magic.
- Roll each piece into a ball.
- Place the black model magic balls onto the white model magic balls.

- Break off several pieces of blue model magic and flatten it between your fingers.
- Place the flattened blue model magic pieces on the red model magic ball.

- Let your monster air dry before you play with it.
The Pink Monster:
- Roll the neon pink model magic into a ball.
- Mold the ball onto the eraser end of the pencil.

- Break off two pieces of white model magic.
- Roll the two pieces into two balls.
- Place the white balls onto the neon pink model magic ball.

- Break off two pieces of black model magic.
- Roll the two pieces into two balls.
- Place each black model magic ball onto each white ball.

- Roll the yellow-green model magic into a snake.

- Place the yellow-green model magic onto the neon pink ball in a squiggly line.

- Make several yellow model magic balls.
- Place the yellow balls all around the neon pink ball.

- Let your monster air dry before you play with it.

We hope you enjoyed this Camp Craft Box project! Parents, share your child’s craft on the Camp Craft Box Facebook Group. Don’t forget to tag @crayola and @craftboxgirls and use the hashtag #CampCraftBox if you share your child's projects on social media.


