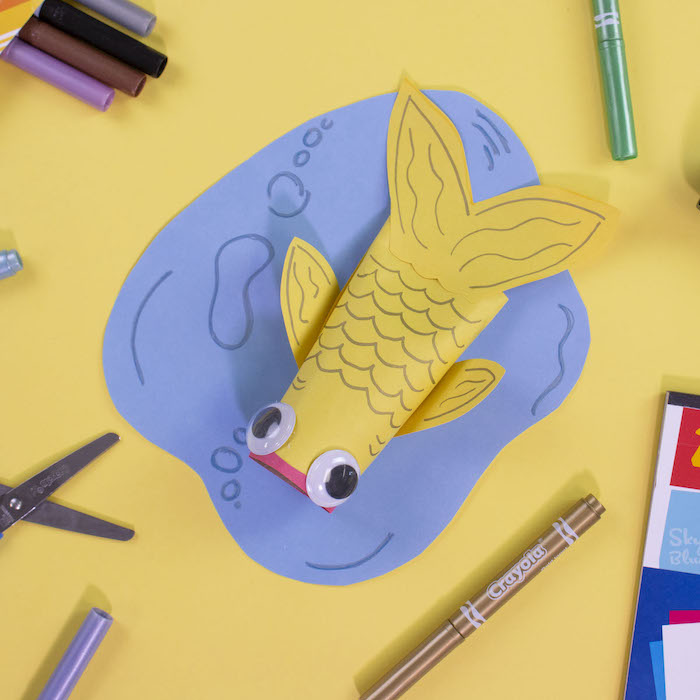
Project Name: Craft Roll Fish
Project Video:
Project Difficulty: Easy
Project Materials:
- Blue, yellow and red construction paper
- Crayola metallic marker
- Stapler
- Crayola gluestick
- Crayola pencil
- Craft roll
- Googley eyes
- Scissors

Project Instructions:
- Lay the craft roll on the yellow paper (or color of your choice) and mark the width with your pencil.

- Take the other paper and line it up against that mark and then trace along the straight edge. Now you have a straight line.

- Cut along the line.
- Glue the yellow piece of paper around the craft roll. Hold in place until the paper stays by itself.


- Press down one end of your fish and stable.

- Draw and cut out fins on our extra yellow paper.


- Decorate the fins and the fish body with the silver metallic marker.

- Draw a really thin line across your red paper and cut out. This will be its mouth.

- Apply your glue to your red strip and wrap around the opening of the fish mouth. Trim the extra.

- Glue the tail fin to the stapled side of the fish.
- Glue the fins to each side of the fish body.
- Glue googley eyes and stick on the top open end of the fish. Press down so they stick.

- Cut a piece of blue paper to make a pond for your fish. This can be any shape. Add water lines with the metallic markers.


Now you have a pet fish.... and this one is really easy to take care of!


