
Project Name: Food Week - Tin Can Cake
Project Difficulty: Advanced
Supplies from Kit:
- Crayola Bright Pop Cardstock (1 sheet)
- Crayola Scissors
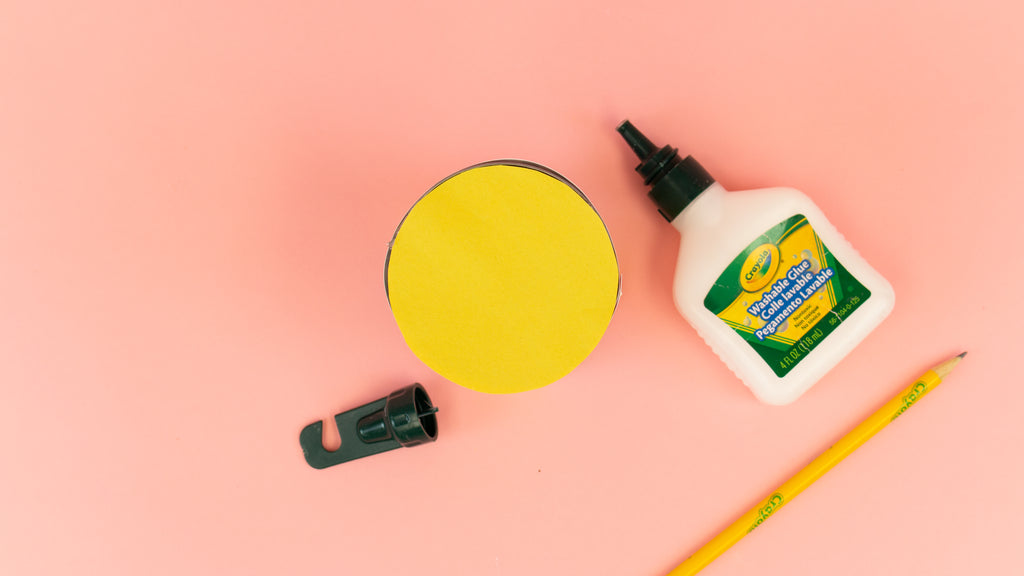
- Crayola Washable Liquid Glue
- Crayola Construction Paper
- Crayola Glitter Glue
Additional Supplies:
- 2 Different Color Pipe Cleaners
- Pencil

Project Video:
Directions:
- Flip your card stock over and lay the can on its side. Measure the width of the can on the paper and make a mark. Use a second piece of construction paper to line up with the mark and draw a straight line down the cardstock.

- Cut along the line.

- Roll the card stock around the tin can and attach using your washable glue.


- Trace the bottom of the can onto a yellow sheet of paper. Cut out.


- Attach the yellow circle to the top of the can using your washable glue.
- Cut out two purple strips with one side wavy and glue around the top and bottom of the can using your washable glue. This is the cake frosting.


- Cut your pipe cleaners to size of a candle and twist together almost all the way, leaving some un-twisted to glue to the top of your can.


- Cut out two small yellow flames and glue to the top of the candle (back to back).


- Draw spirals on your pink, purple and orange sheets of construction paper.

- Cut out the spirals and roll up into a rose shape - glue the end so it stays put.


- Attach the roses to the top of your tin can surrounding your candle.


- Decorate your purple strips at the top and bottom of your can with glitter glue.


- Let the glue dry before playing with the cake!
I hope you enjoyed today's craft! Parent's don't forget if you share your child's projects on social media tag @craftboxkids @crayola and use #campcraftbox
Happy Crafting
Lynn