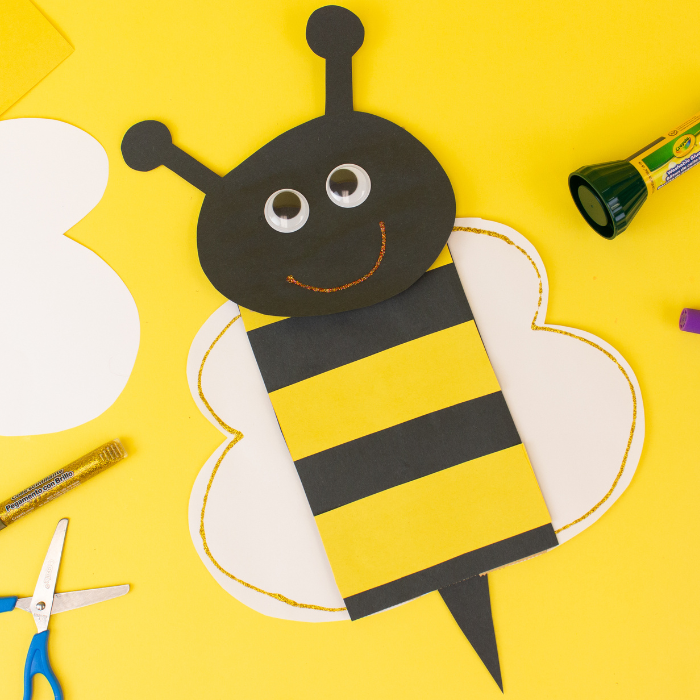
Buzzz..... it's time for a fun paper bag puppet craft!
Project Name: Paper Bag Bumble Bee
Project Video:
Project Difficulty: Easy
Project Materials:
- Paper Bag
- Crayola Glitter Glue
- Glue Stick
- Scissors
- Pencil
- White, Yellow and Black Construction Paper
- Googley Eyes
Project Instructions:
- Lay the paper bag on top of the black construction paper. Trace the edges and cut out so that it fits your paper bag perfectly.
- Take the pencil and trace the paper bag onto your yellow construction paper. Cut out.


- You want the flap of the bag to be on top. Place the black construction paper underneath the flap and glue to your paper bag with your glue stick.
- Cut the extra off the bottom.

- Draw 3 lines on the yellow paper. Now cut it into 3 strips of yellow paper.

- Take the glue stick and glue the yellow strips onto the body of your bumble bee. You should have black and yellow stripes when you are done.

- Take the left over black construction paper and draw an oval shape. Cut it out.
- Draw and cut out two antennas onto your left over black construction paper.
- Glue the antennas onto the back of the black oval you just cut out. This will be the head.

- Now glue the head onto the bee body.

- Now we are going to make our bumble bee stinger using left over black construction paper. Draw and cut out a triangle shape.

- Glue the stinger to the backside of your paper bag (with the point facing down).

- Fold the white paper in half long ways. Draw wings, keep your paper folded and cut out.

- Unfold the paper and now you have two wings. Glue the paper bag into the middle of the wings.

- Decorate the wings with glitter glue. Let dry.

- Glue the googley eyes to the bumble bee face.
- Draw a mouth with your glitter glue.

Buzzzz.... I see a cute bee ready for some playtime!


