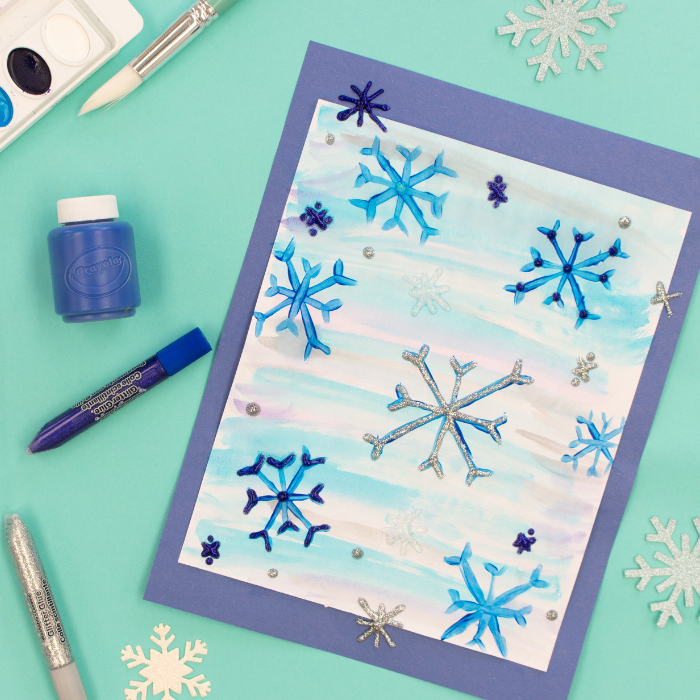
Project Name: Snowflake Paint Along
Project Difficulty: Easy
Project Video:
Project Materials:
- Piece of construction paper (pick your favorite color)
- White piece of paper from watercolor and paint pad
- Glue stick
- Paint brushes
- Watercolor Paint
- Blue Paint
- Glitter glue
- Cup of water
- Paper towel
Project Instructions:
- Use your glue stick to glue the white piece of paper to a sheet of construction.


- Use the watercolor paints to paint the background of the paper.
- Dip your brush in your water and then the blue color. Now we are going to just add some streaks on our white sheet.


- Add more water to your brush and now try a different color blue and add more streaks.
- Clean off your brush in your water. Now dip into purple and make more streaks.
- You can add as many colors or streaks as you want. You can even add in black to make the sky gloomy.

- Clean your brush and let your water color palette dry before you put away.
- Let's create some snowflakes. We are going to use our dark pink brush and our blue paint now.
- Dip your brush in the end and start with an X on your paper.

- At the ends of the "X" we are going to add some "Y's". Now add a line straight through the center of our "x" vertically. Now do the same thing horizontally.
- You can create as many snowflakes as you want and they can be all different shapes and sizes.

- Put your paint away for now and grab your glitter glue.
- We are going to start with silver and draw with the glitter glue over the snowflakes. Add some dots for snowballs or tiny snowflakes. You can add and decorate with any color glitter glue you choose.


- Let dry your artwork dry!
Hang your artwork up in your room or on the refrigerator!


