
Quack! Oink! Moo! Make fun, finger-puppet animals just for you! Use the Model Magic to create some magical finger puppets. Then, put on a puppet show for your family and friends. Let’s get started! Here’s what you’ll need to make this craft:
Materials:
- Model Magic Primary Colors set

Directions:
Duck:
- Roll the yellow Model Magic into a ball.

- Mold the Model Magic onto your finger to make the body of the duck.

- Take it off of your finger and set aside.
- Take a smaller piece of yellow Model Magic and roll into a ball to make the head.

- Place the smaller ball onto the body of the duck.

- Make a semi-circle shape to make the wing and attach to the side of the duck.

- Make another semi-circle shape to make the other wing and attach to the other side of the duck.

- Flatten a small piece of the white Model Magic into an oval.

- Attach the white, flattened piece onto the middle of the duck’s body.

- Roll two small pieces of black Model Magic and attach to the duck’s face to make eyes.

- Take a small piece of the yellow and red Model Magic and mix together to make orange.


- Make a small triangle out of the orange model magic.

- Attach the orange triangle onto the duck’s face to make the duck’s beak.

- Set aside to let it air dry.

Cow:
- Roll the white Model Magic into a ball.

- Mold the Model Magic onto your finger to make the body of the cow.

- Take it off of your finger and set aside.
- Take a smaller piece of white Model Magic and roll into a ball to make the head.

- Place the smaller ball onto the body of the cow.

- Take a few pieces of the black Model Magic and flatten into small pieces.

- Attach the flattened black pieces onto the body of the cow to make cow spots.

- Make a triangle out of the black Model Magic and attach to the head of the cow to make an ear.

- Make a triangle out of the white Model Magic and attach to the head of the cow to make the other ear.

- Take a small piece of white and red Model Magic and mix together to make pink.


- Take a small piece of pink Model Magic and place in the ears.

- Roll a small piece of pink Model Magic into a ball. Place the small round ball onto the head of the cow to make a snout.

- Roll two small balls of the black Model Magic. Place the round black balls onto the cow’s face to make eyes.

- Take a smaller piece of black Model Magic and roll two small balls. Place both small balls and place on the pink snout to make nostrils.

- Set aside to let it air dry.
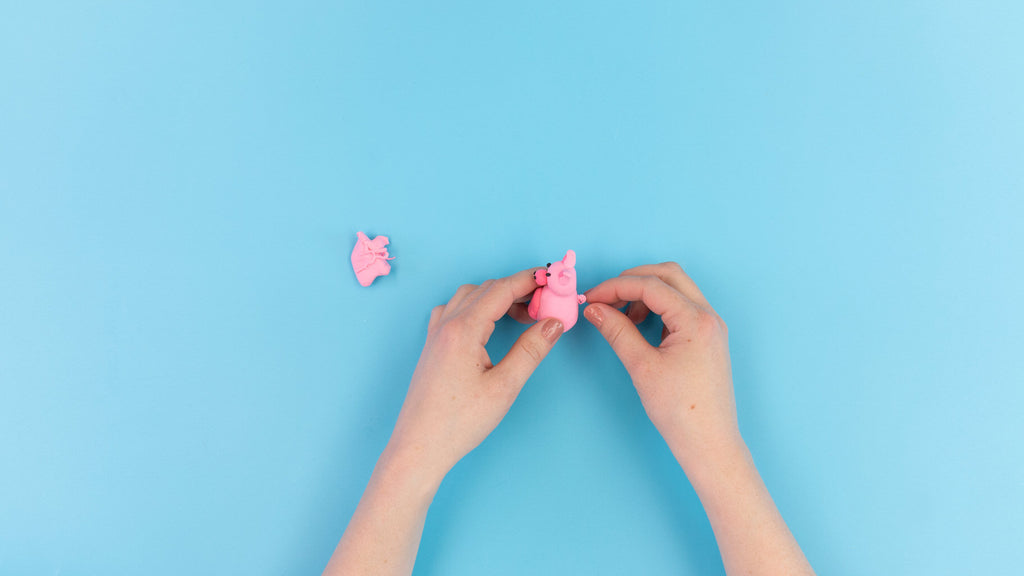
Pig:
- Take a small piece of white and a small piece of red. Mix together to make pink.


- Mold the Model Magic onto your finger to make the body of the pig.

- Take it off of your finger and set aside.
- Take a smaller piece of pink Model Magic and roll into a ball.

- Place the smaller ball onto the body of the pig. This will be the head of the pig.

- Make two small triangles out of the pink Model Magic and place on the head of the pig to make ears.

- Mix together the pink and a little bit of red Model Magic to make a darker pink. Flatten the darker pink Model Magic into an oval.


- Place the pink oval on the body of the pig.

- Roll a small ball of the darker pig model magic. Place onto the pig’s head to make a snout.

- Take two small pieces of the darker pink and place in the ears.

- Take the black Model Magic and make two small balls. Attach the small balls onto the pig’s head to make eyes.

- Make two smaller black balls. Attach the smaller balls to the pig’s snout to make nostrils.

- Roll a small piece of the light pink Model Magic into a thin and long piece.

- Make a spiral with the thin and long piece to make the pig’s tail.

- Attach the tail to the back of the pig.
- Set aside and let it air dry.

We hope you enjoyed this Camp Craft Box project! Parents, share your child’s craft on the Camp Craft Box Facebook Group. Don’t forget to tag @crayola and @craftboxgirls and use the hashtag #CampCraftBox if you share your child's projects on social media.